
Expo AWD L4-2350cc 2.4L SOHC 16 Valve (1993)
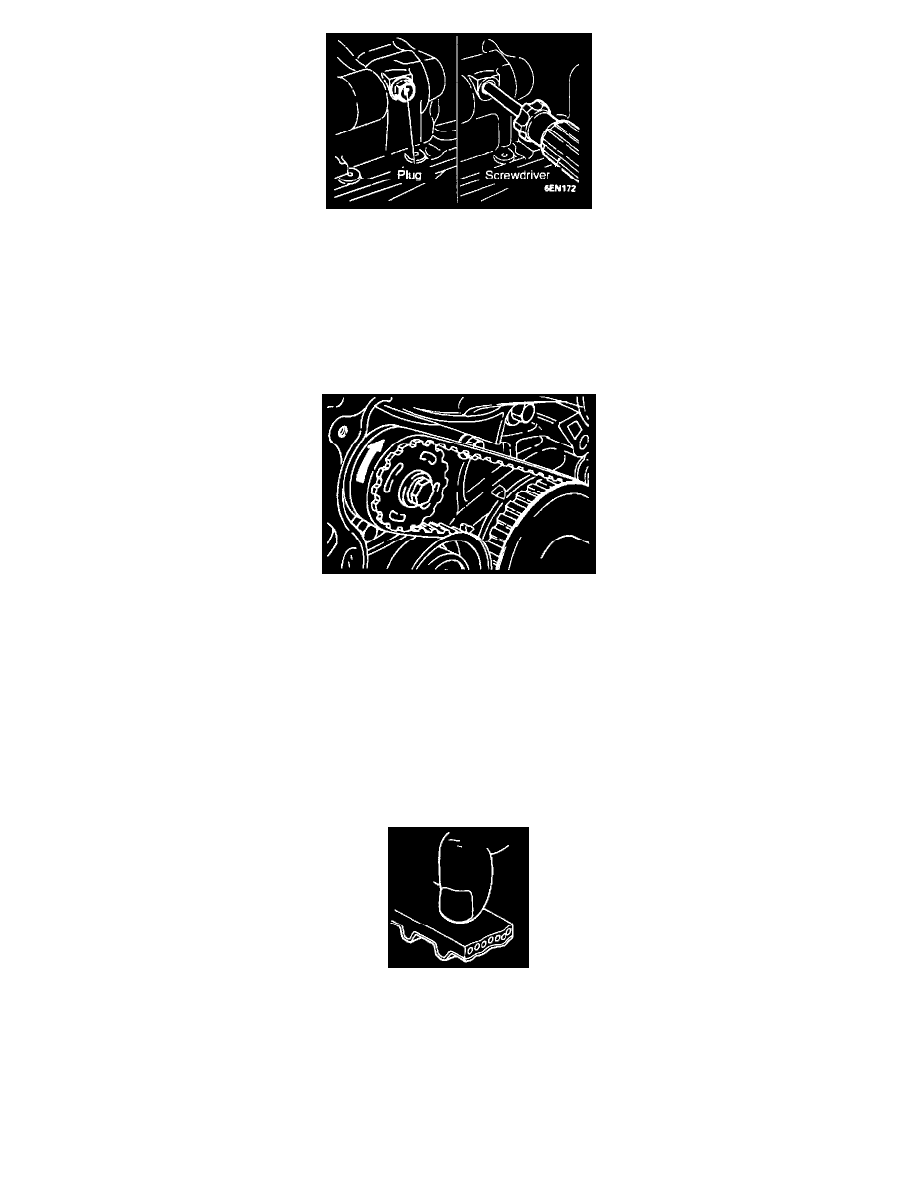
1. Remove the plug on the side of the cylinder block.
2. Insert a Phillips screwdriver [shank diameter 8 mm (0.31 in.)] to block the left counterbalance shaft.
3. Remove the oil pump sprocket nut.
4. Remove the oil pump sprocket.
"F" TIMING BELT "B" REMOVAL
NOTE: Chalk an arrow mark indicating the rotation direction on the back of the timing belt for reassembly.
CAUTION:
-
Do not let oil or water touch the removed parts.
-
If the removed parts have already been contaminated, check the front case oil seals, camshaft oil seal and water pump for leaks.
INSPECTION
TIMING BELTS CHECK
NOTE: Should the following defects be evident, replace the belt.
(1) Hardened back surface rubber Glossy, non-elastic, and so hard that no mark is produced even when scratched by a fingernail.