
Expo AWD L4-2350cc 2.4L SOHC 16 Valve (1993)
Fluid - A/T: Service and Repair
Change Fluid
Drain the fluid and check whether there is any evidence of contamination.
Refill with new fluid after the cause of any contamination has been corrected.
1. Remove drain plugs to let fluid drain.
2. Remove the oil pan.
3. Check the oil filter for clogging and damage and replace if necessary.
4. Clean the inside of oil pan and magnets.
5. Attach the magnets to the concave part of the oil pan.
6. Clean both gasket surfaces of transaxie case and oil pan.
7. Install oil pan with new gasket and tighten oil pan bolts.
Torque Oil pan bolt: 11 Nm (8.0 ft.lbs.)
8. Tighten drain plug with gasket. Drain plug: 33 Nm (24 ft.lbs.)
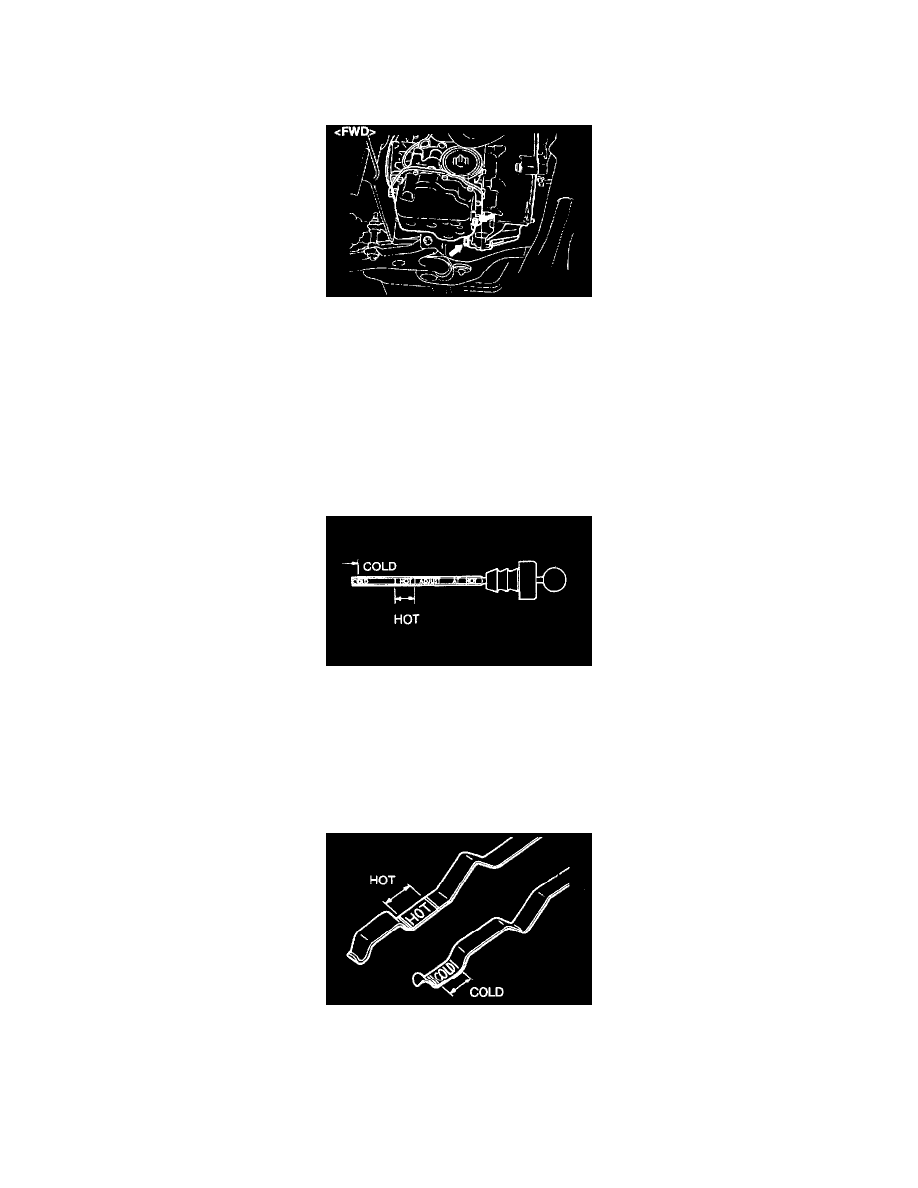
9. Fill new ATF up to the COLD mark on the dipstick. Transmission fluid: DIAMOND ATF SP or equivalent.
Quantity:
FWD 6.1dm3 (6.4 qts.)
AWD 6.5dm3 (6.9 qts.)
10. Start engine and let it run at idle for at least two minutes. Then, with parking brake on, move selector lever momentarily to each position, ending in
"N" Neutral position.
11. Check if ATF is filled up to the HOT mark on the dipstick.