
Galant L4-2.0L SOHC (1989)
b. This procedure can be repeated up to (but not more than) 10 additional times. After each increase/decrease cycle of engine speed, allow the
engine to idle and check to hear if the noise has stopped.
4.
If the valve noise still exists, disassemble and inspect the automatic lash adjusters according to the following steps:
Caution:
To protect yourself from hot engine components, wear protective gloves and use clean shop rags as needed.
5.
Stop the engine and remove the valve cover.
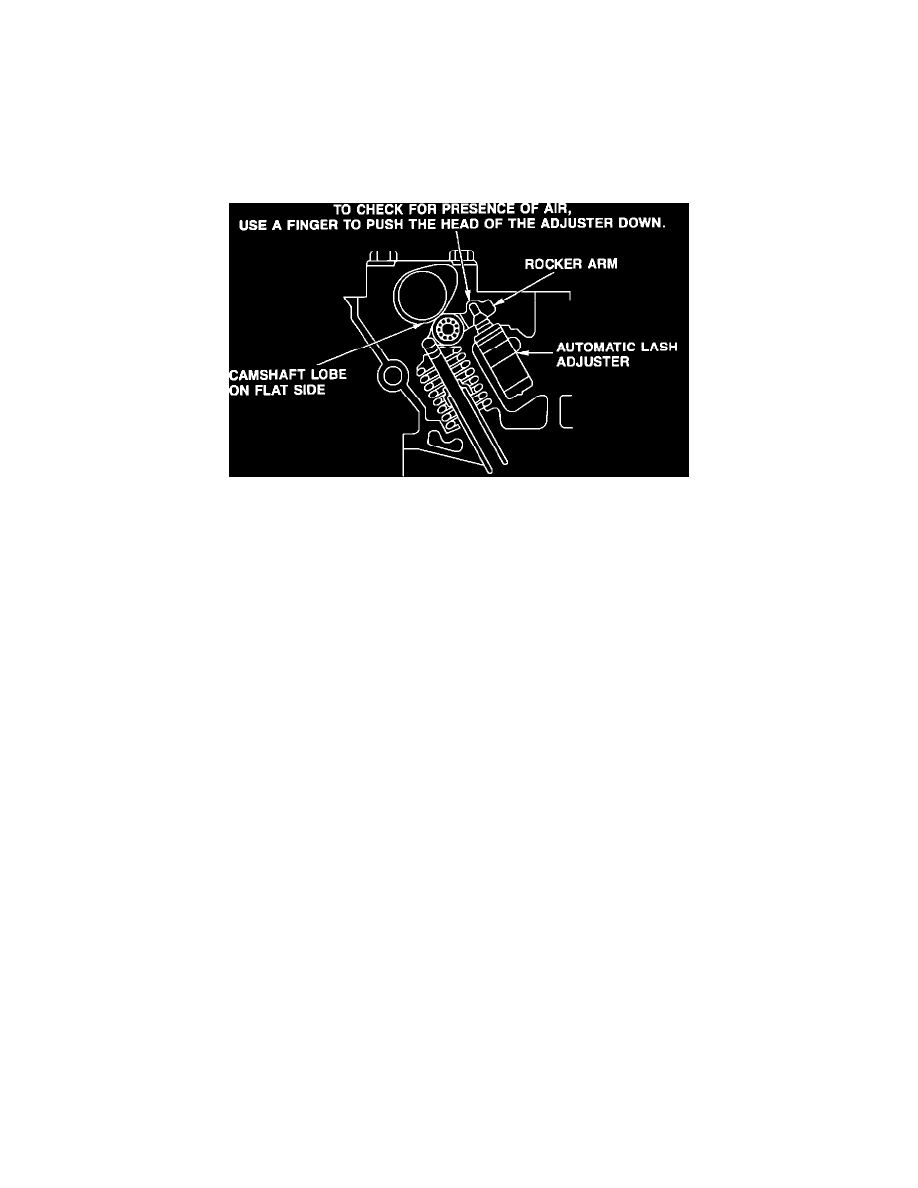
Figure 2. Checking the Operation of the Automatic Lash Adjuster.
6.
Using firm pressure from your finger, push down on the rocker arm over the head of each lash adjuster. Be sure that the camshaft lobe is on the flat
side when performing this step. (Refer to Figure 2).
7.
If the head of the adjuster sinks when finger pressure is applied, the adjuster must be replaced.
8.
If the head of the adjuster stays firm when finger pressure is applied, the adjuster is functioning normally and should not need replacement. At this
point, perform further engine diagnostic procedures to determine the origin of the noise. Consult the appropriate section of the vehicle's Service
Manual.
WARRANTY INFORMATION
Standard warranty procedures apply