
Galant L4-2.0L SOHC (1989)
Differential Carrier: Service and Repair
Removal and Replacement
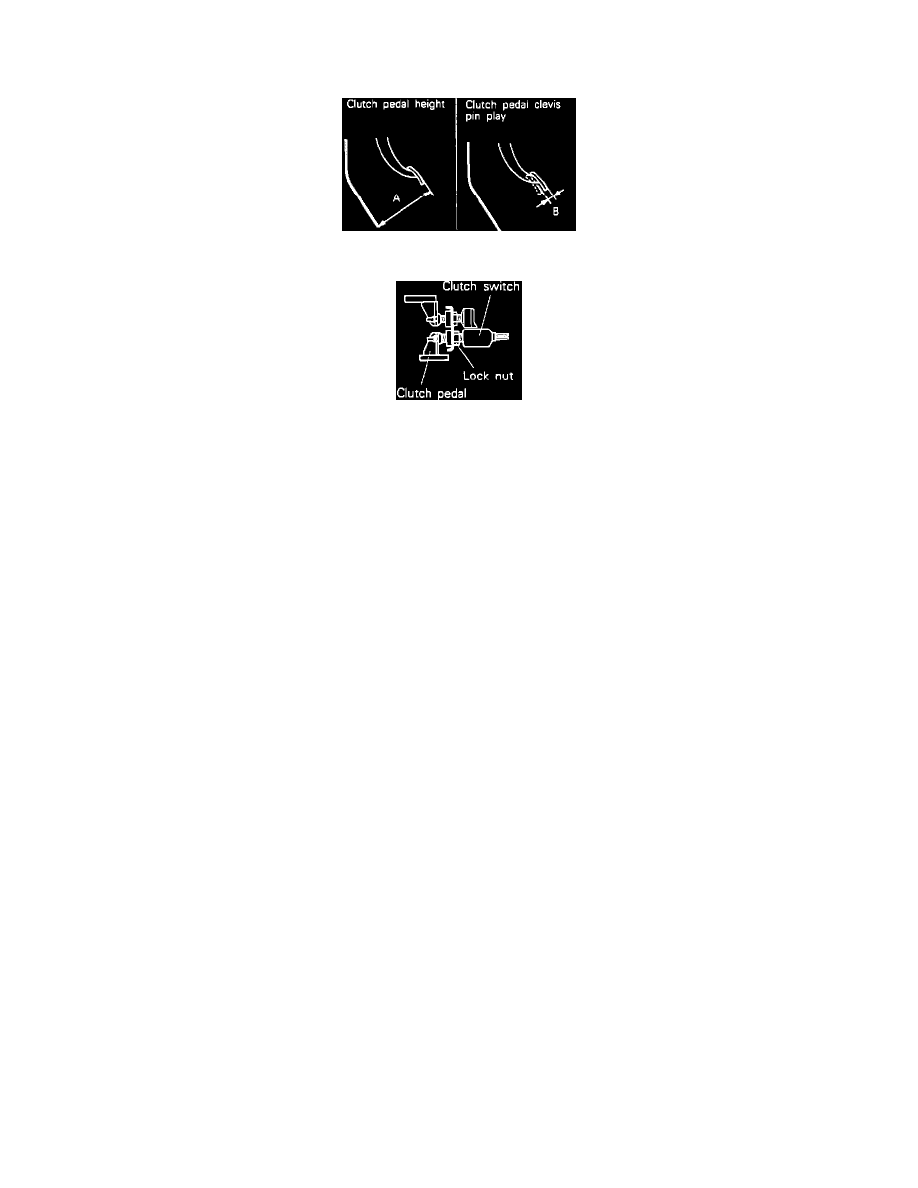
Fig. 1 Clutch Pedal Height & Clevis Pin Play
Fig. 2 Locknut Location
1.
Raise and support vehicle.
2.
Drain differential carrier fluid into a suitable container.
3.
Remove center exhaust pipe and main muffler.
4.
Remove driveshaft in numbered sequence shown in Fig. 1, using a suitable pry bar to remove driveshaft from axle carrier.
5.
Replace differential carrier in numbered sequence shown in Fig. 2, removing and suspending propeller shaft so no force is applied to joints.
6.
Reverse procedure to install.