
Galant L4-2.0L SOHC (1989)
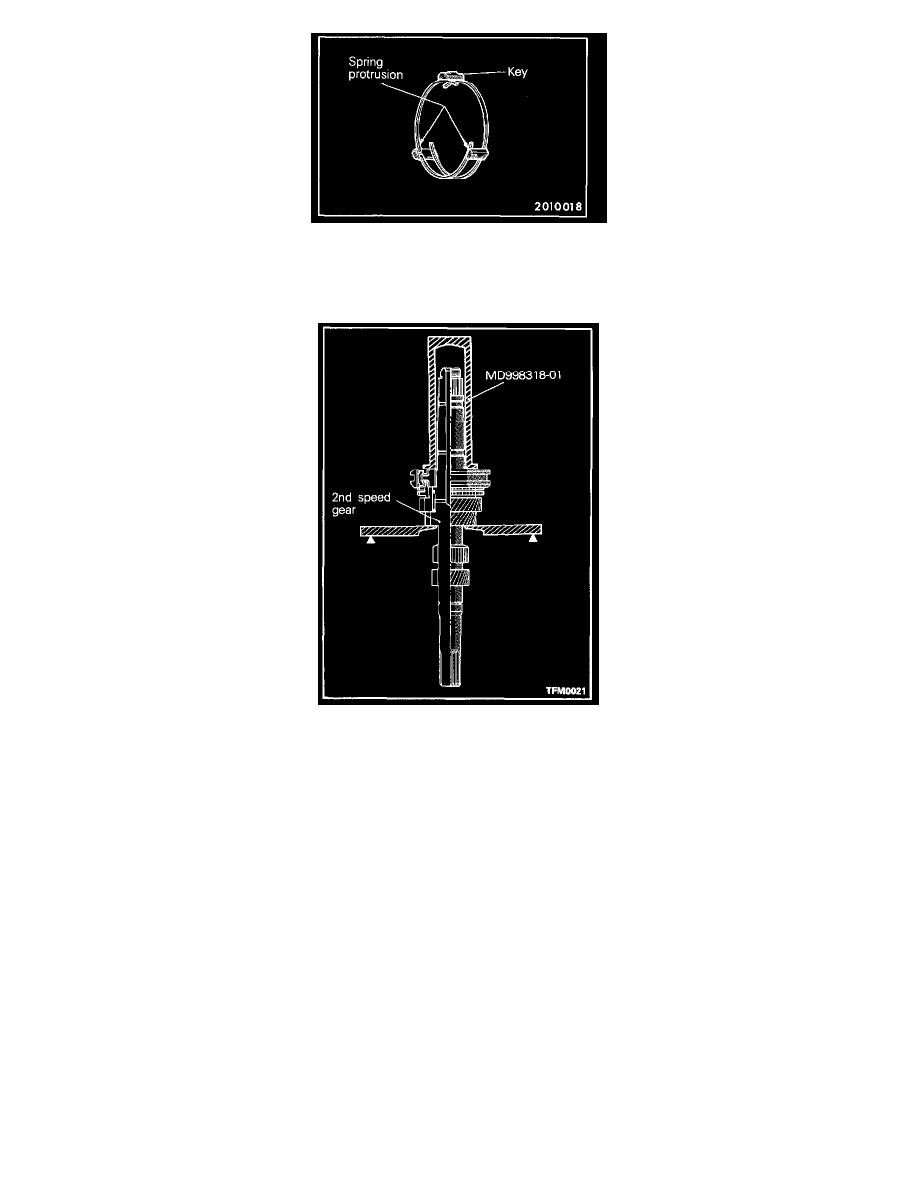
Install the synchronizer spring so that its protrusion fits into the groove in the synchronizer key.
Make sure that the protrusions in the front and rear springs are not in the groove of the same key.
14. INSTALLATION OF 3RD-4TH SPEED SYNCHRONIZER SPRING
1. The synchronizer assembly should be installed so that the place where there is a small indentation in the oil channel of the hub end surface is at
the 3rd gear side.
NOTE: If installation were in the reverse way, it might happen that press-in could not be done.
The reason for this is because the design is so that the end of the hub inner-diameter spline that has the small round indentation can be pressed
in easily.
2. Press the 3rd-4th speed synchronizer assembly over the input shaft using the special tool as illustrated.
CAUTION: When installing the synchronizer assembly, make sure that three synchronizer keys are seated correctly in respective grooves of
the synchronizer ring.
3. Check the 3rd speed gear rotates smoothly.
12. INSTALLATION OF BEARING SLEEVE