
Galant V6-2972cc 3.0L SOHC (1988)
6.
Disconnect the fuel high pressure line.
CAUTION: Cover with a shop towel to avoid gasoline spillage from any residual fuel in the line.
7.
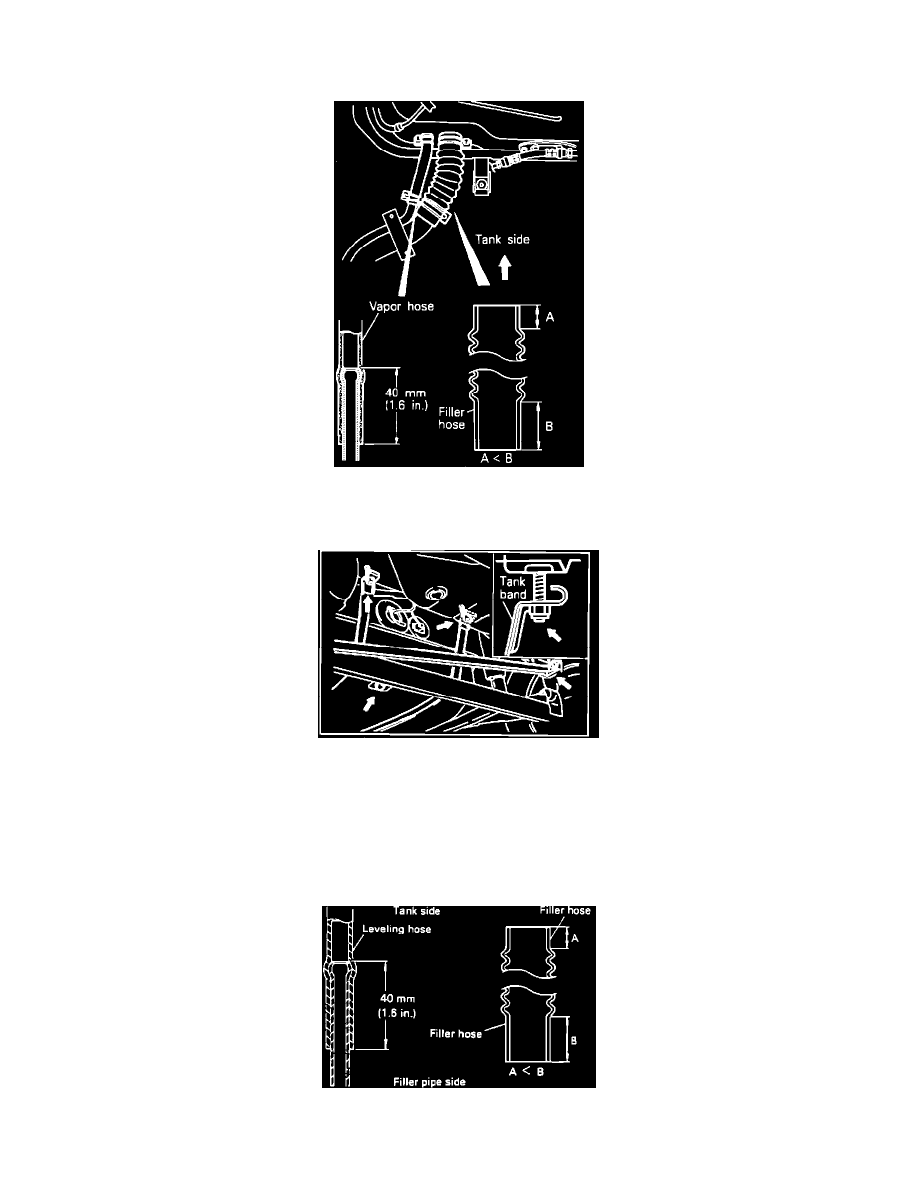
Disconnect the return line and vapor hose.
Fuel Tank Vapor And Fill Hose Connections
8.
Detach the fuel filler hose and leveling hose.
Fuel Tank Removal And Installation Attachment Points
9.
Loosen the two self-locking nuts, that hold the tank in position and remove the two tank bands.
CAUTION: Insure that there is something in position to restrain the tank from falling prior to removing the tank bands.
10.
Remove the fuel tank.
INSTALLATION
1.
Install the fuel tank, by tightening the self-locking nuts to the tank bands, until the rear end of the tank band contacts the body.
Fuel Hose Connection Specifications