
Galant V6-2972cc 3.0L SOHC (1988)
PRIMER APPLICATION
Apply 3M Super Fast Urethane Primer (# 8608 or equivalent), to the entire bonding surface of the glass, both to the inside surface and onto the edge of
the glass (Figure 2). Allow to dry for FIVE minutes.
NOTE:
DO NOT TOUCH THE SURFACES THAT ARE COATED WITH PRIMER. IF THE SURFACES BECOME CONTAMINATED WITH
ANY SUBSTANCE REAPPLY THE PRIMER.
Figure 3
OLD ADHESIVE REMOVAL
Using a sharp knife, cut the old adhesive from the body pinch-weld flange down to a thickness of no greater than 2 mm (0.08 in.) figure 3.
NOTE:
BE CAREFUL NOT TO REMOVE MORE ADHESIVE THAN NECESSARY, AND ALSO DO NOT DAMAGE THE PAINT ON THE
BODY SURFACE. IF THE PAINT IS DAMAGED, REPAIR THE DAMAGED AREA WITH TOUCH-UP PAINT.
Figure 4
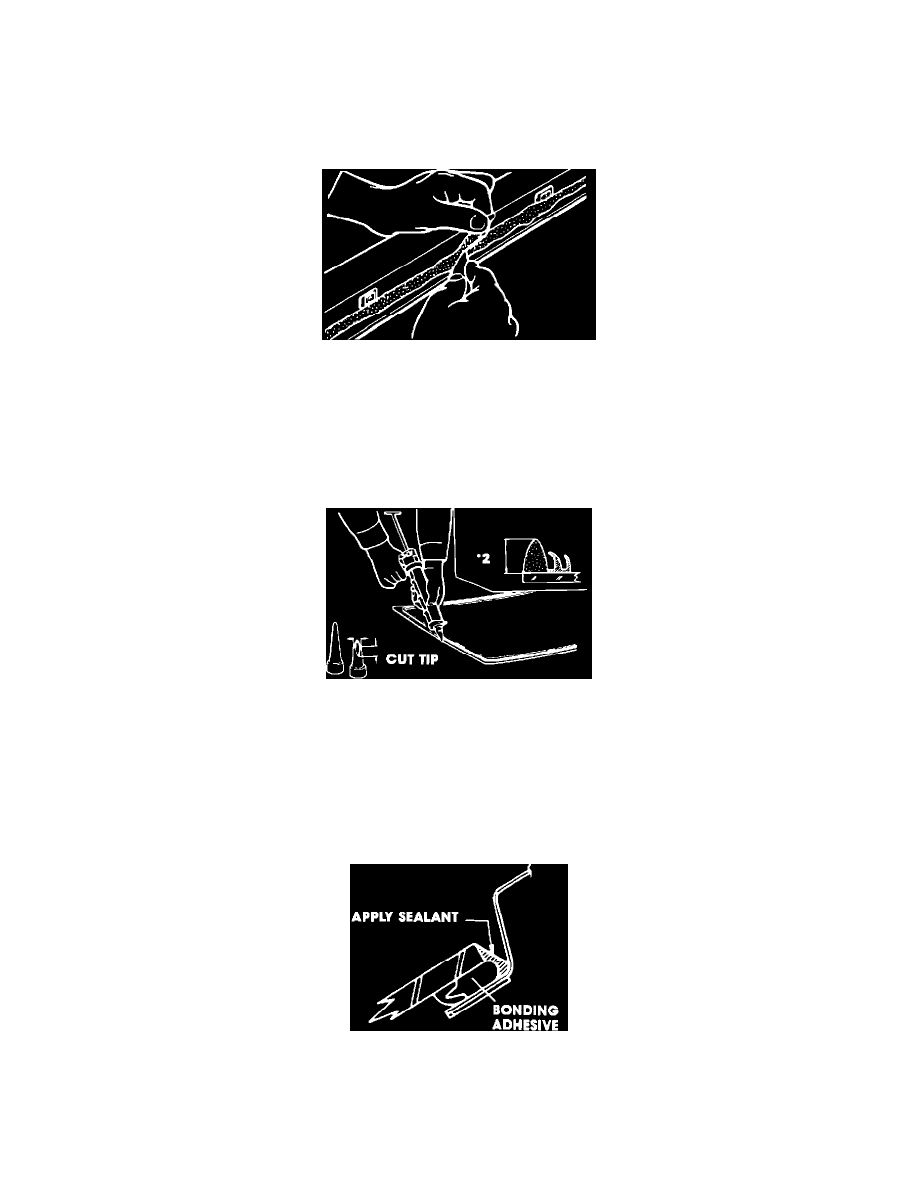
ADHESIVE APPLICATION
Using an adhesive application gun, apply 3M Super Fast Urethane Auto Glass Sealant (# 8609 or equivalent) to the window glass mounting surface.
1.
Cut the nozzle tip into a V shape.
2.
For the correct size of the nozzle tip, the application amount, and adhesive placement, refer to the applicable Service Manual (Figure 4).
Figure 5
GLASS INSTALLATION
1.
Using a glassholder, place the glass in the body opening.