
Galant ES L4-2350cc 2.4L SOHC MFI (1997)
Fuel Tank Unit: Service and Repair
FUEL GAUGE UNIT ASSEMBLY REPLACEMENT
Federal Vehicles
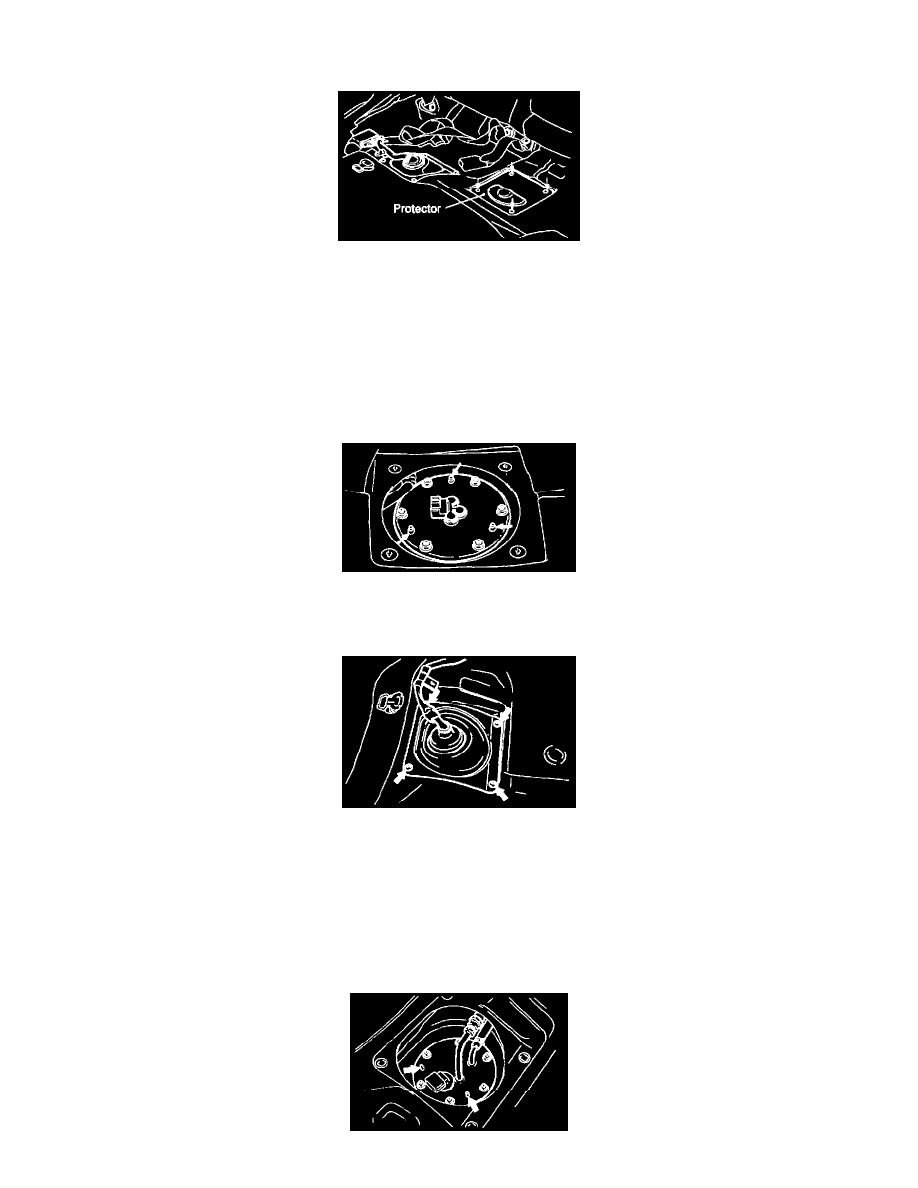
(1) Remove the rear seat cushion.
(2) Remove the protector.
(3) Disconnect the connector from the fuel gauge unit.
(4) Remove the mounting nut and then remove the fuel gauge unit.
(5) When installing the fuel gauge unit, tilt the float at the end to the left and insert into the fuel tank.
NOTE:
As there is a reservoir cap inside the fuel tank, if the fuel gauge unit is tilted to the right and inserted, the fuel gauge unit will touch the reservoir
cap.
(6) Align the packing positioning projections (locations indicated by arrows) with the holes in the fuel gauge unit.
FUEL GAUGE UNIT AND PUMP ASSEMBLY REPLACEMENT
California Vehicles
(1) Remove the rear seat cushion.
(2) Remove the protector.
(3) Disconnect the connector from the fuel gauge unit and pump assembly, and then remove the fuel gauge unit.
(4) When installing the fuel gauge unit and pump assembly, tilt the float at the end to the left and insert into the fuel tank.
NOTE:
As there is a reservoir cap inside the fuel tank, if the fuel gauge unit and pump assembly is tilted to the right and inserted, the fuel gauge unit and
pump assembly will touch the reservoir cap.