
Galant VR4 AWD L4-1997cc 2.0L DOHC Turbo (1992)
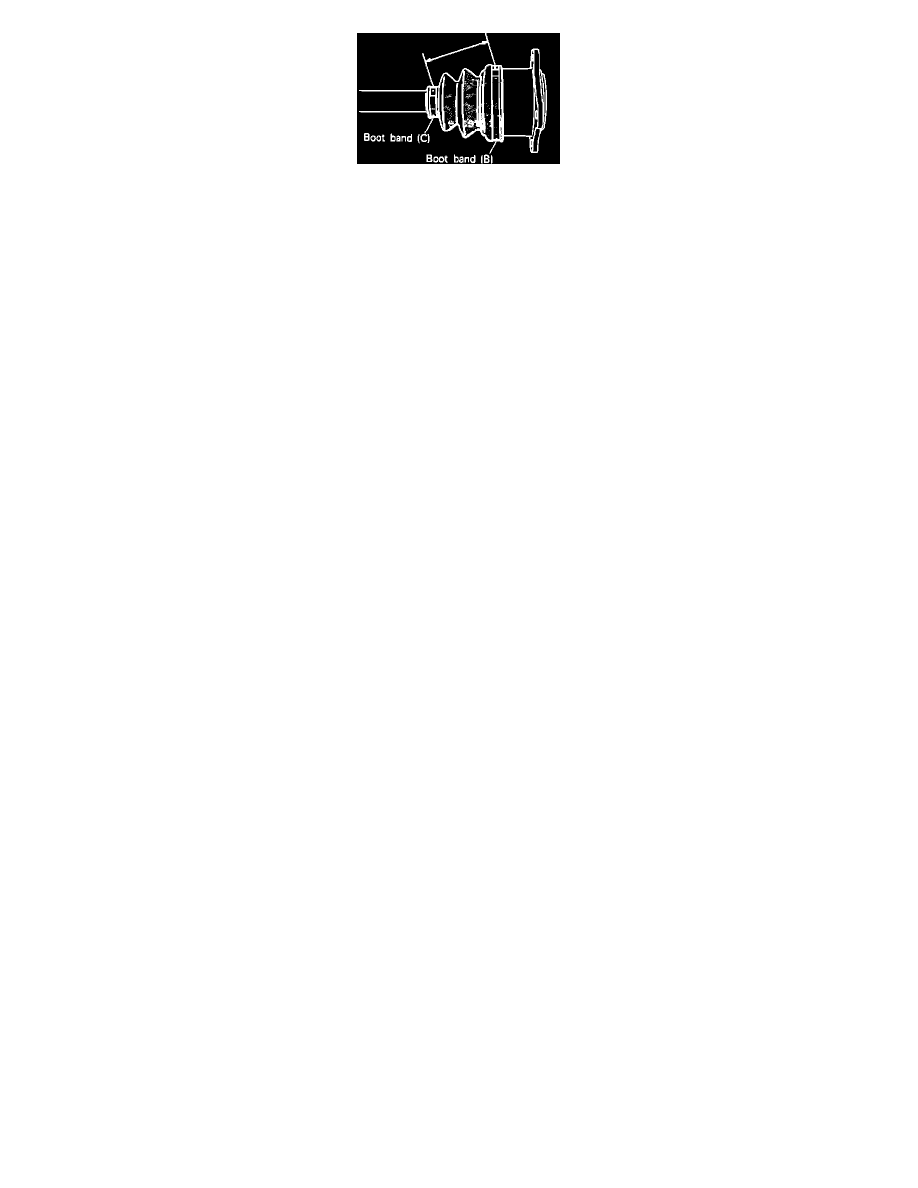
Fig. 40 Installing DOJ Boot Clamps
Assemble driveshaft in reverse numbered sequence shown in Fig. 38, noting the following:
1.
Wrap tape around spline portion of driveshaft.
2.
Insert driveshaft in BJ boot, boot band A, C, C and B in that order, Fig. 39.
3.
Fill inside of BJ and BJ boot with special grease.
4.
Secure BJ boot bands A and C to shaft and BJ. Ensure that BJ is at a 0° angle with driveshaft to ensure boot contains the specified amount
of air.
5.
Apply special grease to the DOJ cage, ball and DOJ inner race.
6.
Install cage, balls and inner race on driveshaft then install snap ring.
7.
Fill DOJ outer race with special grease. Install driveshaft into DOJ outer race then fill more grease in the DOJ outer race.
8.
Install circlip on DOJ outer race.
9.
Attach the DOJ boot on the DOJ outer race then secure boot with boot band C.
10.
Place boot band B on DOJ. Do not secure boot band.
11.
Set DOJ boot bands 2.77-3.23 inches apart, Fig. 40, to adjust amount of air inside DOJ boot then tighten DOJ boot band C securely.
12.
Release a part of the DOJ boot from the DOJ outer race to allow pressure to escape from boot.
13.
Tighten boot band B and secure the DOJ boot.