
Lancer LS L4-2.0L SOHC (2002)
1. Turn the ignition switch to the "LOCK" (OFF) position, depress the brake pedal two or three times. After eliminating the vacuum in the brake
booster, press the pedal down by hand, and confirm that the amount of movement before resistance is met (free play) is within the standard value
range.
Standard value: 3 - 8 mm (0.12 - 0.31 inch)
2. If the brake pedal play is not within the standard value, check the following, and adjust or replace if necessary:
-
Excessive play between the brake pedal and the clevis pin, or between the clevis pin and the brake booster operating rod
-
Brake pedal height
-
Installation position of the stoplight switch, etc.
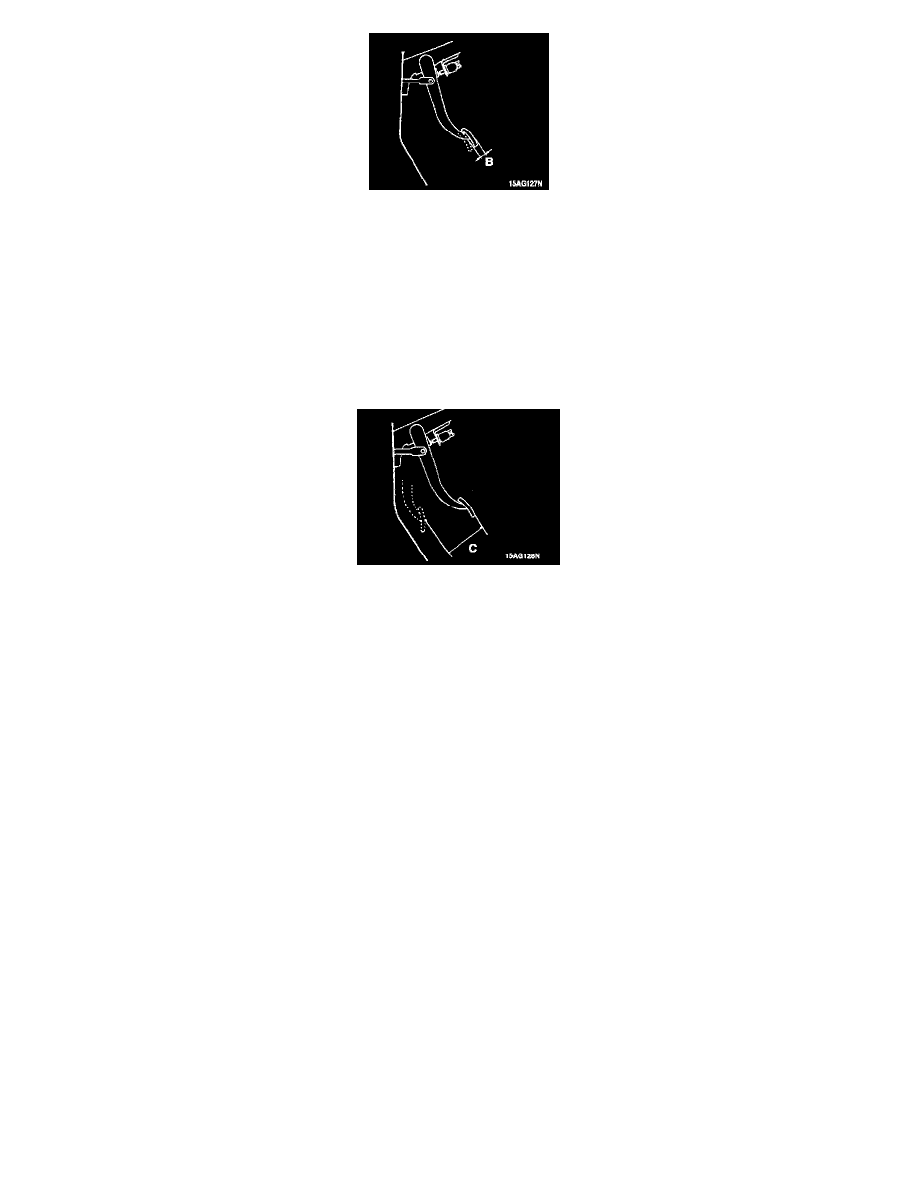
CLEARANCE BETWEEN BRAKE PEDAL AND FLOORBOARD
1. Turn up the carpet, etc. under the brake pedal.
2. Start the engine, depress the brake pedal with approximately 490 N (110 pound) of force, and measure the clearance between the brake pedal and
the floorboard.
Standard value (C): 90 mm (3.5 inches) or more [From the surface of melting sheet (floorboard) to the face of pedal pad]
3. If the clearance is outside the standard value, check for air trapped in the brake line, thickness of the disc brake pad, clearance between the lining
and the drum and dragging in the parking brake. And then adjust and replace defective parts as required.
4. Return the carpet etc. to its original position.