
Lancer LS L4-2.0L SOHC (2002)
STEP 40. Check the wiring harness between license plate light (LH) connector F-11 and front-ECU connector A-10X.
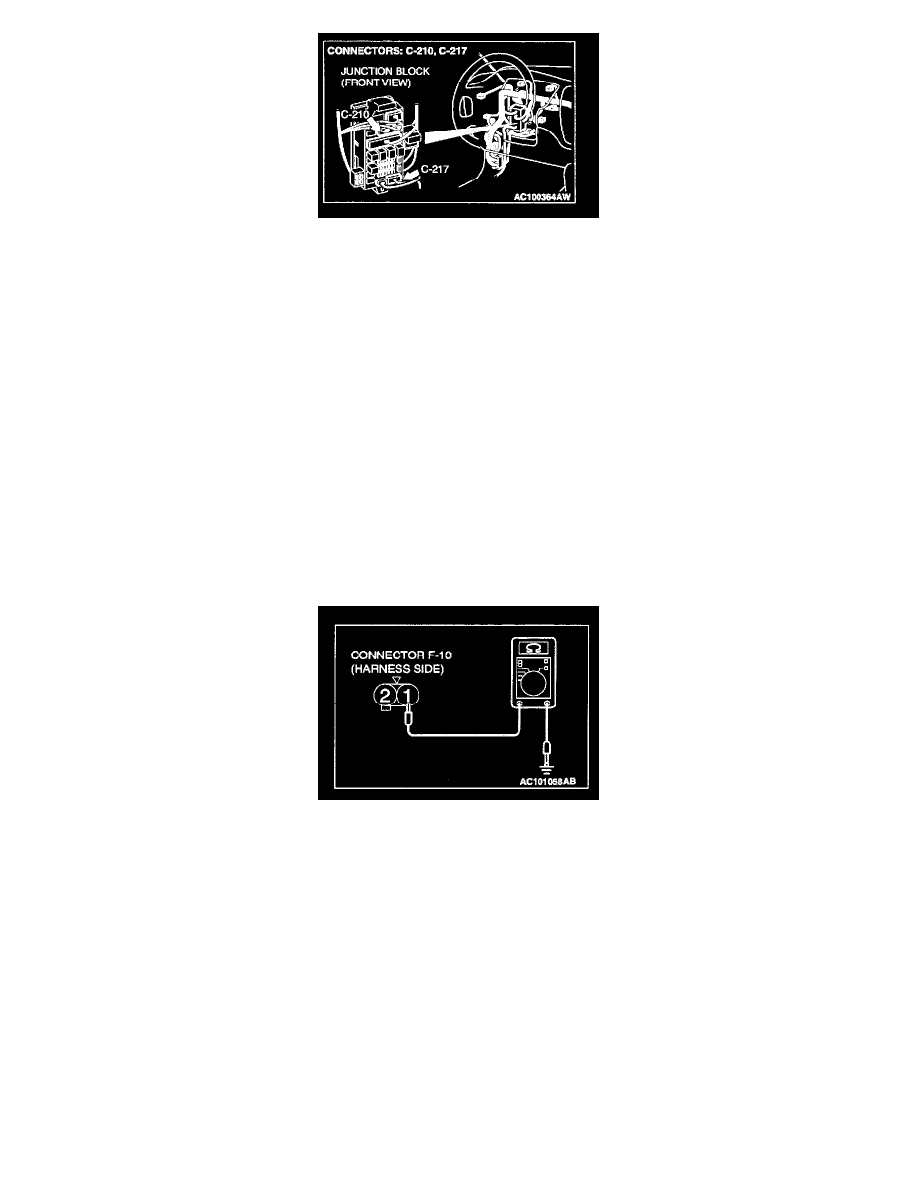
NOTE: Also check intermediate connectors C-129 and F-12 as well as junction block connectors C-210 and C-217. If intermediate connector C-129 or
F-12, junction block connector C-210 or C-217 is damaged, repair or replace the connector as described in Harness Connector Inspection.
Q: Is the wiring harness between license plate light (LH) connector F-11 and front-ECU connector A-10X in good condition?
YES: Replace the license plate light socket. Check that the license plate light (LH) illuminates normally.
NO: Repair the wiring harness. Check that the tail light (RH) illuminates normally.
STEP 41. Check the license plate light bulb (RH).
1. Remove the license plate light bulb (RH).
2. Check that the license plate light bulb (RH) is not broken.
Q: Is the license plate light bulb (RH) in good condition?
YES: Go to Step 42.
NO: Replace the license plate light bulb (RH). Check that the license plate lights illuminate normally.
STEP 42. Measure at license plate light (RH) connector F-10 in order to check the ground circuit to the license plate light (RH).
1. Disconnect license plate light (RH) connector F-10, and measure at the wiring harness side.
2. Measure the resistance value between terminal 1 and ground.
-
The measured value should be 2 Ohm or less.
Q: Does the measured resistance value correspond with this range?
YES: Go to Step 45.
NO: Go to Step 43.