
Mirage L4-1597cc 1.6L DOHC (1990)
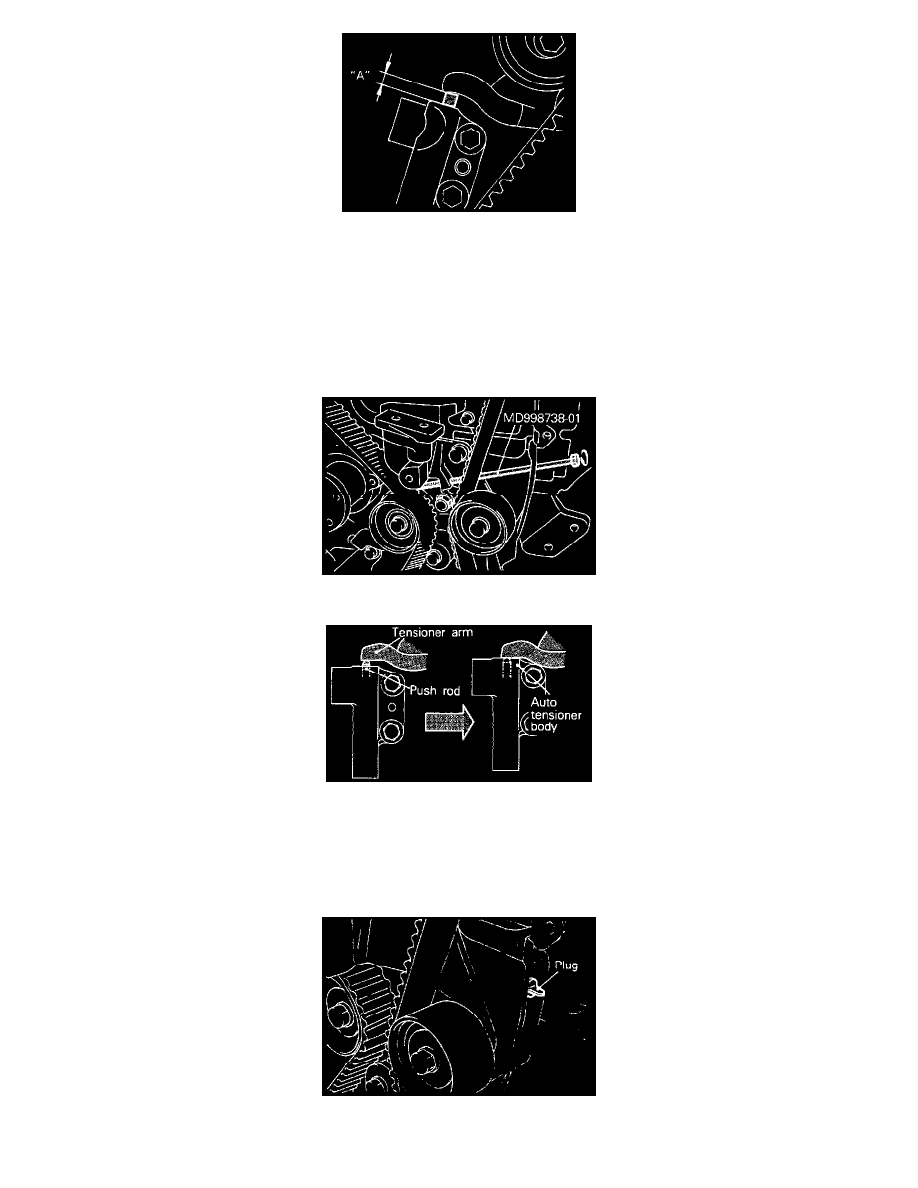
(6) Rotate the crankshaft two complete turns clockwise and leave it as is for about 15 minutes. Then, measure the auto tensioner protrusion "A"
(distance between the tensioner arm and auto tensioner body) to ensure that it is up to specification.
Standard value: 3.8 - 4.5 mm (0.15 - 0.18 in.)
-
If it is out of specification, repeat steps (1) through (6) until the specified value is obtained.
(7) If the clearance "A" between the tensioner arm and the auto tensioner body cannot be measured (when the engine is mounted on the vehicle,
for example), the following alternative method may be used.
(a) Screw in the special tool until its end makes contact with the tensioner arm.
(b) Starting with that position, screw in the special tool some more to retract the auto tensioner push rod while counting the number of turns of
the tool makes until the tensioner arm is brought into contact with the auto tensioner body.
NOTE: Make sure that the number of turns the special tool makes conforms with the standard value.
Standard value: 2.5 - 3 turns
(8) Install the rubber plug to the timing belt rear cover.