
Mirage L4-1597cc 1.6L DOHC Turbo (1989)
Fuel Return And Vapor Line Connectors
7.
Disconnect the return line and vapor hose.
8.
Detach the fuel filler hose and leveling hose.
9.
Remove the bolts that hold the tank in position.
CAUTION: Insure that there is something in position to restrain the tank from falling prior to removing the tank mounting bolts.
10.
Remove the fuel tank.
INSTALLATION
1.
Install and bolt into place the fuel tank.
2.
Connect the leveling hose, from the tank, approximately 1.6 in. (40mm) onto the filler neck.
3.
Connecting the filler hose.
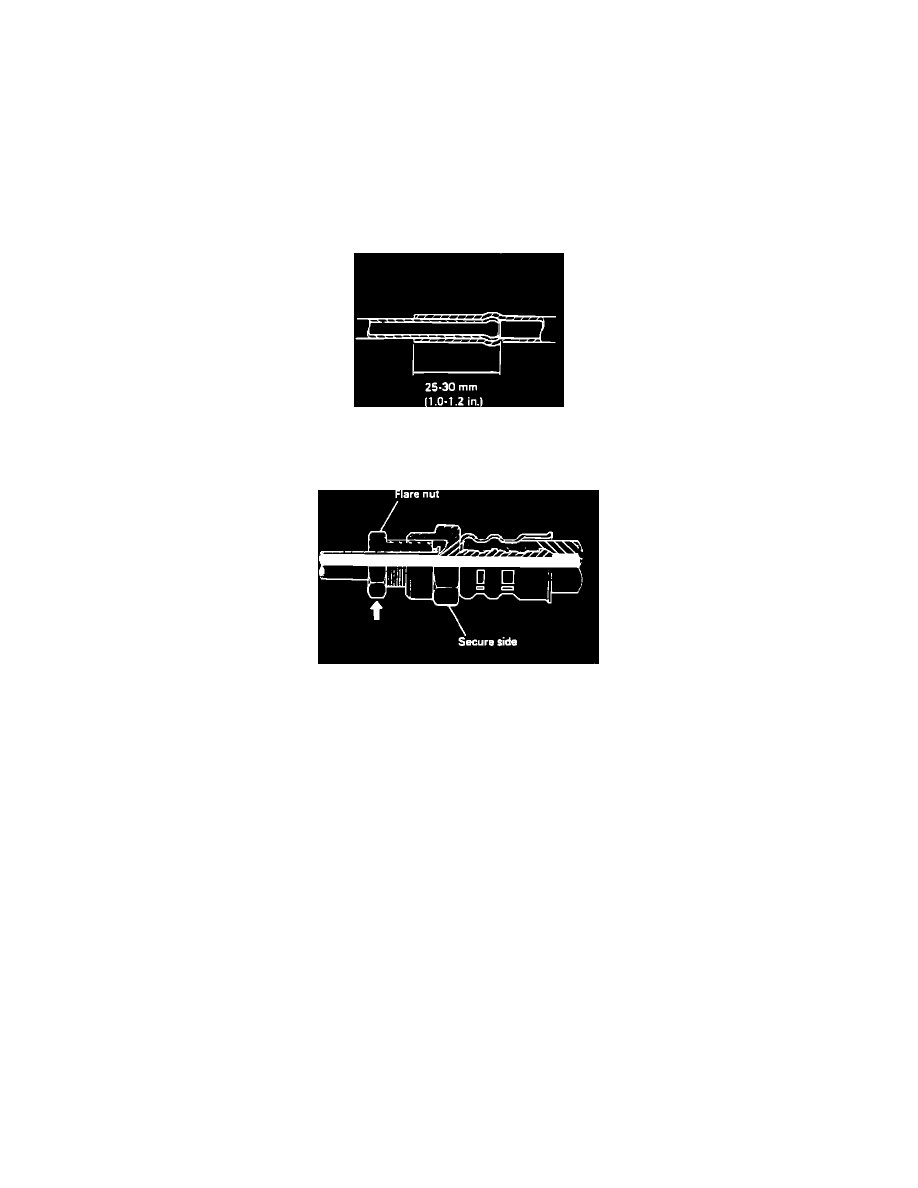
Vapor Hose Connection Specifications
4.
Connect the vapor hose and return line as shown in the illustration.
High Pressure Hose Connection
5.
Connect the high pressure hose.
CAUTION: When tightening the flare nut, be careful not to bend or twist the line.
6.
Connect the electrical fuel pump and fuel gauge unit connector.
7.
Tighten the drain plug.
8.
Connect the negative battery terminal.