
Mirage L4-1597cc 1.6L SOHC Turbo (1985)
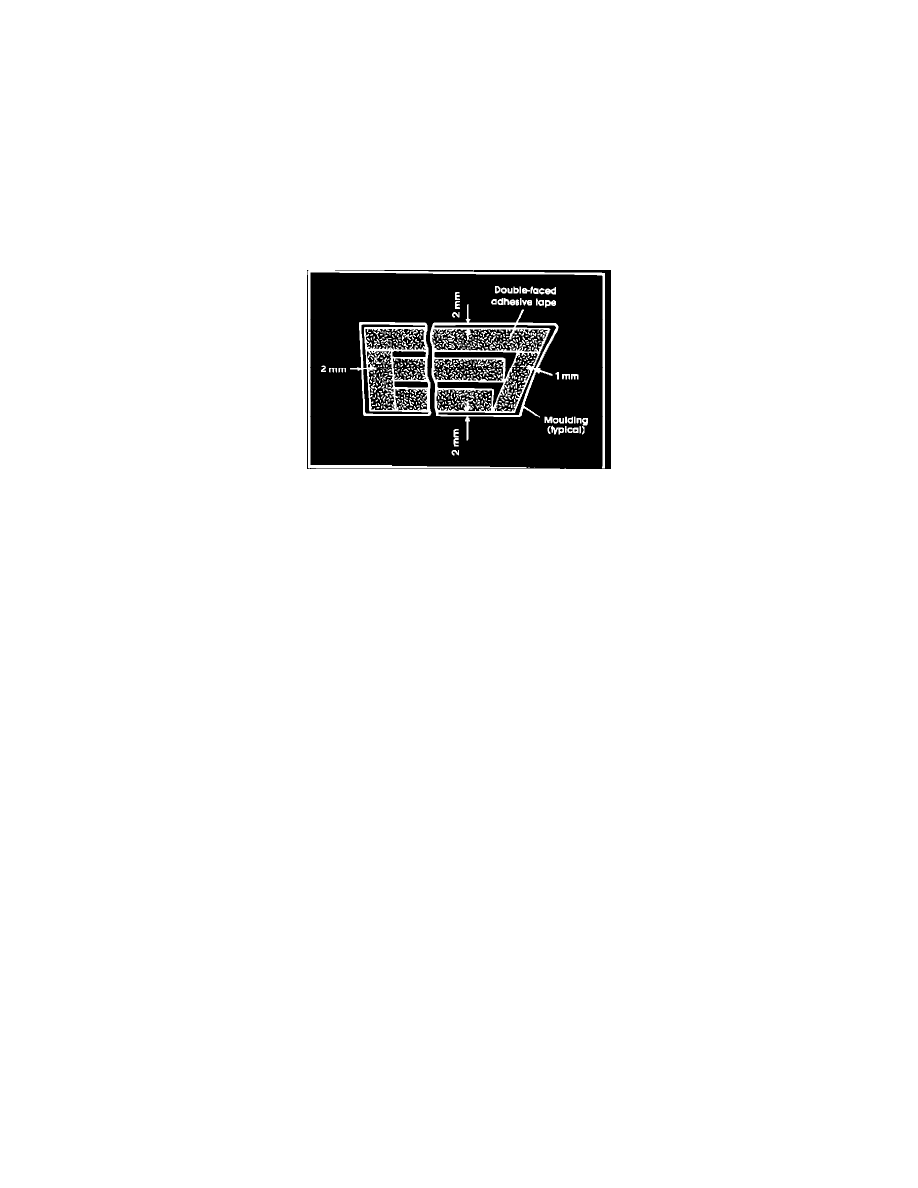
FIGURE 3
3.
Using a razor blade scraper, scrape from the car body the urethane adhesive used along the center of the moulding (Fig. 3).
NOTE:
Be sure the resulting surface is smooth to promote good adhesion of the double-face tape which will be used to install the moulding.
II. REMOVAL (FOR RE-USE)
1.
Without heating the moulding, cut the adhesive with a sharp, thin blade to remove the moulding.
NOTE:
Take care not to damage the finish.
2.
Carefully scrape any remaining adhesive off the body panel.
III. INSTALLATION
1.
Wipe down the body side and the moulding with wax and grease remover such as 3M General Purpose Adhesive Cleaner #08984.
FIGURE 4
2.
Attach double-face tape (Scotch-Mount Super Automotive Attachment Tape #06380) to the back of the moulding (Fig. 4) and position the
moulding in the location shown on Page 23-25 of the 1985 Mirage Service Manual.
NOTE:
Newer replacement mouldings already have tape attached, making the use of aftermarket tape unnecessary. When using the newer
moulding with tape already attached, grasp the label and it pulls the backing paper off the tape.
CAUTION:
^
Be sure the body surface is clean before applying the moulding. Warm the area with a heat gun to improve the adhesion of the tape to the
body surface. Also, warm the moulding with the heat gun to give it flexibility for easy installation.
^
Once the backing paper has boon removed from the adhesive tape, don't let the tape touch any surface except the clean surface to which it
will be applied.