
Mirage L4-1795cc 1.8L SOHC 16 Valve (1995)
Note
When removing knob, use care not to remove the detent ball and spring.
5.
Remove the white plastic drive gear from the heater control assembly.
6.
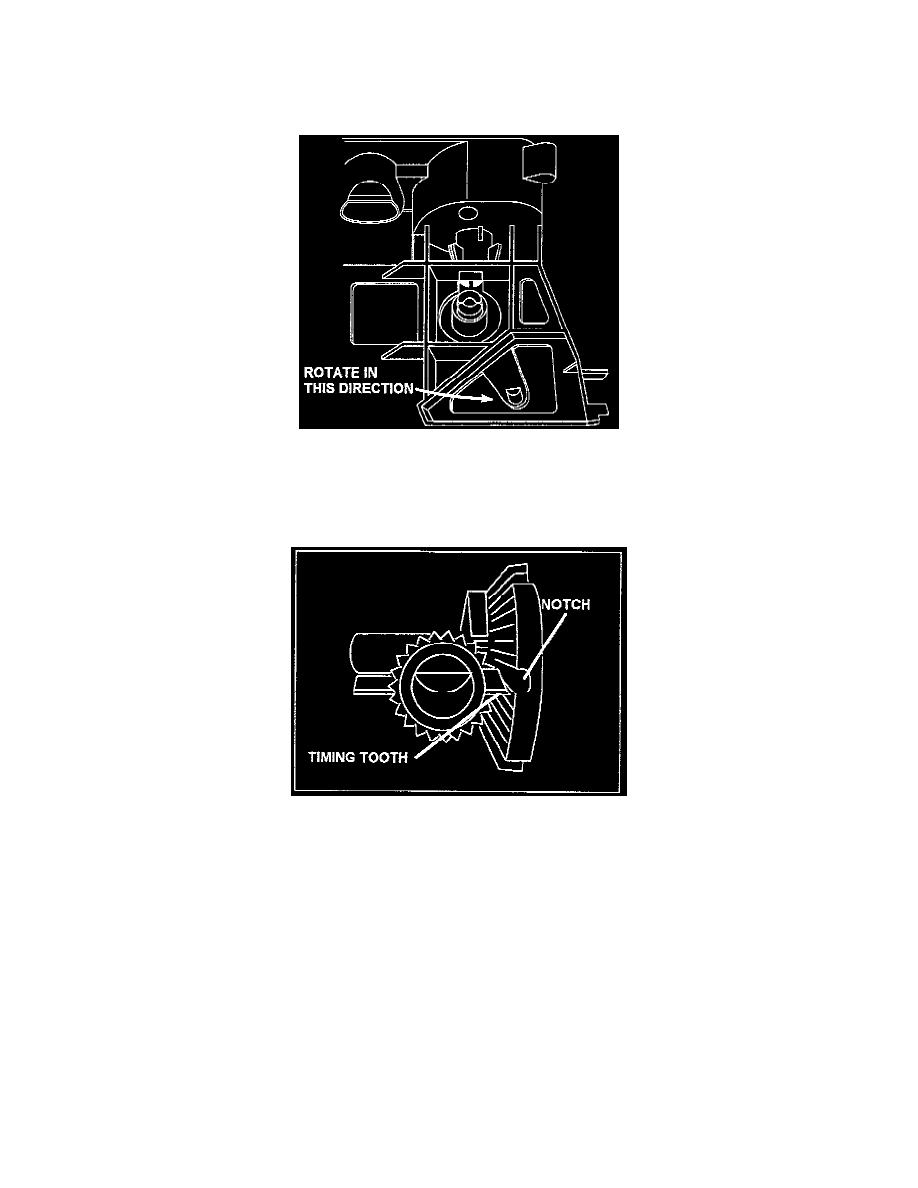
Rotate the white plastic control lever to clear it from the temperature control knob guide. Compress the split end of the control lever, then remove
and discard the lever.
7.
Install a new control lever, using parts listed in the PARTS INFORMATION section of this bulletin. Align the control lever alignment notch with
the temperature control knob shaft hole.
8.
Reinstall the white plastic drive gear. The timing tooth on the drive gear should be facing the front of the control assembly, and aligned with the
control lever alignment notch.
9.
Reinstall the temperature control knob with the arrow in mid-range (between full cold and full hot).
10.
Reinstall the temperature control cable to the control lever.
11.
Reinstall the heater control assembly in the vehicle.
12.
Verify that rotating the temperature control knob changes the temperature of the heater air.
PARTS INFORMATION
Use heater control lever Part No. MR262652.
WARRANTY INFORMATION
HEATER CONTROL LEVER REPLACEMENT