
Montero V6-3.8L SOHC (2005)
INSTALLATION SERVICE POINTS
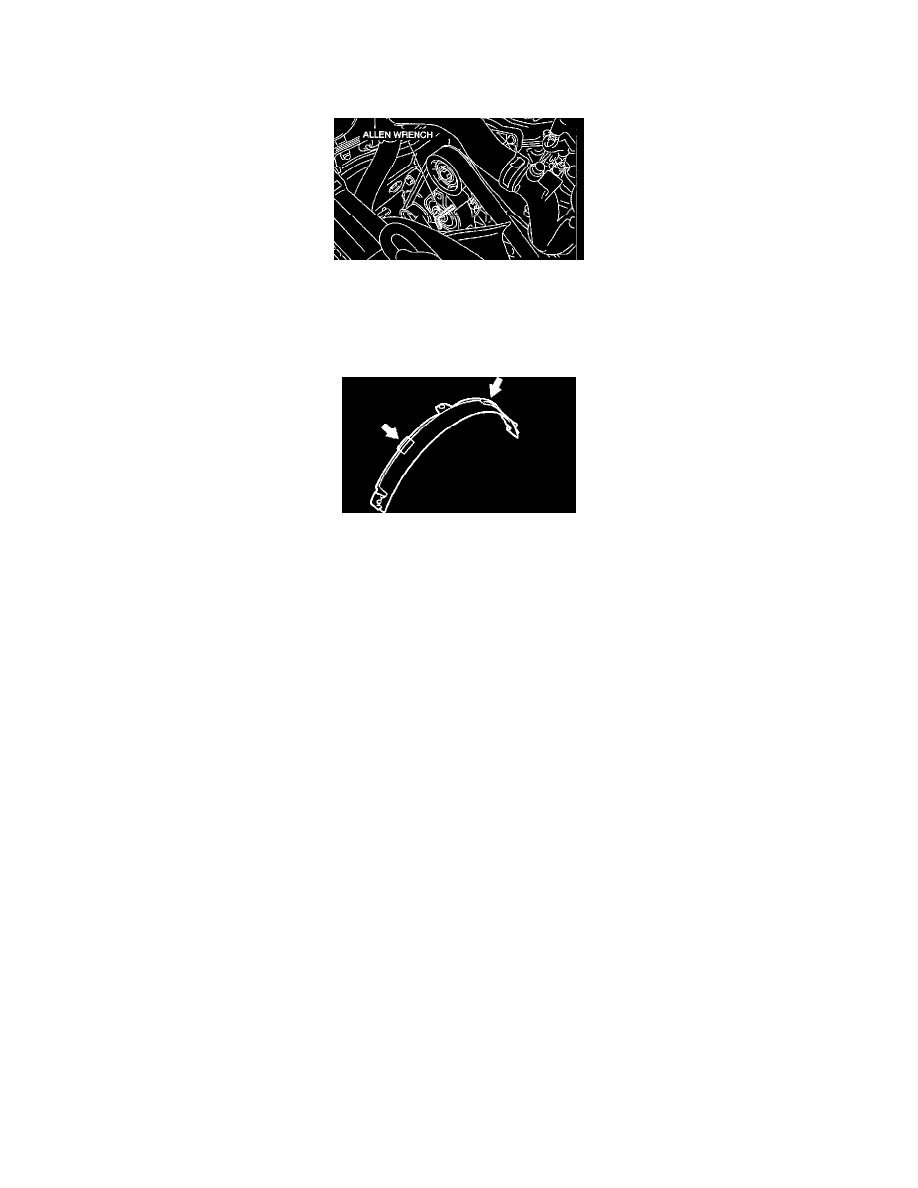
>>A<< DRIVE BELT INSTALLATION
1. Install the drive belt auto tensioner with the Allen wrench inserted.
2. After the drive belt has been installed, remove the Allen wrench while holding the drive belt auto tensioner with a socket wrench drive. Then
release the drive belt auto tensioner slowly.
3. Check for proper tension.
>>B<< RADIATOR SHROUD UPPER COVER INSTALLATION
1. Install the covers securely until the click can be heard from the four fixing points.
2. Two lugs around the circumference of the covers should be seen on the outside of the shroud.
3. After installation, check that the covers are fixed securely.
INSPECTION
Cooling Fan Check
^
Check the blades for damage and cracks.
^
Check for cracks and damage around bolt holes in the fan hub.
^
If any portion of the fan is damaged or cracked, replace the cooling fan.
Fan Clutch
^
Check Check to ensure that fluid in the fan clutch is not leaking at the case joint and seals. If fluid quantity decreases due to leakage, the fan speed
will decrease and engine overheating might result.
^
When the fan attached to the engine is turned by hand, it should have some resistance. If the fan turns lightly or freely with no resistance, it is
faulty.
^
Check the bimetal strip for damage.