
Montero V6-3.8L SOHC (2005)
Fuel Level Sensor: Service and Repair
FUEL LEVEL SENSOR REPLACEMENT
1. Tumble the second (middle) seat.
2. Remove the service hole cover (upper side) and the packing located under the second seat.
3. Remove the second seat, the rear scuff plate, the anchor bolts for the outer seat belt (second) and mounting screws of the lower quarter trim. Tear
off the carpet.
4. Remove the service hole cover and the packing located between the front seat and the second seat.
5. Disconnect the harness connector.
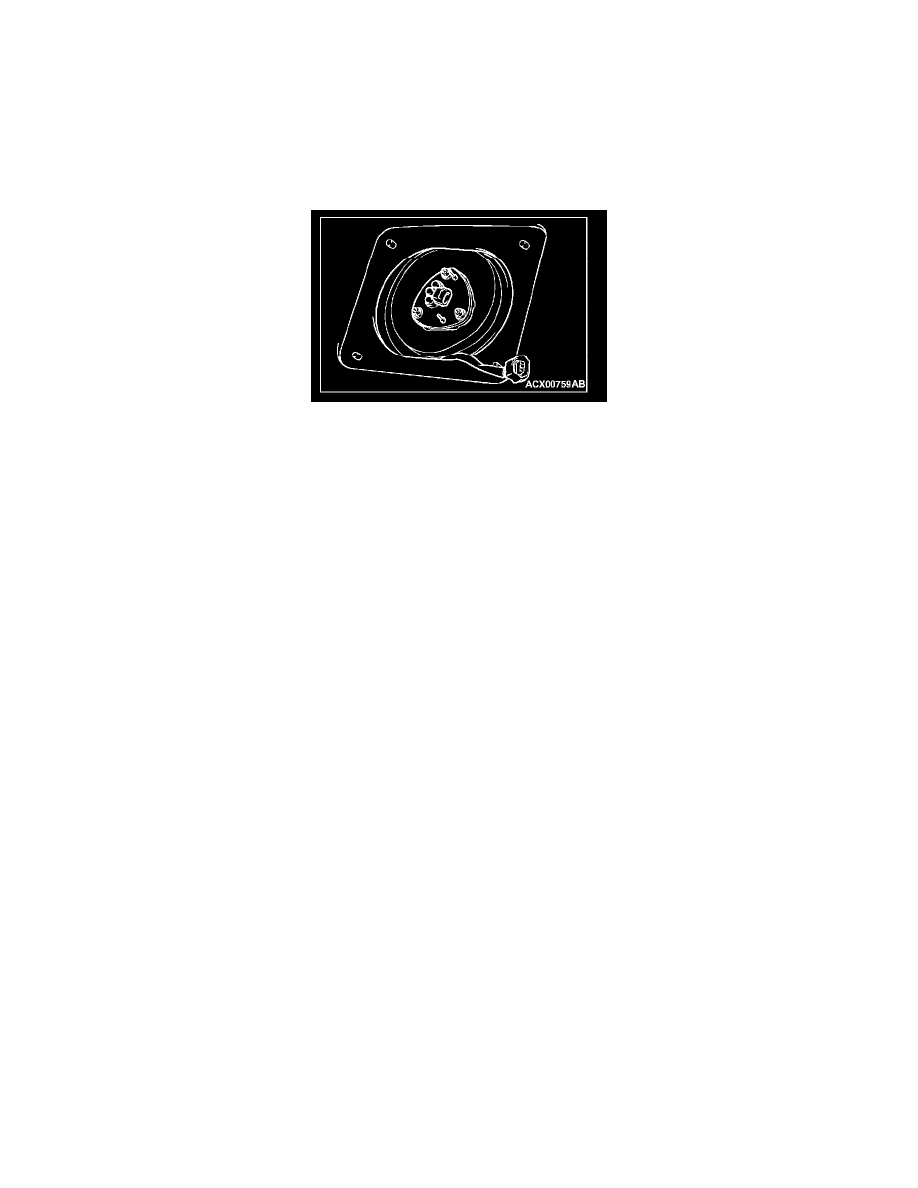
6. Unscrew the mounting nut to remove the fuel level sensor.
7. Assemble the fuel level sensor and tighten the mounting nut to the specified torque.
Tightening torque: 2.5 ± 0.4 Nm (22 ± 4 in-lb)
8. Connect the harness connector.
9. Attach the service hole cover and the packing located between the front seat and the second seat.
10. Restore the carpet; attach the second seat, the rear scuff plate, anchor bolts for the outer seat belt (second) and mounting screws of the lower
quarter trim.
11. Attach the service hole cover located under the second seat and the packing.
12. Restore the second seat.