
Montero V6-3.8L SOHC (2005)
Check that normal conditions are displayed on the items described in the given table.
Q: Are normal conditions displayed on the "TAILLIGHT SW", "H/L AUTO-CUT" and "FRONT ECU ACK"?
Normal conditions are displayed for all the items : Go to Step 3.
Normal condition is not displayed on the "TAIL LIGHT SW" : Refer to Inspection Procedure O-6 "ETACS-ECU does not receive any signal
from the taillight switch."
Normal condition is not displayed on the "H/L AUTO-CUT" : Refer to Inspection Procedure J-9 "Headlight automatic shutdown function does not
work normally."
Normal condition is not displayed on the "FRONT ECU ACK" : Replace the front-ECU. Verify that the taillights illuminate normally.
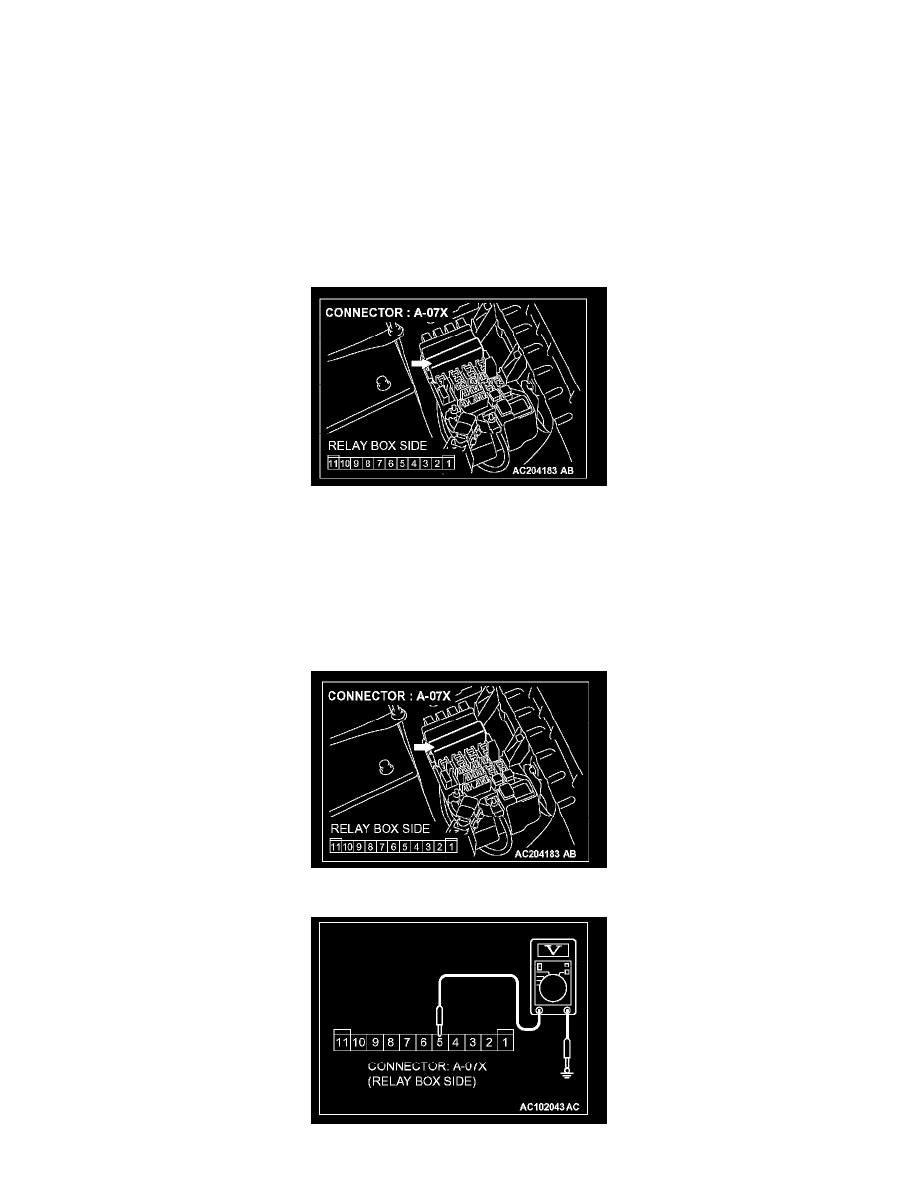
STEP 3. Check the front-ECU connector A-07X for loose, corroded or damaged terminals, or terminals pushed back in the connector.
Q: Is the front-ECU connector A-07X in good condition?
YES: Go to Step 4.
NO: Repair or replace the damaged component(s). Refer to Harness Connector Inspection. Verify that the taillights illuminate normally.
STEP 4. Check the battery power supply circuit to the front-ECU. Test at front-ECU connector A-07X.
1. Disconnect front-ECU connector A-07X and measure the voltage available at the relay box side of the connector.