
Montero V6-3.8L SOHC (2005)
STEP 2. Check the input signal by using "DATA LIST" menu of the SWS monitor.
Turn the passing switch to the "ON" position before checking input signals from the passing switch.
CAUTION: To prevent damage to scan tool MB991958, always turn the ignition switch to the "LOCK" (OFF) position before connecting or
disconnecting scan tool MB991958.
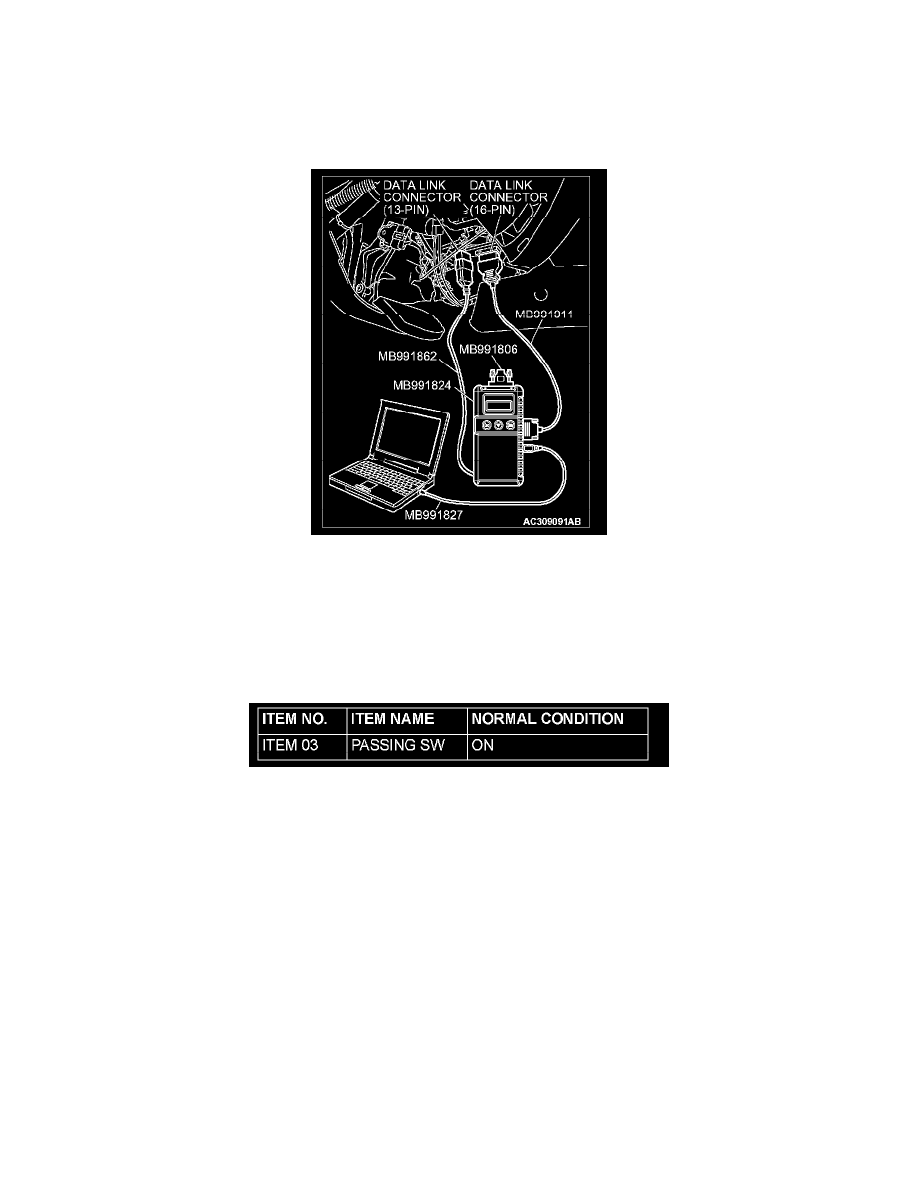
1. Connect the special tool. Refer to "How to connect SWS monitor". See: Reading and Clearing Diagnostic Trouble Codes/How to Connect SWS
Monitor
2. Operate scan tool MB991958 according to the procedure below to display "COLUMN ECU."
1. Select "SYSTEM SELECT."
2. Select "SWS."
3. Select "SWS MONITOR."
4. Select "DATA LIST."
5. Select "COLUMN ECU."
3. Check that normal conditions are displayed on the items described in the given table.
Q: Is normal condition displayed on the "PASSING SW"?
YES: Replace the front-ECU. When the passing switch is operated, the headlights (low-beam and high-beam) should illuminate normally.
NO: Refer to Inspection Procedure O-6 "ETACS-ECU does not receive any signal from the passing light switch."
Inspection Procedure J-5
Headlight and Taillight: Headlights do not illuminate when the lighting switch is at "TAIL," and "PASSING" position, but illuminate at
low-beam when the switch is at "HEAD" position. At this position, the headlights cannot be changed into high beam by operating the dimmer
switch.
NOTE: This troubleshooting procedure requires the use of scan tool MB991958 and SWS monitor kit MB991862. For details on how to use the SWS
monitor, refer to "How to use SWS monitor".
TECHNICAL DESCRIPTION (COMMENT)
If the headlights illuminate at low-beam regardless of the lighting switch positions, the headlight operation is in fail-safe mode.
TROUBLESHOOTING HINTS
-
The column switch may be defective