
Montero V6-3.8L SOHC (2005)
replace the dust cover.
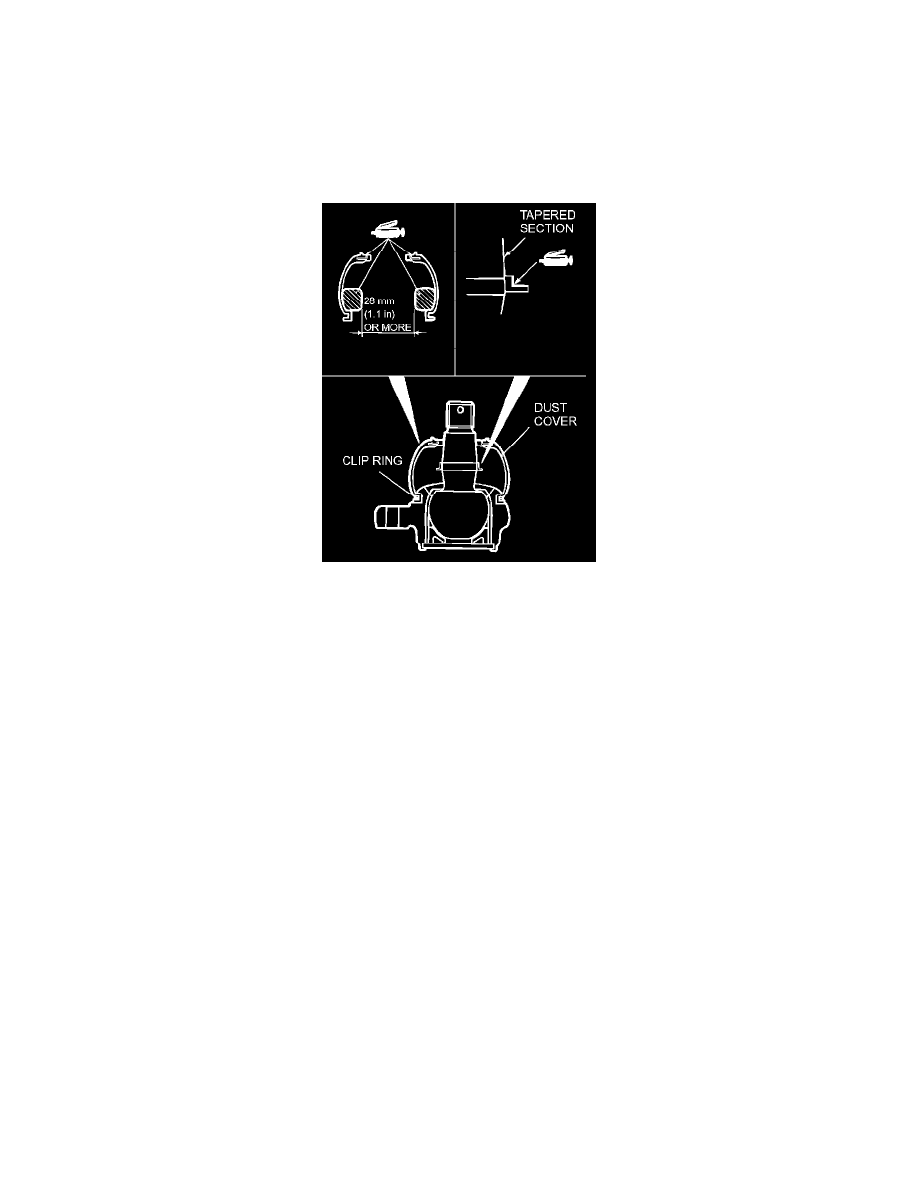
BALL JOINT DUST COVER REPLACEMENT
CAUTION: Do not apply grease to the place (tapered section) where the threaded section of the ball joint connects with the knuckle. Wipe the grease
off if it is applied to this area. To prevent the grease from being applied to the ball joint connection (taper) with knuckle, do not compress the dust
cover before installation.
Only when the dust cover is damaged accidentally during service work, replace the dust cover as follows:
1. Remove the clip ring, and then remove the dust cover.
2. Apply multipurpose grease to the inside of the dust cover as shown.
3. Apply multipurpose grease to the shown parts inside the dust cover and the ball joint stud.
4. Wrap plastic tape around the upper arm ball joint stud, and then install the dust cover to the upper arm ball joint.
5. Secure the dust cover in place with the clip ring.
6. Press the dust cover with your finger to check that there are no cracks or damage in the dust cover.
Lower Arm