
Montero V6-3.8L SOHC (2005)
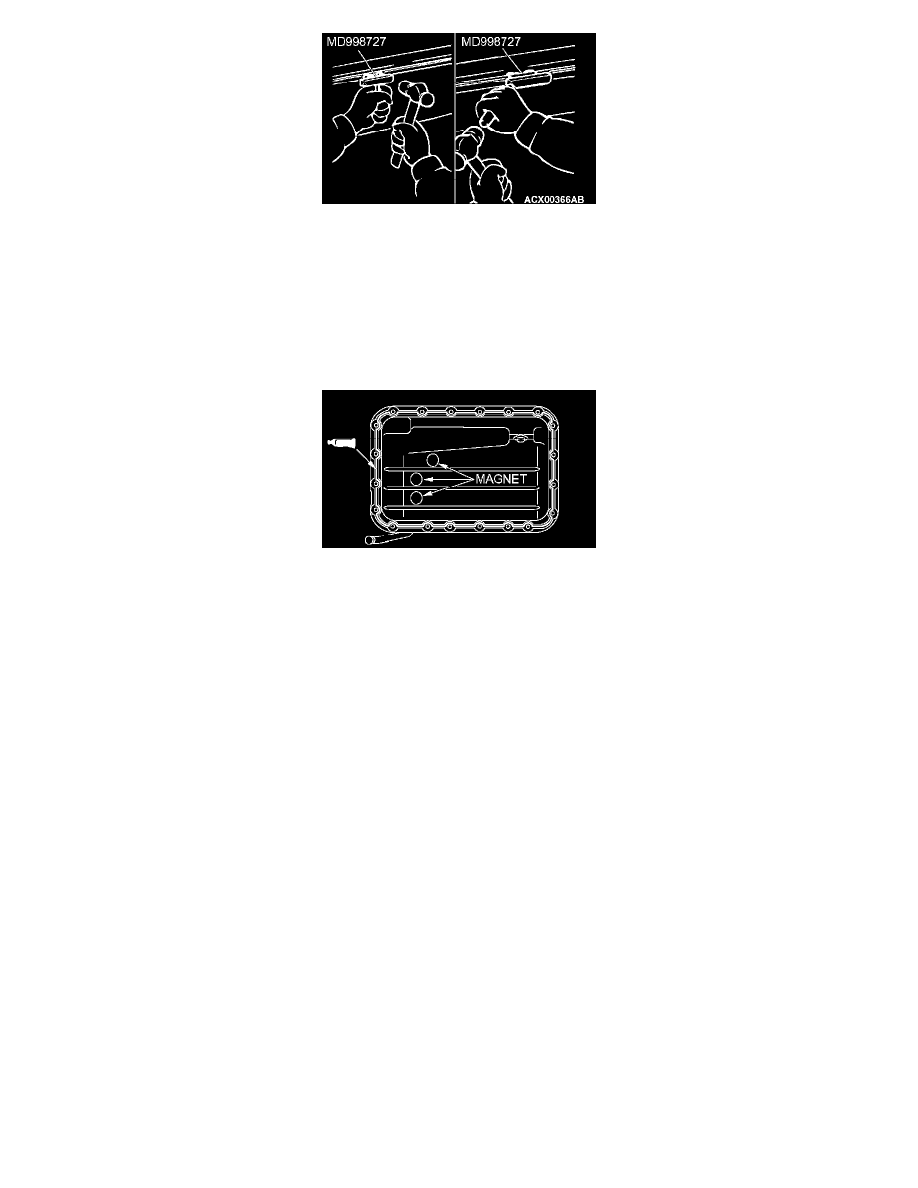
After removing the oil pan mounting bolts, remove the oil pan with special tool MD998727 and a brass bar.
INSTALLATION SERVICE POINT
>>A<< OIL PAN INSTALLATION
1. Remove sealant from the oil pan and transmission case mating surfaces.
2. Degrease the sealant-coated surface and the transmission mating surface.
3. Clean the magnet and install it in the hollow of the oil pan base.
NOTE: If the oil pan is replaced, reuse the cleaned magnet.
4. Apply sealant around the gasket surface of the oil pan as specified in the illustration.
Specified sealant: MITSUBISHI GENUINE PART number MD166584 or equivalent
NOTE: The sealant should be applied in a continuous bead approximately 3 mm (0.1 inch) in diameter.
5. Tighten the mounting bolts to the specified torque.
Tightening torque: 11 ± 1 Nm (98 ± 8 inch lbs.)