
Montero 4WD V6-3.5L SOHC (1998)
Battery: Testing and Inspection
Battery Check
Battery Inspection
Battery Visual Inspection - 1
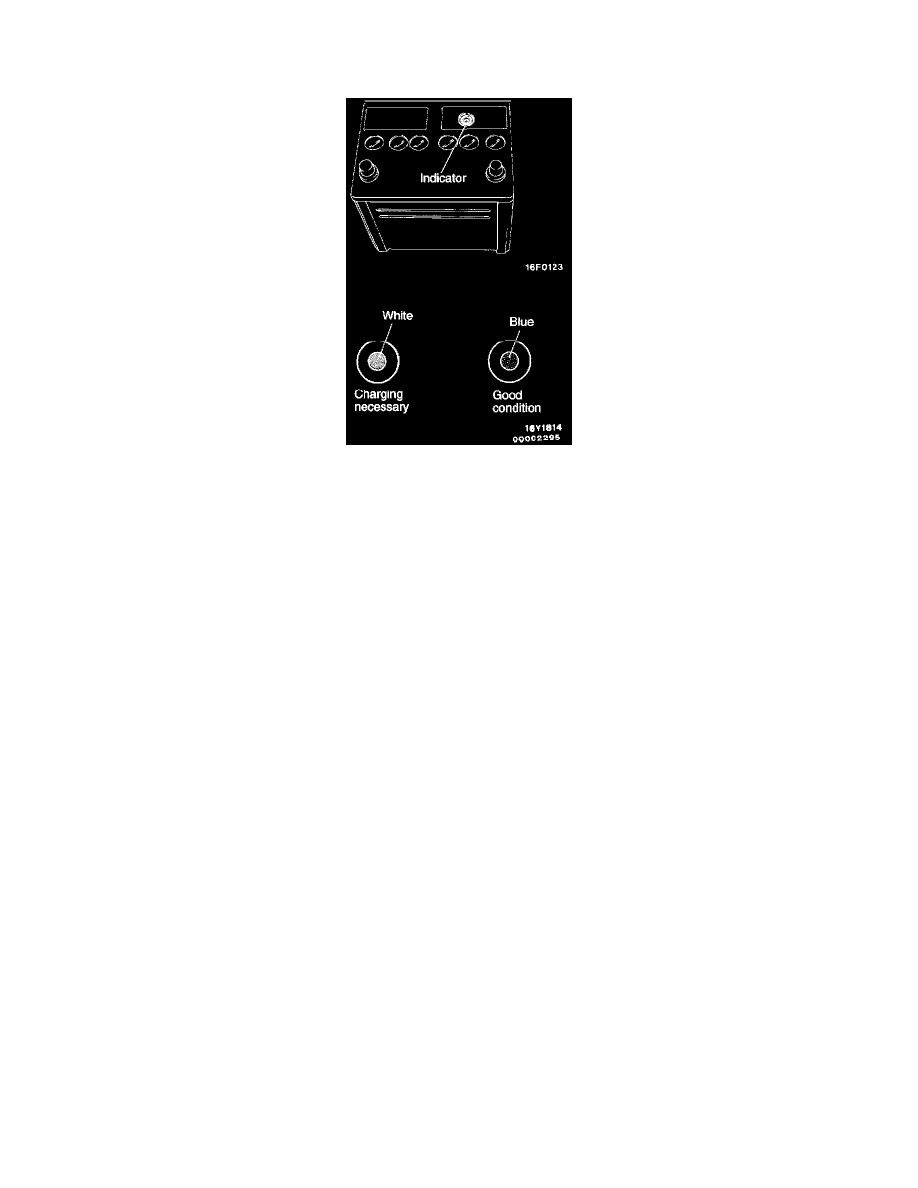
The battery contains a visual test indicator which gives blue signal when an adequate charge level exists, and white signal when charging is required.
Battery Visual Inspection - 2
Make sure ignition switch is in Off position and all battery feed accessories are Off.
1. Disconnect ground cable from battery before disconnecting (+) cable.
2. Remove battery from vehicle.
CAUTION: Care should be taken in the event battery case is cracked or leaking to protect hands from the electrolyte. A suitable pair of rubber
gloves (not the household type) should be worn when removing battery by hand.
3. Inspect battery carrier for damage caused by loss of acid from battery. If acid damage is present, it will be necessary to clean area with a solution
of clean warm water and baking soda. Scrub area with a stiff bristle brush and wipe off with a cloth moistened with ammonia or baking soda in
water.
4. Clean top of battery with same solutions as described in step 3.
5. Inspect battery case and cover for cracks. If cracks are present, battery must be replaced.
6. Clean the battery post with a suitable battery post cleaning tool.
7. Clean the inside surfaces of the terminal clamps with a suitable battery terminal cleaning tool. Find place damaged or frayed cables and broken
terminals clamps.
8. Install the battery in vehicle.
9. Connect (+) and (-) cables to battery in the order of mention.
10. Tighten the clamp nut securely.