
Montero LS 4WD V6-2972cc 3.0L SOHC 12 Valve (1994)
8.
Remove the anchor arm assembly.
9.
Clean all grease and dirt from the anchor arm. Be careful not to remove the white reference mark.
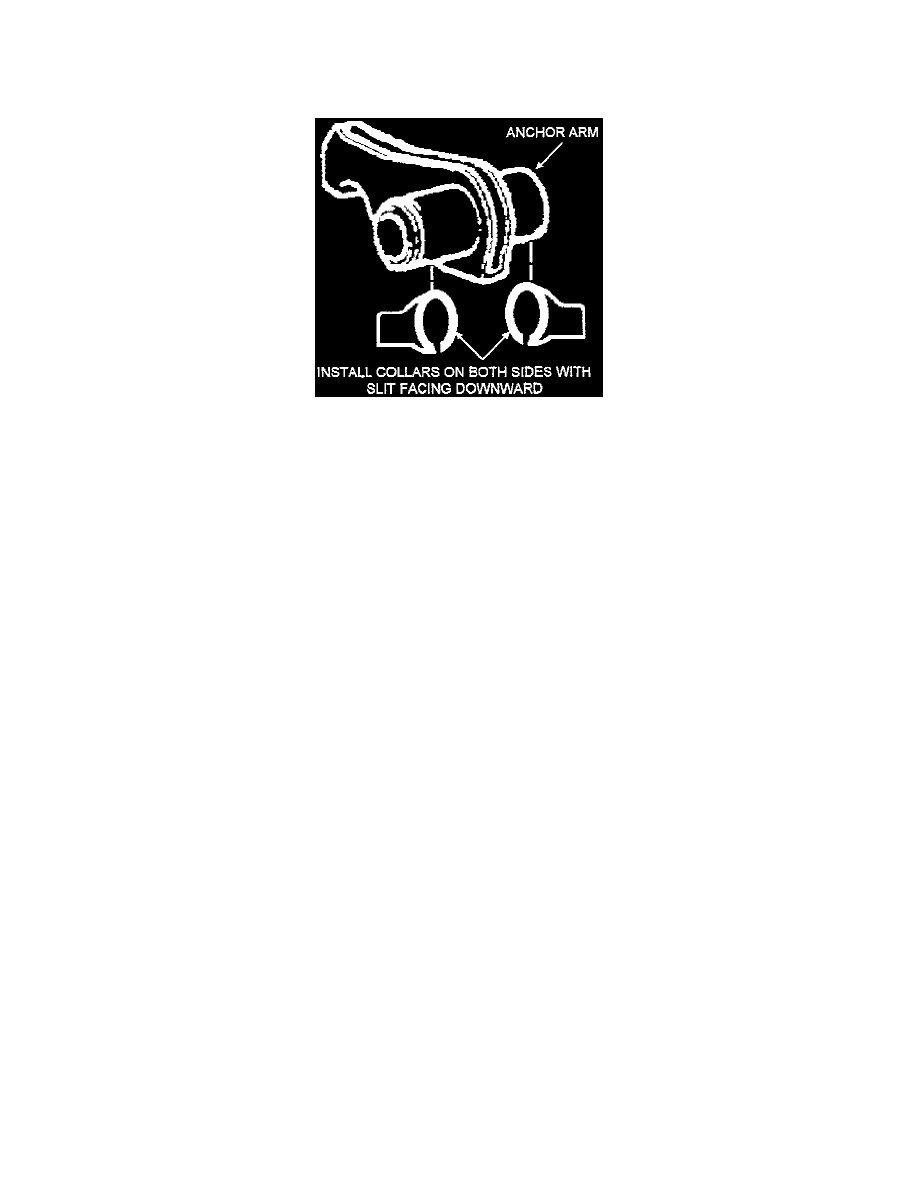
10.
Install a resin collar onto both sides of the anchor arm positioning the collars so that the slit opening faces downward.
11.
Slide the anchor arm back onto the torsion bar aligning the reference mark on the anchor arm with the reference mark on the torsion bar. Also be
sure that the anchor arm is centered with the hole in the crossmember.
12.
Reinstall the anchor arm bolt. Tighten the bolt just until you reach the measurement (distance from the end of the anchor arm bolt to the top of the
adjusting nut) that was taken in Step 5.
13.
Reinstall the lock nut and torque to 44 Nm (33 ft. lbs.).
14.
Lower the vehicle
15.
Test drive the vehicle to check for torsion bar noise and to allow the suspension parts to "settle" into place.
16.
Remeasure the ride height. If different than the measurement taken in Step 1, adjust the anchor arm adjusting bolt as required.
PARTS INFORMATION
Part No.
Description
Number Required
MR234417
Collar
4
WARRANTY INFORMATION
Torsion Bar Anchor Arm Collars
Nature Code: 80J Cause Code: 990
Labor Operation Number: 33522510
Time Allowance: 0.6 hrs. (Both sides)
Warranty Coverage: 36 months/36,000 miles
Special Warranty Information:
Installation of torsion bar anchor arm collars on an as needed basis only.