
Montero LTD 4WD V6-3.5L SOHC (2002)
Ensure grease does not come into contact with the ball joint threads and tapers. Wipe off the grease it contaminated.
7. Install the ball joint to the dust cover.
8. Secure the dust cover with the clip ring.
9. Engage the upper arm ball joint with the knuckle.
NOTE
Replace the inner race and outer race assembly as a set.
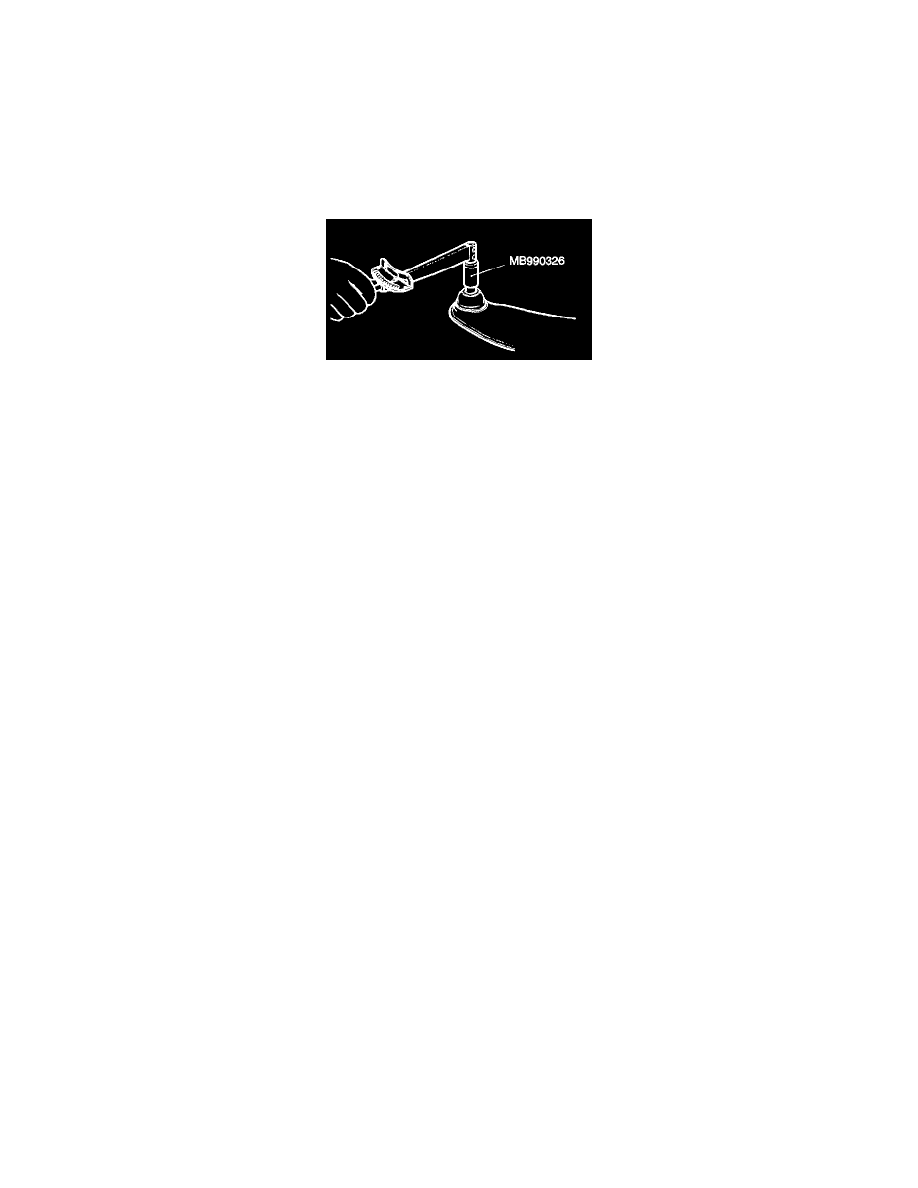
UPPER ARM BALL JOINT ROTATION STARTING TORQUE CHECK
1. After shaking the ball joint stud several times, install the nut to the stud and use the special tools to measure the rotation starting torque of the ball
joint.
Standard value: 0.4 - 2.5 Nm (4 - 22 inch lbs.)
2. When the measured value exceeds the standard value, replace the upper arm ball joint assembly.
3. When the measured value is lower than the standard value, check that the upper arm ball joint turns smoothly without excessive play.
UPPER ARM BALL JOINT DUST COVER CHECK
1. Press the dust cover with your finger to check that there are no cracks or damage in the dust cover.
2. If the dust cover is cracked or damaged, replace the upper arm ball joint assembly.
NOTE: If the dust cover is cracked or damaged, it is possible that there may also be damage to the ballpoint. If it is damaged during service work,
replace the dust cover.
Lower
The contents of this article reflect the changes called out by TSB 04-33-001