
Montero Sport V6-3.5L SOHC (2004)
Brake Pedal Assy: Testing and Inspection
BRAKE PEDAL CHECK AND ADJUSTMENT
BRAKE PEDAL HEIGHT
1. Turn up the carpet etc. under the brake pedal.
2. Measure the brake pedal height as illustrated. If it is not within the standard value, adjust as follows.
Standard value: 176 - 181 mm (6.9 - 7.1 inches) [From the surface of melting sheet (floorboard) to the face of pedal pad]
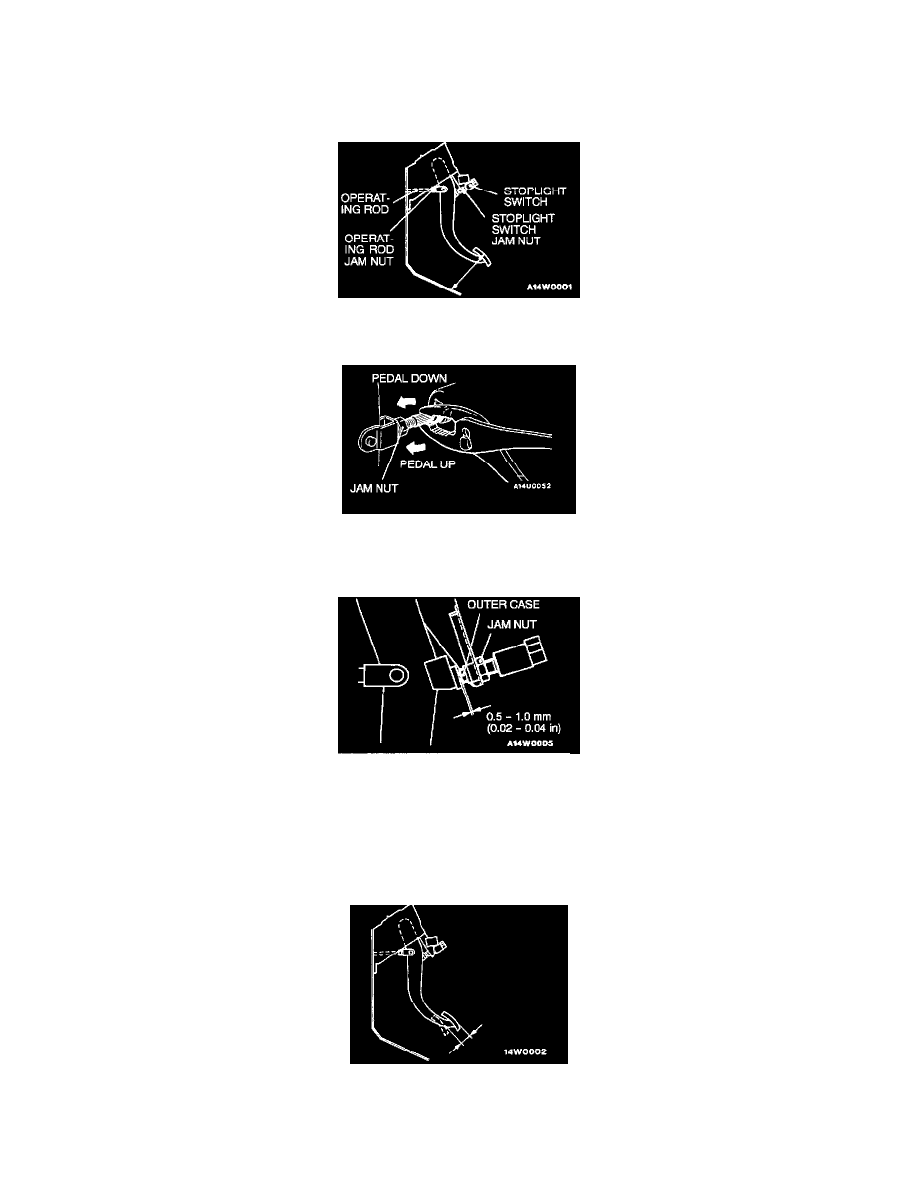
1. Disconnect the stoplight switch connector, loosen the jam nut and move the stoplight switch to a position where it does not contact the brake
pedal arm.
2. Adjust the brake pedal height by turning the operating rod with pliers (with the operating rod jam nut loosened).
3. Screw in the stoplight switch until it contacts the brake pedal stopper (just before brake pedal begins to move). Return the stoplight switch half
to one turn and secure with the jam nut.
4. Connect the connector of the stoplight switch.
5. Check to be sure that the stoplight is not illuminated with the brake pedal released.
3. Turn back the carpet etc. to original position.
BRAKE PEDAL FREE PLAY
1. Turn the ignition switch to the "LOCK" (OFF) position, depress the brake pedal two or three times. After eliminating the vacuum in the brake
booster, press the pedal down by hand, and confirm that the amount of movement before resistance is met (free play) is within the standard value
range.
Standard value: 3 - 8 mm (0.1 - 0.3 inch)