
Montero Sport ES 4WD V6-3.0L SOHC (2002)
2. Use a shop towel moistened with 3M(TM) AAD Part number 8880 or equivalent to wipe the molding surface.
CAUTION: Do not remove all of the residual adhesive.
3. Remove only a small portion of the residual adhesive
CAUTION:
-
Always apply it evenly on the entire surface, because a lot or little will reduce its strength.
-
Do not touch the painted surface.
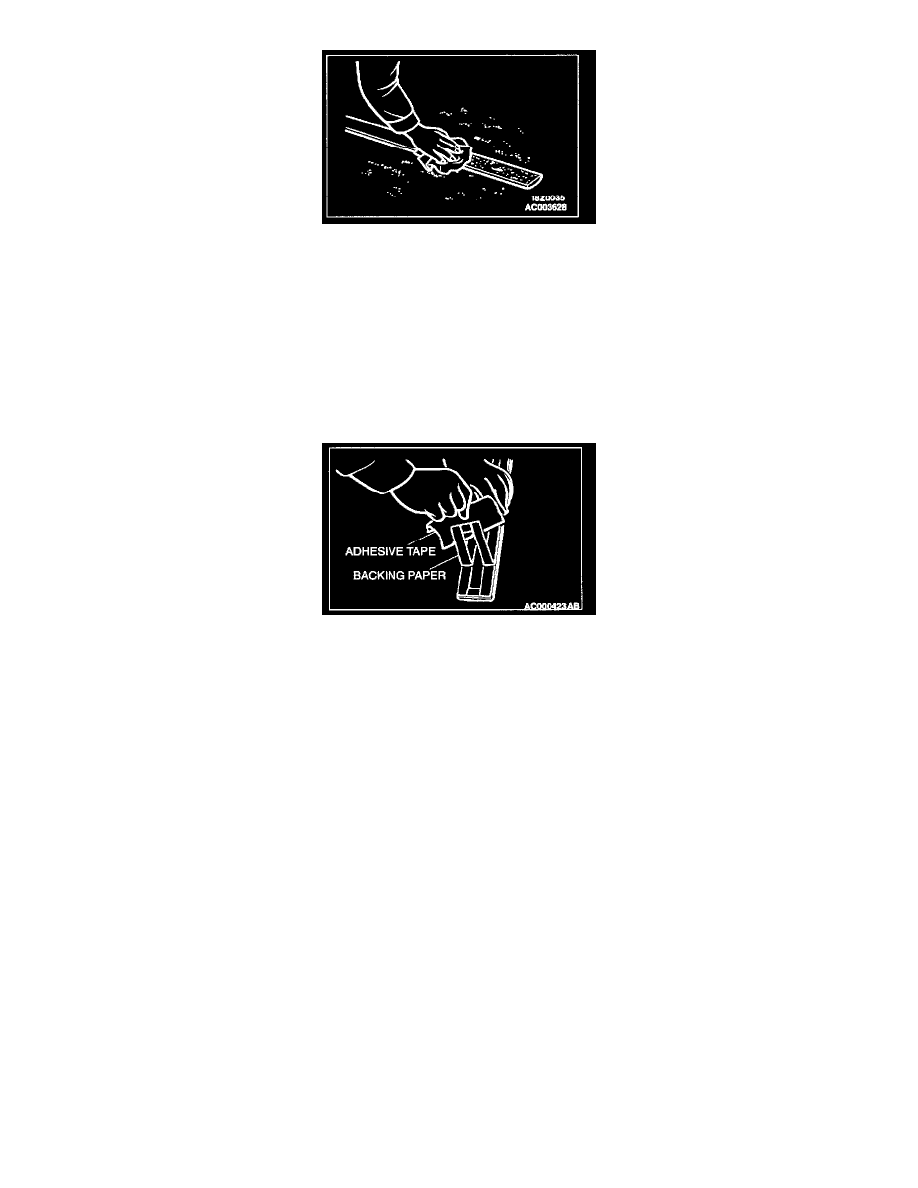
4. Affix the specified double-sided tape to the door molding.
DOOR MOLDING INSTALLATION.
1. Tear off the double-sided tape backing paper.
NOTE: If you attach the adhesive tape to the edge of the backing paper, if will be easy to tear off
2. Install the door molding.
NOTE: If the double-sided tape is difficult to affix in cold temperature, etc., warm the bonding surfaces of the body and door molding to about 40
- 60°C (104 - 140°F) before affixing the tape.
3. Firmly press in the door molding.