Montero Sport ES 4WD V6-3.0L SOHC (2002)

Brake Rotor/Disc: Testing and Inspection
Front Brake Disc Run-Out Check and Correction
FRONT BRAKE DISC RUN-OUT CHECK AND CORRECTION
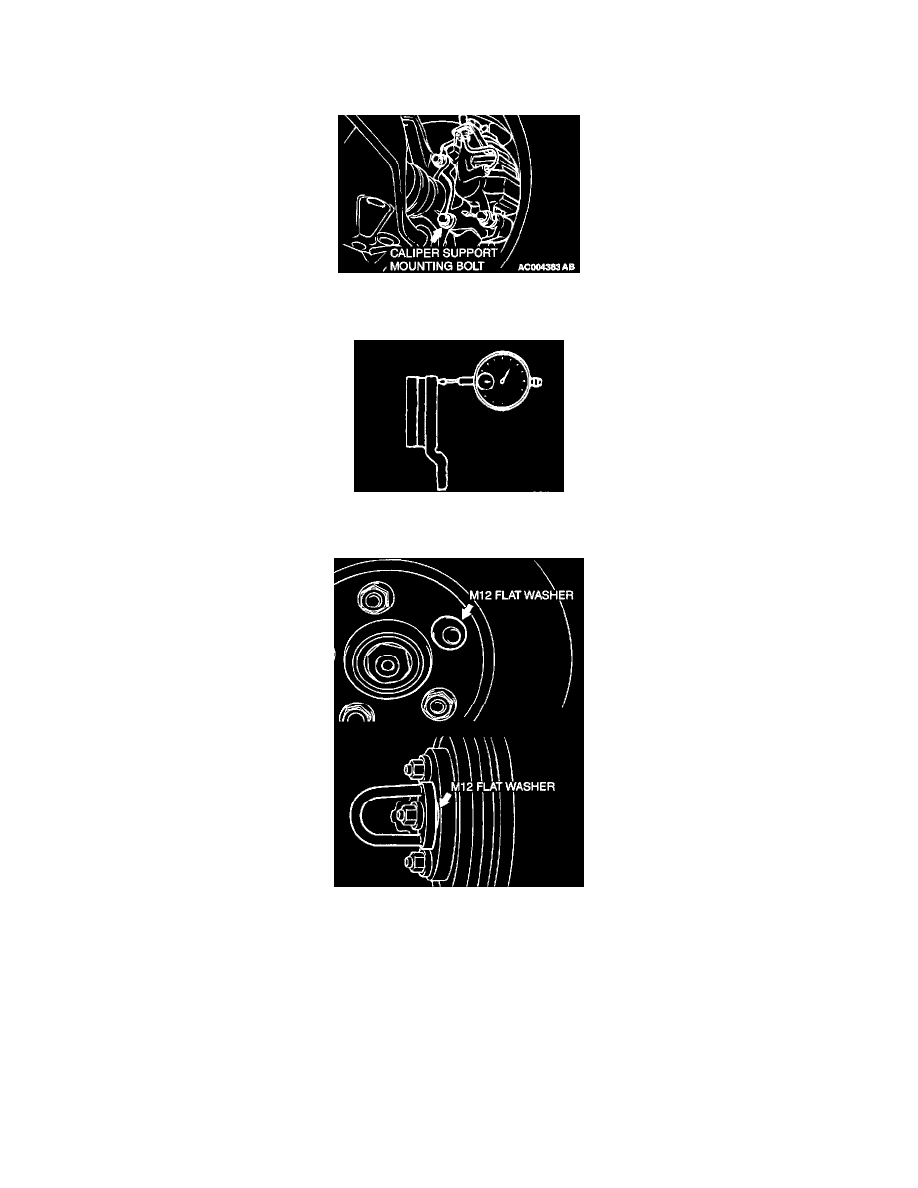
1. Remove the caliper support; then raise the caliper assembly upward and secure it with a wire.
2. Inspect the disc surface for grooves, cracks and rust. Clean the disc thoroughly and remove all rust.
3. Place a dial gauge approximately 15 mm (0.6 inch) from the outer circumference of the brake disc, and measure the runout of the disc.
Limit: 0.03 mm (0.001 inch)
CAUTION:
-
After a new brake disc is installed, always grind the brake disc with on-the-car type brake lathe. If this step is not carried out, the brake disc
run-out exceeds the specified value, resulting in judder.
-
When the on-the-car type lathe is used, first install M12 flat washer on the stud bolt in the brake disc side according to the figure, and then
install the adapter. If the adapter is installed with M12 flat washer not seated, the brake disc rotor may be deformed, resulting in inaccurate
grinding.
-
Grind the brake disc with all wheel nuts diagonally and equally tightened to the specified torque 100 Nm (74 ft. lbs.). When all numbers of
wheel nuts are not used, or the tightening torque is excessive or not equal, the brake disc rotor or drum may be deformed, resulting in judder.
4. If the run-out of the brake disc is limit valve or more, turn rotor with on the car type brake lathe ("Accuturn-8750" or equivalent). If still exceeds
the limit, inspect hub end play.
Limit: 0.05 mm (0.002 inch)
5. If the play exceeds the limit, check the hub. If the play does not exceed the limit, replace the brake disc.
