
Montero Sport ES 4WD V6-3.0L SOHC (2002)
CAUTION: To prevent damage to scan tool MB991502, always turn the ignition switch to the "LOCK" (OFF) position before connecting or
disconnecting scan tool MB991502.
4. Connect scan tool MB991502 to the data link connector.
5. Use Actuator test 07 to drive the fuel pump. Check that there is no fuel leaking from any section when the fuel pump is operating.
6. Stop the fuel pump.
7. Start the engine and run at idle.
8. Measure fuel pressure while the engine is running at idle.
Standard value: Approximately 270 kPa (38 psi) at curb idle
9. Disconnect the vacuum hose (blue stripe) from the fuel pressure regulator and measure the fuel pressure with the hose end closed with your finger.
Standard value: 330 - 350 kPa (47 - 50 psi) at curb idle
10. Check to see that fuel pressure at idle does not drop even after the engine has been revved several times.
11. Revving the engine repeatedly, hold the fuel return hose lightly with your fingers to feel that fuel pressure is present in the return hose.
NOTE: If the fuel flow rate is low there will be no fuel pressure in the return hose.
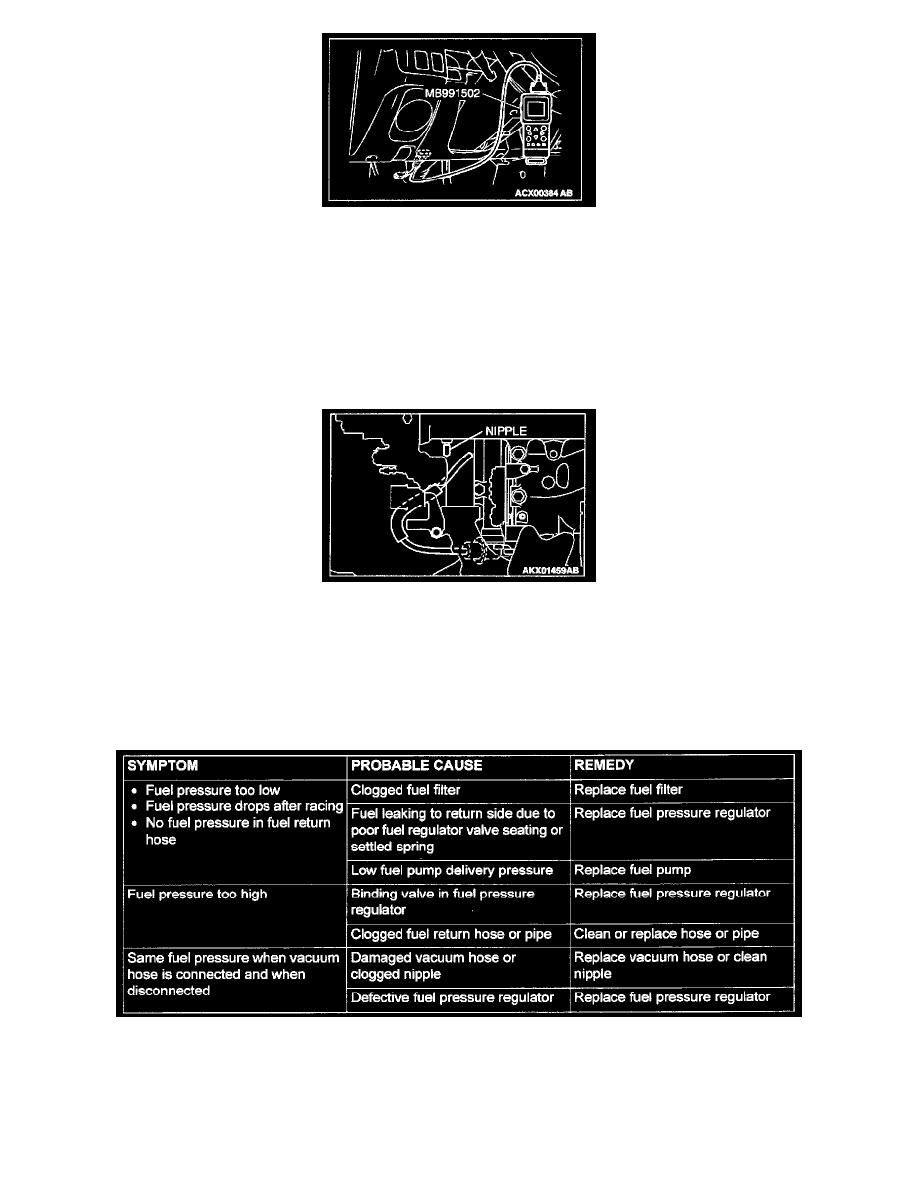
12. If any of fuel pressure measured in steps 8 to 11 is out of specification, troubleshoot and repair according to the table below.
13. Stop the engine and observe fuel pressure gauge reading. It is normal if the reading does not drop within two minutes. If it does, observe the rate
of drop and troubleshoot and repair according to the table below. Start, then stop the engine.
1. Squeeze the fuel return line closed to confirm leak-down occurs from defective fuel pressure regulator.
2. Squeeze the fuel supply line closed to confirm leak-down occurs from defective fuel pump check valve.