
Montero Sport LTD 4WD V6-3.5L SOHC (1999)
CAUTION: Do not hammer on the steering wheel. Doing so may damage the collapsible column mechanism.
4. Clock Spring Removal.
a. Column Cover Lower
b. Clock Spring
WARNING: The removed clock spring should be stored in a clean, dry place.
INSTALLATION
To install reverse the removal steps and note the following.
Pre-Installation Inspection
WARNING: Dispose of air bag modules only according to the specified procedure.
1. When installing the new air bag modules and clock spring refer to "INSPECTION".
2. Connect the negative (-) battery cable.
CAUTION: Turn "OFF" the ignition switch before connecting or disconnecting scan tool MB991502.
3. Connect scan tool MB991502 to the data link connector.
4. Turn the ignition key to the "ON" position.
5. Conduct diagnostic test using scan tool MB991502 to ensure entire SRS operates properly.
WARNING: Wait at least 60 seconds after disconnecting the battery cable before doing any further work.
6. Turn the ignition key to the "OFF" position. Disconnect the negative (-) battery cable and tape the terminal to prevent accidental connection and
air bags deployment.
Air Bag Module Installation
1. Connect the air bag module connector securely.
2. Tighten the air bag module mounting screws to 8.8 N.m
Steering Wheel Installation
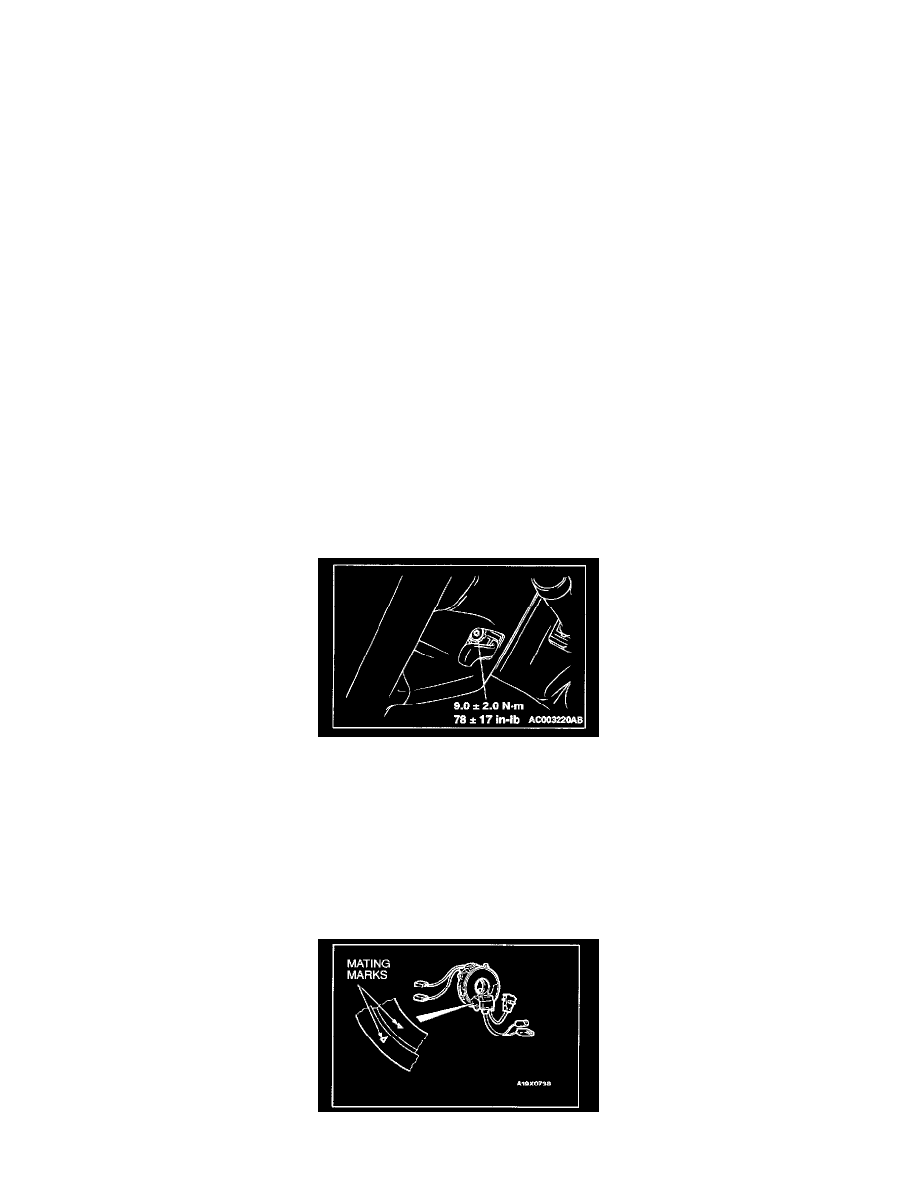
CAUTION: When installing the steering wheel, ensure that the harness of the clock spring does not become caught or tangled.
1. Before installing the steering wheel, turn the vehicle's front wheels to the straight-ahead position and align the mating marks of the clock spring.
2. After securing the steering wheel, turn the steering wheel all the way in both directions to confirm that the steering wheel rotation is normal.
Clock Spring Installation