
Montero Sport LTD 4WD V6-3.5L SOHC (1999)
Install so that air direction arrow points to the vacuum side.
>C< Solenoid Valve Assembly Installation
Install so that the identification colors of the vacuum hoses match those of the solenoid valve assembly.
>D< Clutch Gear Bearing End Play Inspection
Check the end play of the clutch gear bearing by the following procedure before installing the freewheel clutch assembly.
1. Insert flat washers of the same thickness as the housing tube [(9.0 mm (0.35 inch)] onto the bolt, and then provisionally install the freewheel
clutch assembly to the front differential.
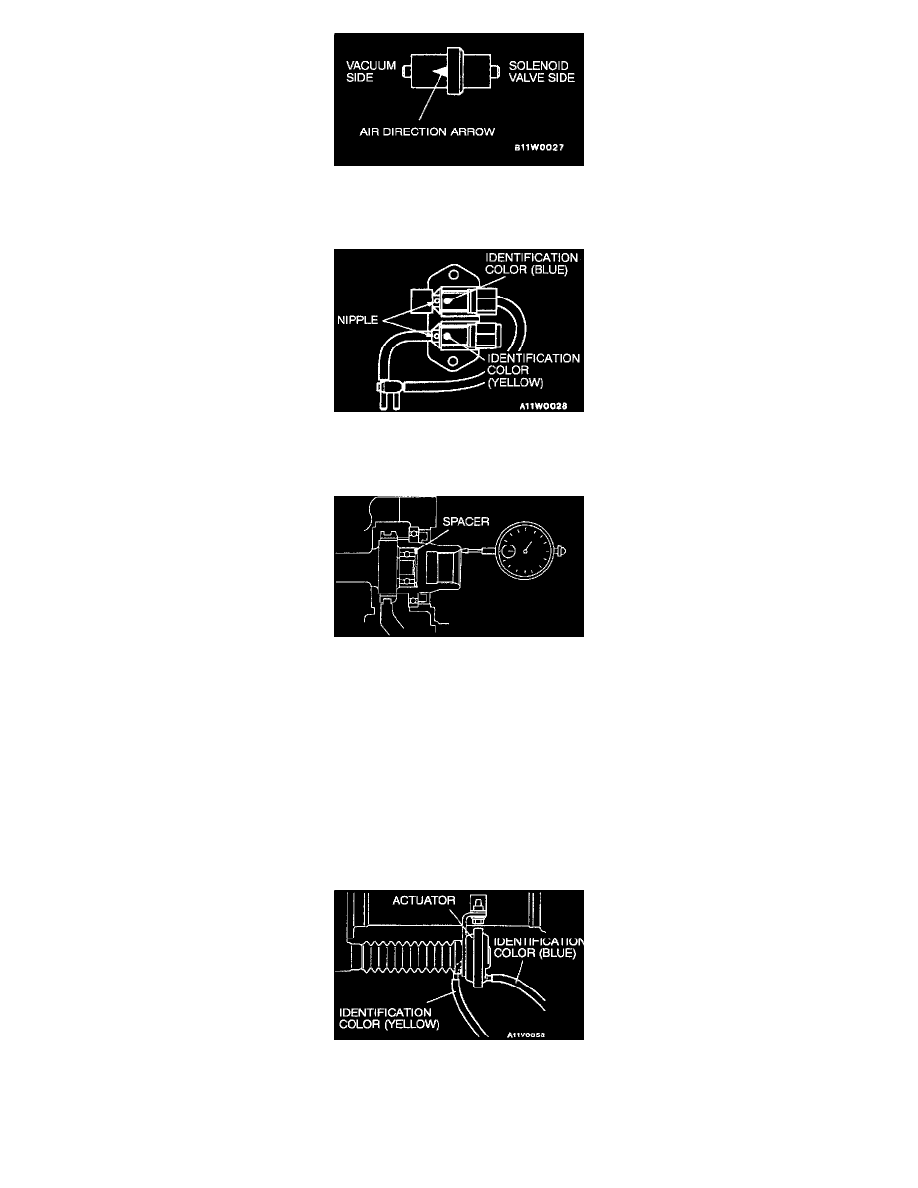
2. Place a micrometer against the end of the clutch gear and check the end play of the clutch gear bearing.
Standard value: 0.05 - 0.30 mm (0.002 - 0.012 inch)
3. If the axial play of the clutch gear bearing is not within the standard value, disassemble the bearing and insert a spacer of the appropriate
thickness.
NOTE: The thickness of the spacers vary in steps of 0.25 mm (0.010 inch).
>E< Vacuum Hose Installation