
Montero Sport XLS 4WD V6-3.5L SOHC (2002)
Brake Adjuster: Testing and Inspection
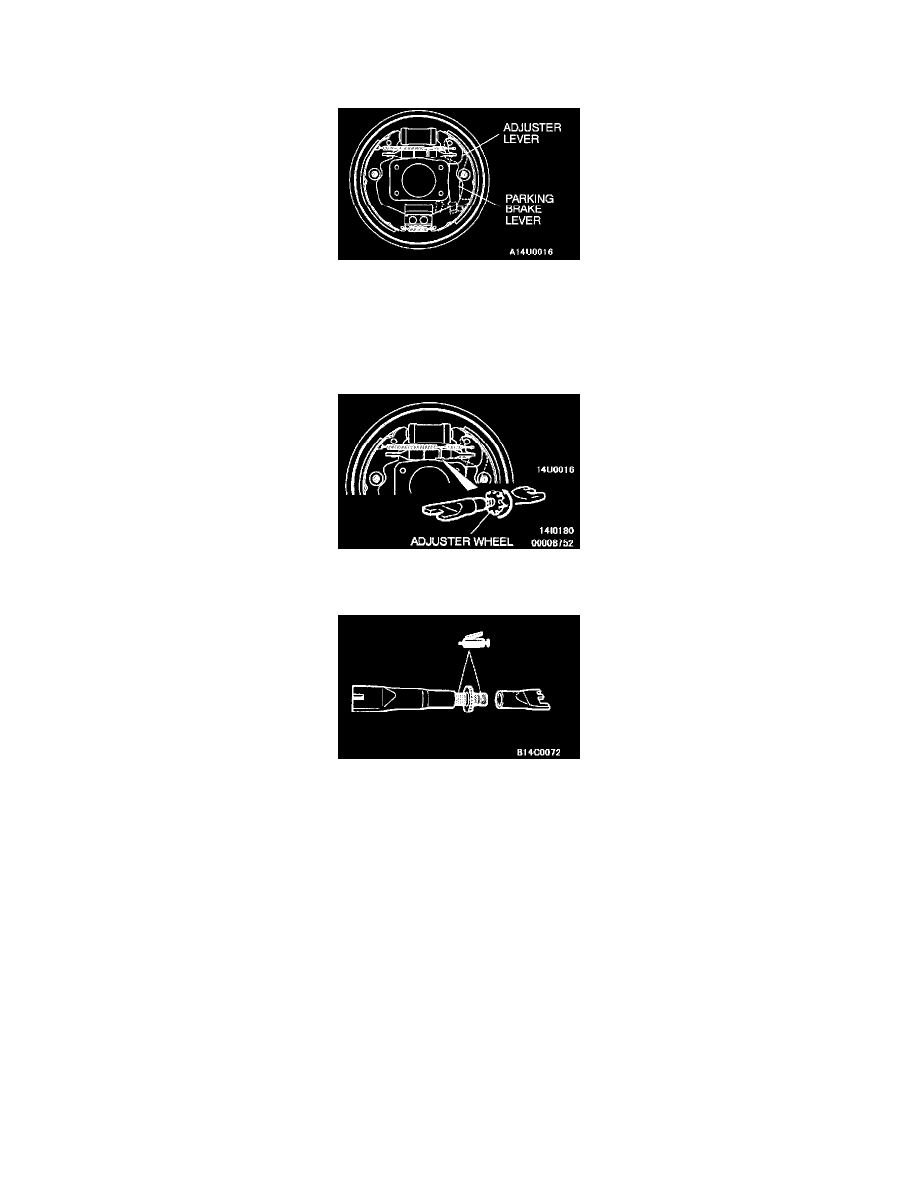
AUTO ADJUSTER FUNCTION CHECK <VEHICLES WITH DRUM BRAKE>
1. Remove the brake drum.
2. Operate the parking brake lever. Observe adjuster lever movement for ratcheting action of the auto adjuster. Repair or replace the lever(s) as
required.
3. Remove the shoe-to-lever spring.
4. Remove the adjuster.
NOTE: It may be necessary to rotate the adjuster wheel bottom to top to release tension.
5. Inspect the adjuster wheel for wear, i.e., flat spots, worn teeth, etc. Replace if faulty.
6. Check both ends of the adjuster for smooth rotation. Replace if faulty.
7. Apply brake grease SAE J310, NLGI number 1 as shown.
8. To install adjuster, assemble the adjuster so it is at its minimum length and insert between shoe and lining assemblies.
9. Install adjuster lever and shoe-to-lever spring.
10. Rotate the adjuster wheel top to bottom until the drum has a slight drag when the drum is installed.