
Montero Sport XLS 4WD V6-3.5L SOHC (2002)
2. Tighten the adjusting bolt jam nut to the specified torque.
Tightening torque: 37 Nm (27 ft. lbs.)
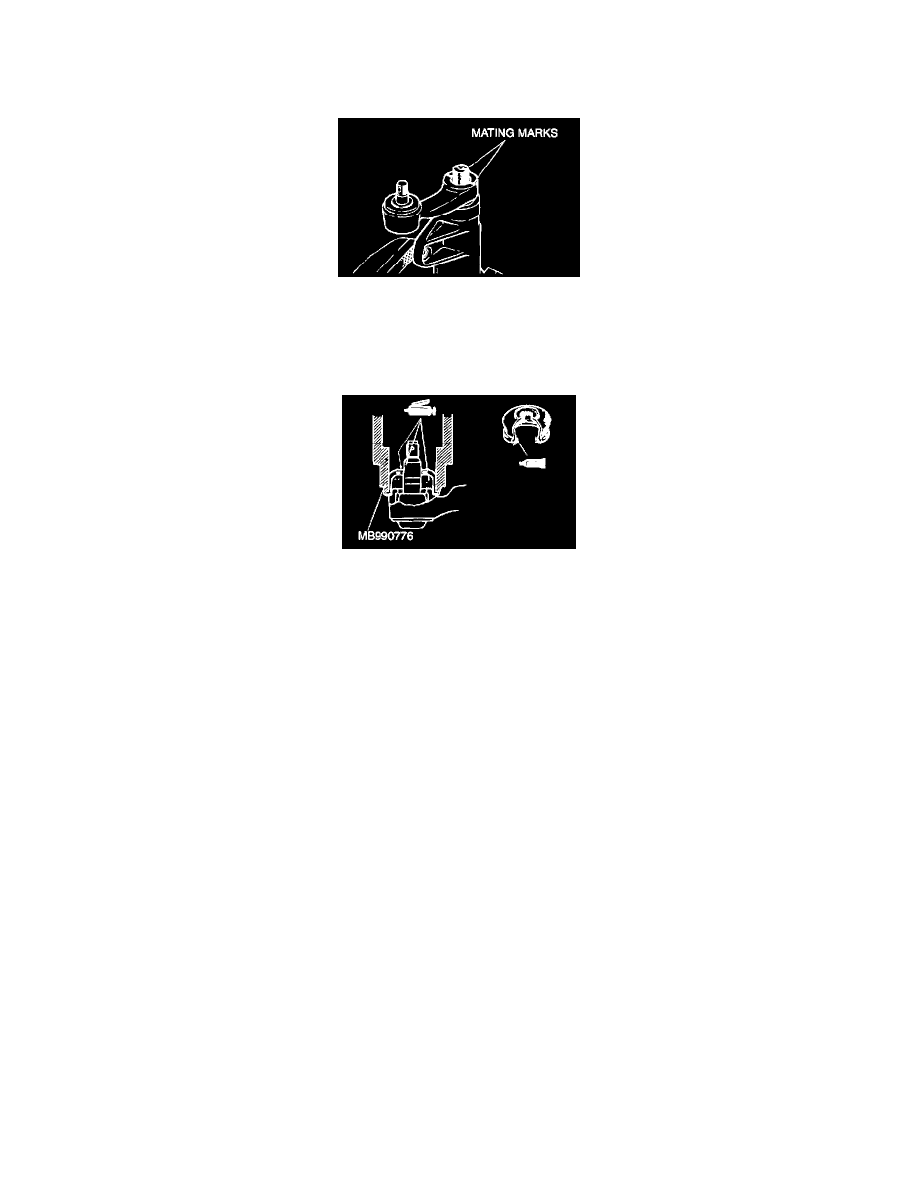
>>F<< PITMAN ARM INSTALLATION
Install the pitman arm to the gear box with the mating marks aligned.
INSPECTION (DISASSEMBLY AND ASSEMBLY)
DUST COVER REPLACEMENT
When the dust cover is damaged accidentally during service work, replace the dust cover only as follows:
1. Fill the dust cover with the specified grease, and apply the grease to the go to top of the dust cover and contact surface of the lip.
Specified grease: Multipurpose grease SAE J310, NLGI No.2 or equivalent
2. Apply the 3M AAD Part number 8672, 8679, 8678, 8661, 8663 or equivalent to the mounting surface of the dust cover at the pitman arm.
3. Using special tool MB990776, install the dust cover to the pitman arm.
4. Press the dust cover with a finger to check whether the dust cover is cracked or damaged.