
Montero Sport XLS 4WD V6-3.5L SOHC (2002)
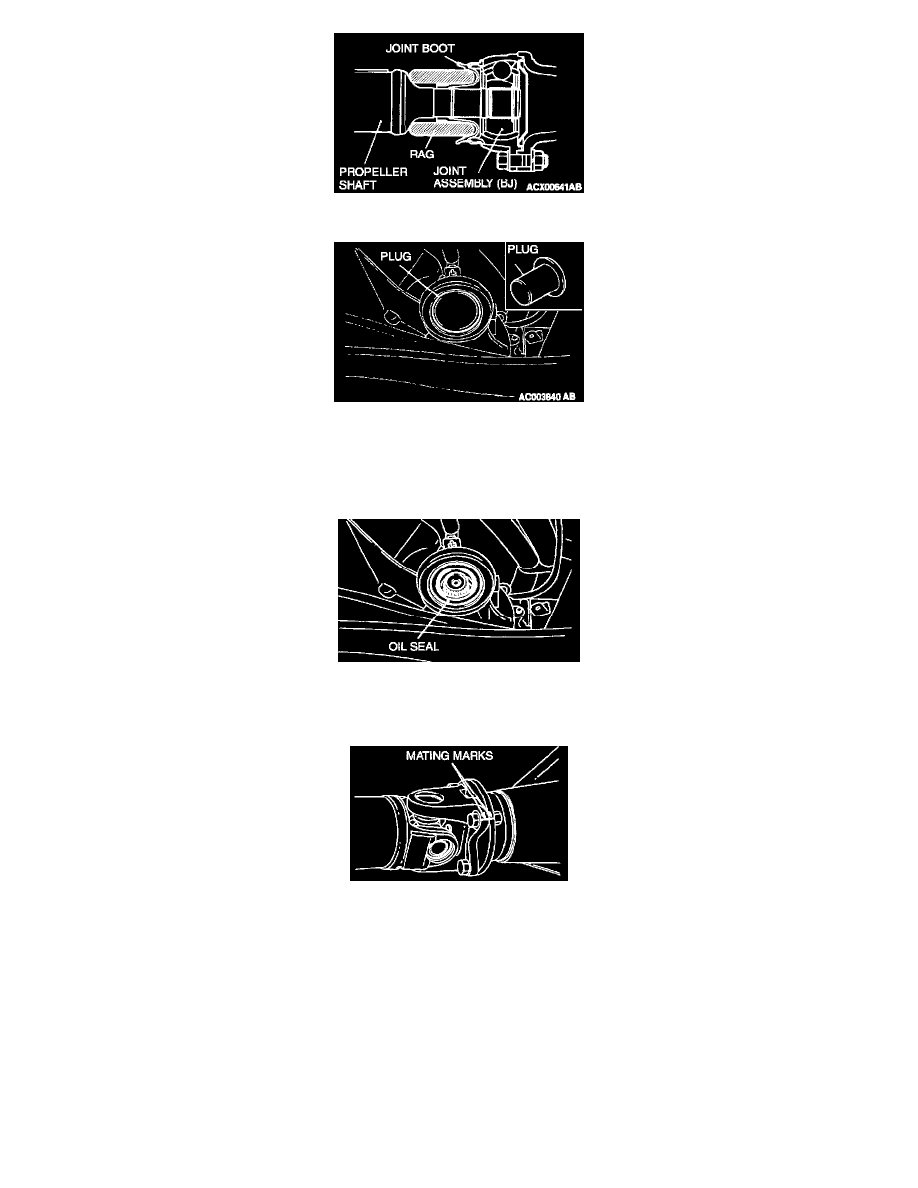
NOTE: Damage to the boot can be avoided, and the work will be easier, if a piece of shop towel or similar material is inserted in the boot.
2. Use the plug as a cover so that no foreign material gets into the transmission or transfer.)
INSTALLATION SERVICE POINT
>>A<< PROPELLER SHAFT ASSEMBLY / FRONT PROPELLER SHAFT ASSEMBLY/REAR PROPELLER SHAFT ASSEMBLY
INSTALLATION
CAUTION:
^
Tighten the installation bolts after removing oil and grease from threads to prevent them from loosening due to lubrication.
^
Be careful not to damage the lip section of the transfer case oil seal when installing the propeller shaft.
1. To reuse the propeller shaft, align the mating marks that were made during removal, and then install the propeller shaft assembly to the
companion flange.
2. When installing a new rear propeller shaft assembly, install it so that the mark on the propeller shaft tube and the mark at the side of the
differential companion flange come nearest (within 30-degree angle).
Tightening torque: 49 - 59 Nm (37 - 43 ft. lbs.)
INSPECTION
^
Check the sleeve yoke, center yoke and flange yoke for wear, damage or cracks.
^
Check the propeller shaft yokes for wear, damage or cracks.
^
Check the sleeve yoke, center yoke and flange yoke for wear, damage or cracks.
^
Check the propeller shaft yokes for wear, damage or cracks.
^
Check the propeller shaft for bending, twisting or damage.