
Montero Sport XLS 4WD V6-3.5L SOHC (2002)
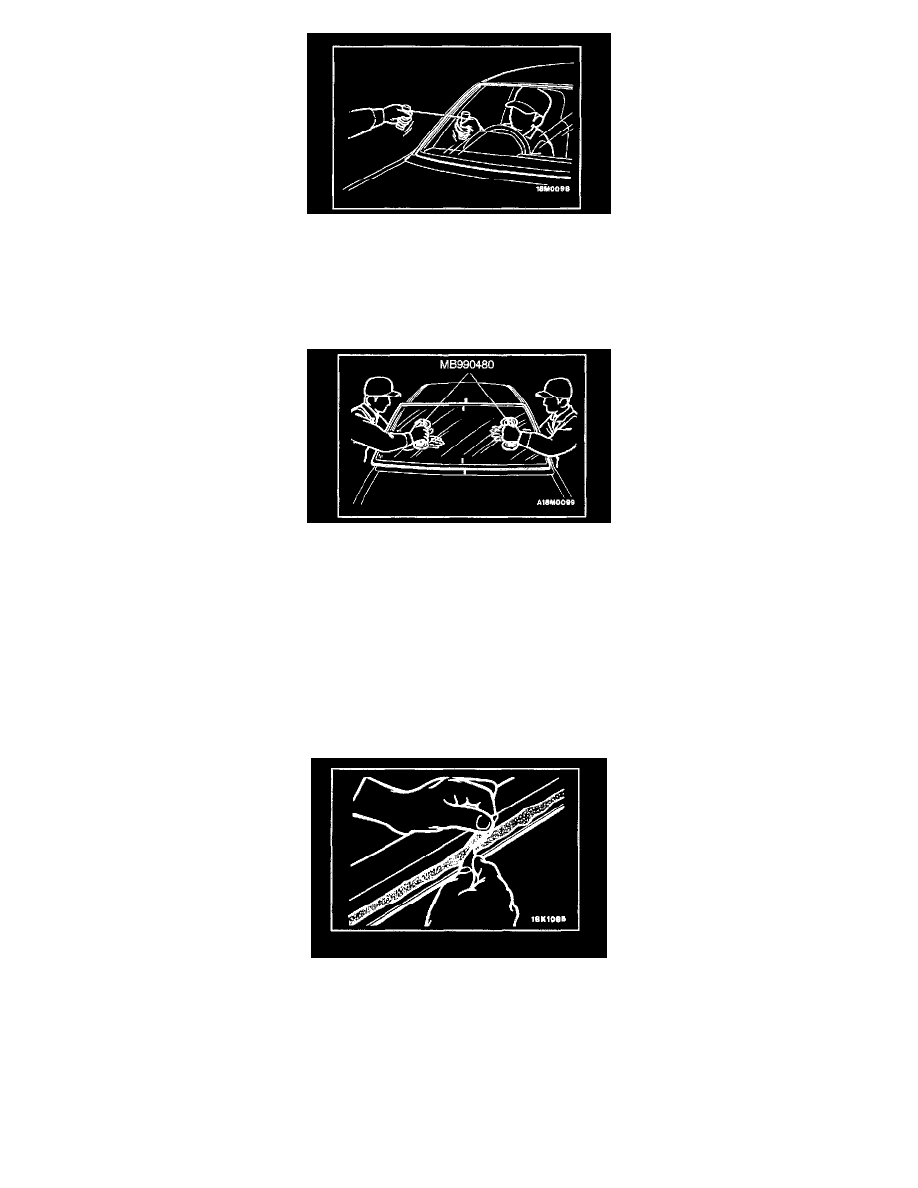
3. Using a sharp-point drill, make a hole in the windshield adhesive.
4. Pass the piano wire from the inside of the vehicle through the hole.
CAUTION: Do not let the piano wire touch the edge of the windshield.
5. Pull the piano wire alternately from the inside and outside along the windshield to cut the adhesive.
6. Use special tool MB990480 to remove the windshield.
CAUTION: Be careful not to remove more adhesive than is necessary.
Be careful also not to damage the paintwork on the body surface with the knife. If the paintwork is damaged, repair the damaged area with
repair paint or antirust agent.
7. Use a knife to cut away the remaining adhesive so that the thickness is within 2 mm (0.08 inch) around the entire circumference of the body
flange.
8. Finish the flange surfaces so that they are smooth.
CAUTION: Allow the cleaned area to dry for at least three minutes. Do not touch any surface that has been cleaned.
9. When reusing the windshield, remove the adhesive still adhering to the windshield, and clean with 3M(TM) AAD Part number 8906 or equivalent.
10. Clean the body side in the same way.
INSTALLATION SERVICE POINT
>>A<< DUAL LOCK FASTENER/WINDSHIELD INSTALLATION
1. When replacing the windshield, temporarily set the windshield against the body, and place a mating mark on the windshield and body.
2. Use 3M(TM) AAD Part number 8906 or equivalent to degrease the inside and outside of the windshield and the body flanges.