Montero Sport XS 2WD V6-3.5L SOHC (2001)

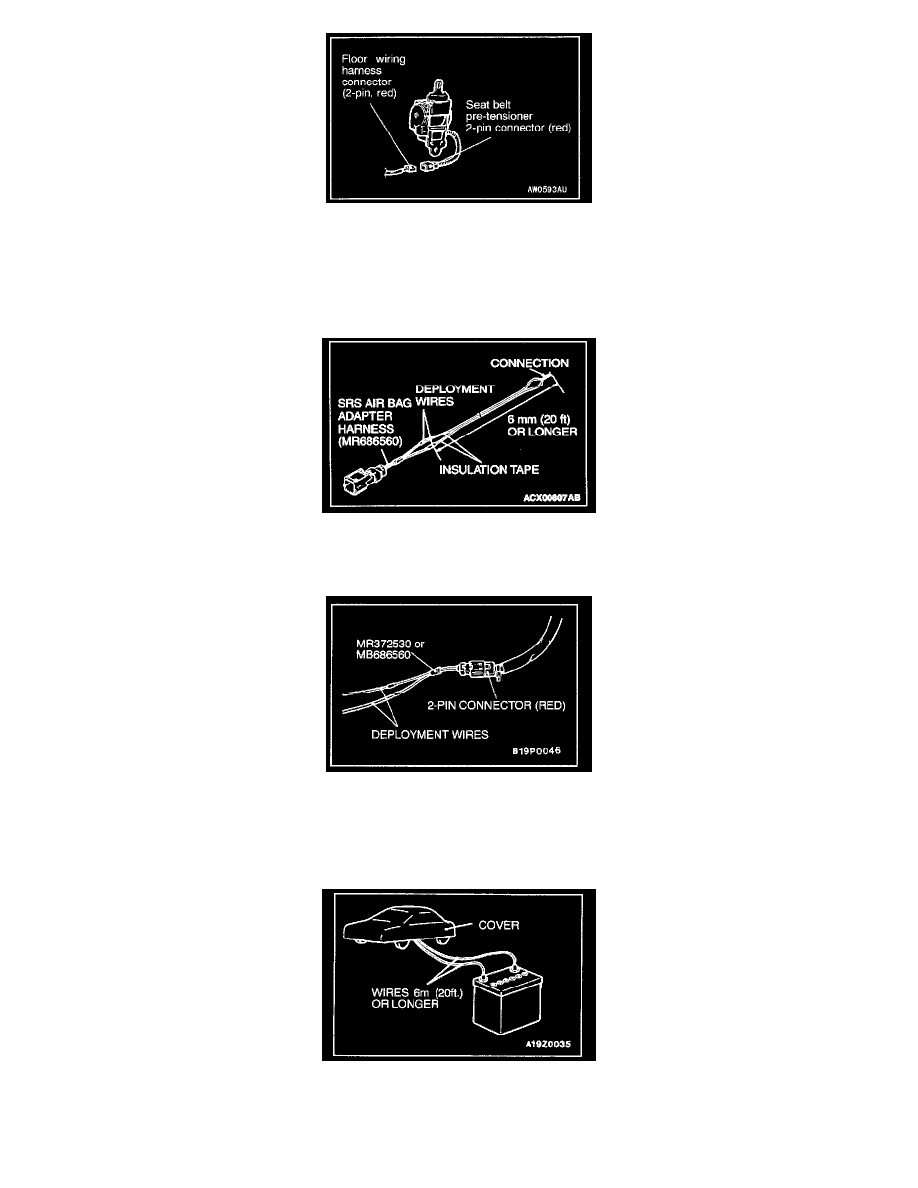
5. To operate the seat belt pre-tensioner:
1. Remove the center pillar trim, lower.
2. Remove the connection between the seat belt pre-tensioner two-pin connector (red) and the floor wiring harness connector (two-pin, red).
NOTE: If the seat belt pre-tensioner connector is disconnected from the floor wiring harness, both electrodes of the seat belt pre-tensioner
connector will be automatically shorted to prevent unintended operation of the seat belt pre-tensioner due to static electricity, etc.
6. Connect deployment wires, each 6 meters (20 feet) or longer, to the two leads of special tool MB686560 and cover the connections with
insulation tape. The other ends of the deployment wires should be connected to each other (short-circuited), to prevent sudden unexpected
deployment of the air bag and operate the seat belt pre-tensioner.
7. Connect the clock spring or air bag module (front passenger's side) or seat belt pre-tensioner two-pin connector (red) to special tool MB686560
and move the deployment wires out of the vehicle.
WARNING: If the glass is scratched, air bag deployment or seat belt pre-tensioner operation could cause it to crack and fly out of the
vehicle, so always put a cover over the vehicle.
8. To suppress the operation sound as much as possible completely close all door windows, close the door and put the cover on the vehicle.
WARNING:
-
Before deploying the air bag and operating the seat belt pre-tensioner in this manner, first check to be sure that there is no one in or
