
Montero SR 4WD V6-3.5L SOHC (1997)
6. Turn the ignition key to the "LOCK' position, disconnect the negative battery cable and tape the terminal.
CAUTION: Wait at least 60 seconds after disconnecting the battery cable before doing any further work.
Step 7: Clock Spring Installation
Align the mating marks of the clock spring by means of the following method, and then, install the clock spring to the column switch.
Mating Mark Alignment
Turn the clock spring clockwise fully, and then turn back it approx. 3 and 1/3 turns counterclockwise to align the mating marks.
CAUTION: If the clock spring's mating mark is not properly aligned, the steering wheel may not rotate completely during a turn, or the flat cable
within the clock spring may be severed, obstructing normal operation of the SRS.
Air Bag Module Installation
Step 2: Air Bag Module Installation
Route the horn switch harnesses as shown in the illustration, and then install the air bag module without clamping the harnesses.
POST-INSTALLATION INSPECTION
1. After installing the clock spring, the steering wheel, the column covers and the air bag module, check steering wheel for noise, binds or difficult
operation.
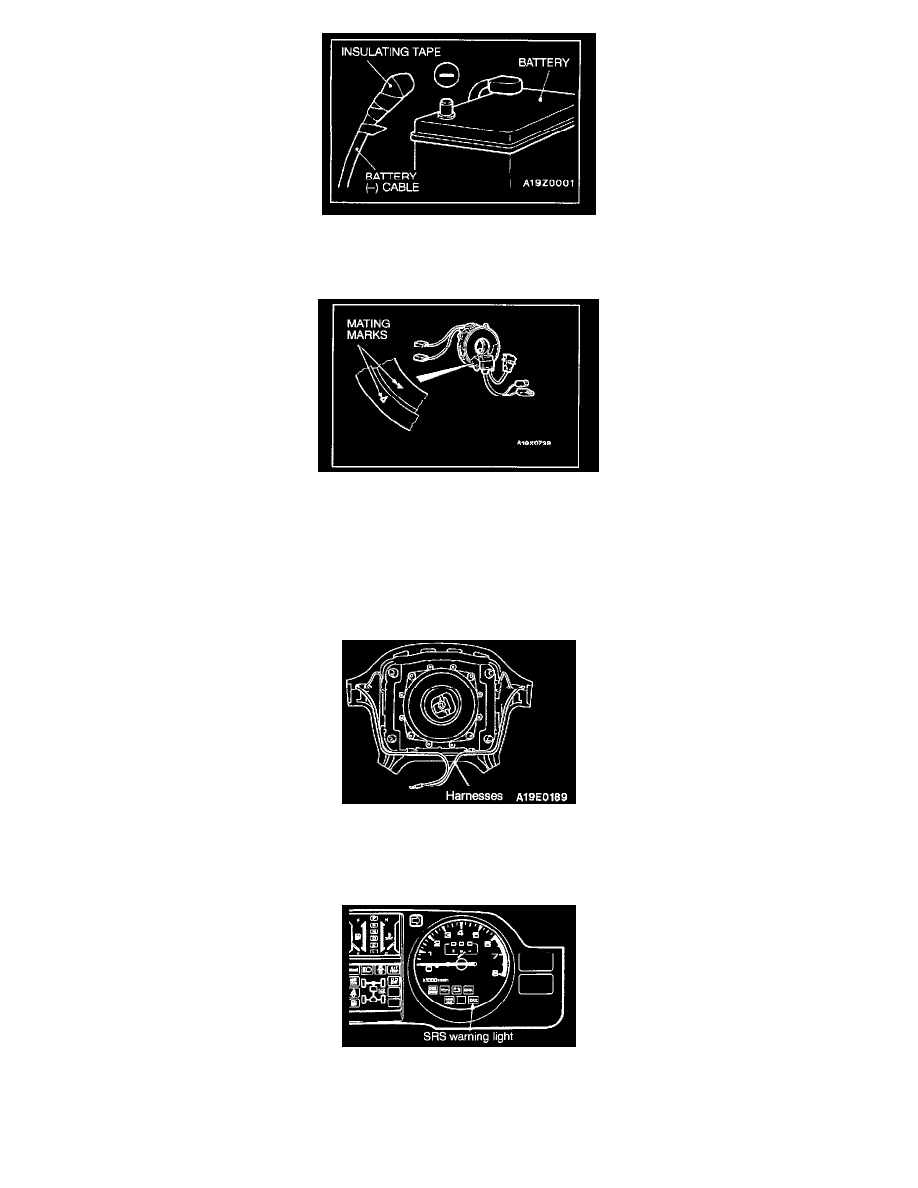
2. Reconnect the negative battery terminal. Turn the ignition key to the "ON" position. Does the "SRS" warning light illuminate for about 7 seconds,
turn off and then remain off for at least 45 seconds? If yes, SRS system is functioning properly. If no, consult SRS Warning Light Inspection.