Montero SR 4WD V6-3.5L SOHC (1997)

a. Anchor arm assembly adjusting nut loosening.
Loosen the anchor bolt of the torsion bar all the way.
NOTE: When the anchor arm assembly adjusting nut is loosened, use a jack to support the lower arm of the side to be loosened to make the
work easier.
b. Upper ball joint and knuckle disconnection.
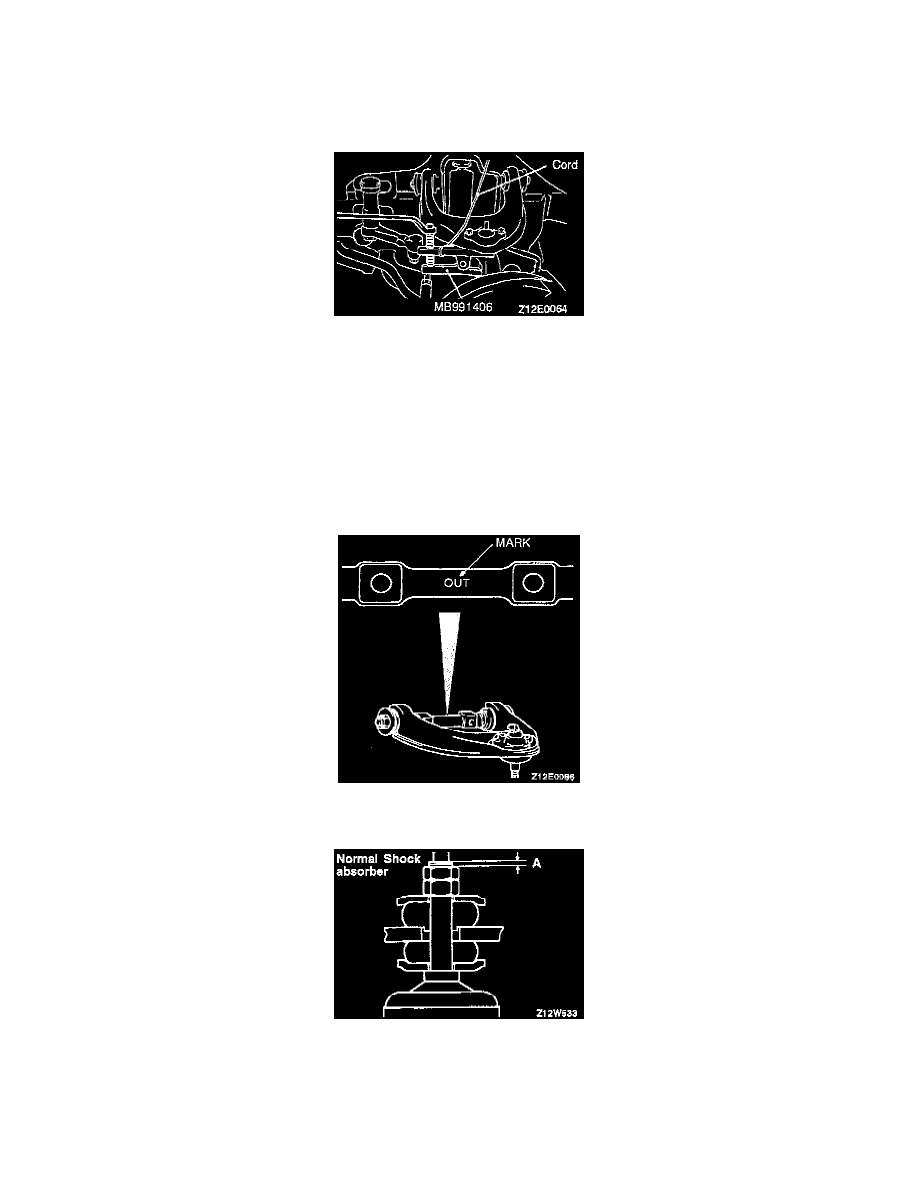
Use the special tool to disconnect the upper arm ball joint from the knuckle.
CAUTION:
1. Be sure to tie the cord of the special tool to the nearby part.
2. The nut should only be loosened, not removed.
INSTALLATION
Installation in reverse order as removal.
NOTE: Installation service points as follows:
a. Upper arm installation.
Install the upper arm so that the "OUT" mark on the upper arm shaft is facing toward the outside of the vehicle.
b. Shock absorber/actuator (vehicles with remote controlled variable shock absorber) installation.
Tighten the shock absorber installation nut so that the dimensions shown in the illustration (A and B) are at the standard values.
Standard value:
A: 1 - 2 mm (.04 - .08 inch)
B: 1.5 - 2.5 mm (.06 - .10 inch)
