
Montero SR 4WD V6-3.5L SOHC (1997)
A. Front propeller shaft removal. (8)
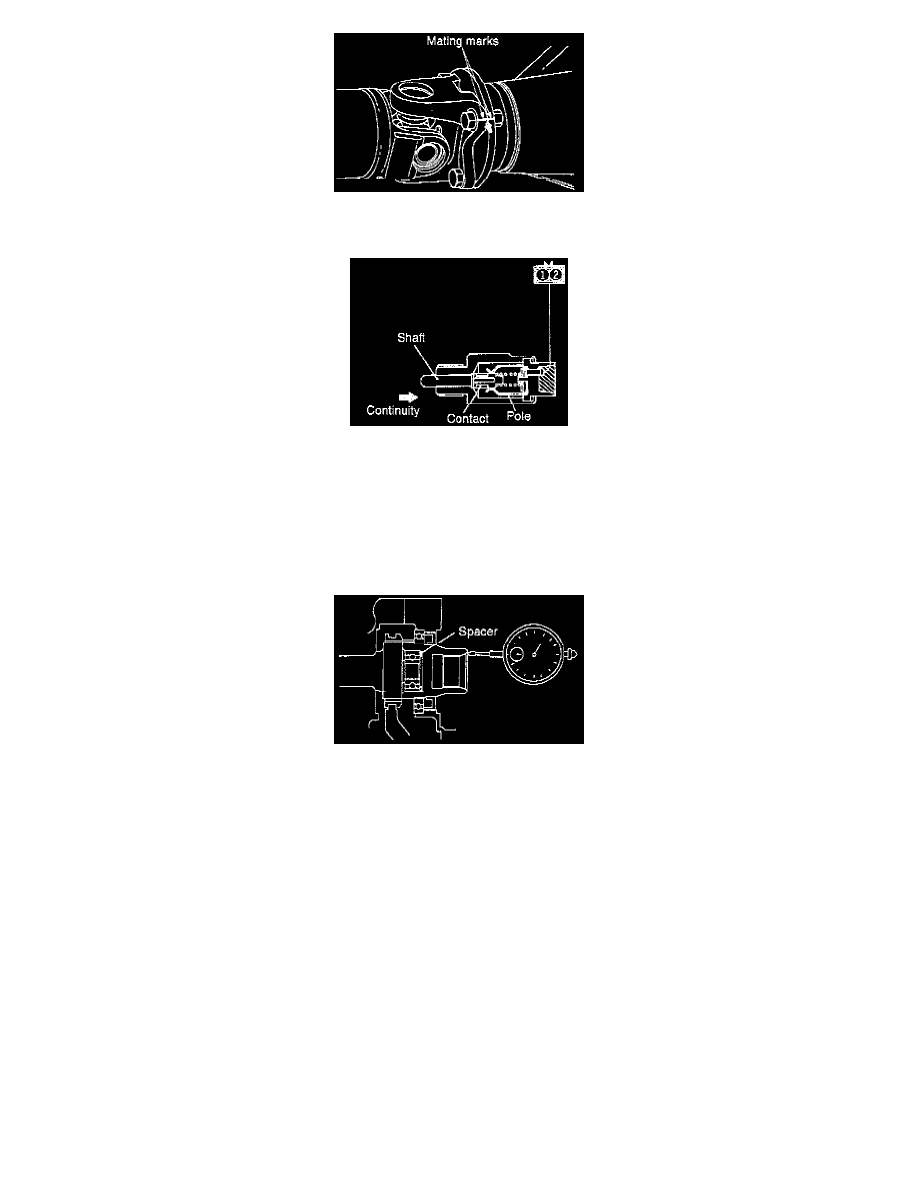
Make mating marks on the flange yoke of the rear propeller shaft and on the companion flange of the differential case.
INSPECTION
Free-Wheel Engage Switch
The switch is normal if there is continuity when the shaft is pushed in and no continuity when the shaft is released.
INSTALLATION
Installation in reverse order as removal.
NOTE: Installation service points as follows:
A. Free-wheeling clutch assembly installation. (22)
After installing the free-wheeling clutch assembly, select a spacer so that the clutch gear play (bearing looseness) is within the standard value.
Standard value: 0.05-0.30 mm (0.0020-0.0120 inch)
B. Front propeller shaft installation. (8)
Install the front propeller shaft so that the mating marks on the flange yoke and differential carrier companion flange are aligned.
C. Vacuum hose installation. (1)
Install the vacuum hoses so that the identification colors match those of the actuator assembly nipples.
NOTE: Operational steps after installation as follows:
1. Install under cover.
2. Fill gear oil.
Inspection Before Disassembly