
Montero SR 4WD V6-3.5L SOHC (1997)
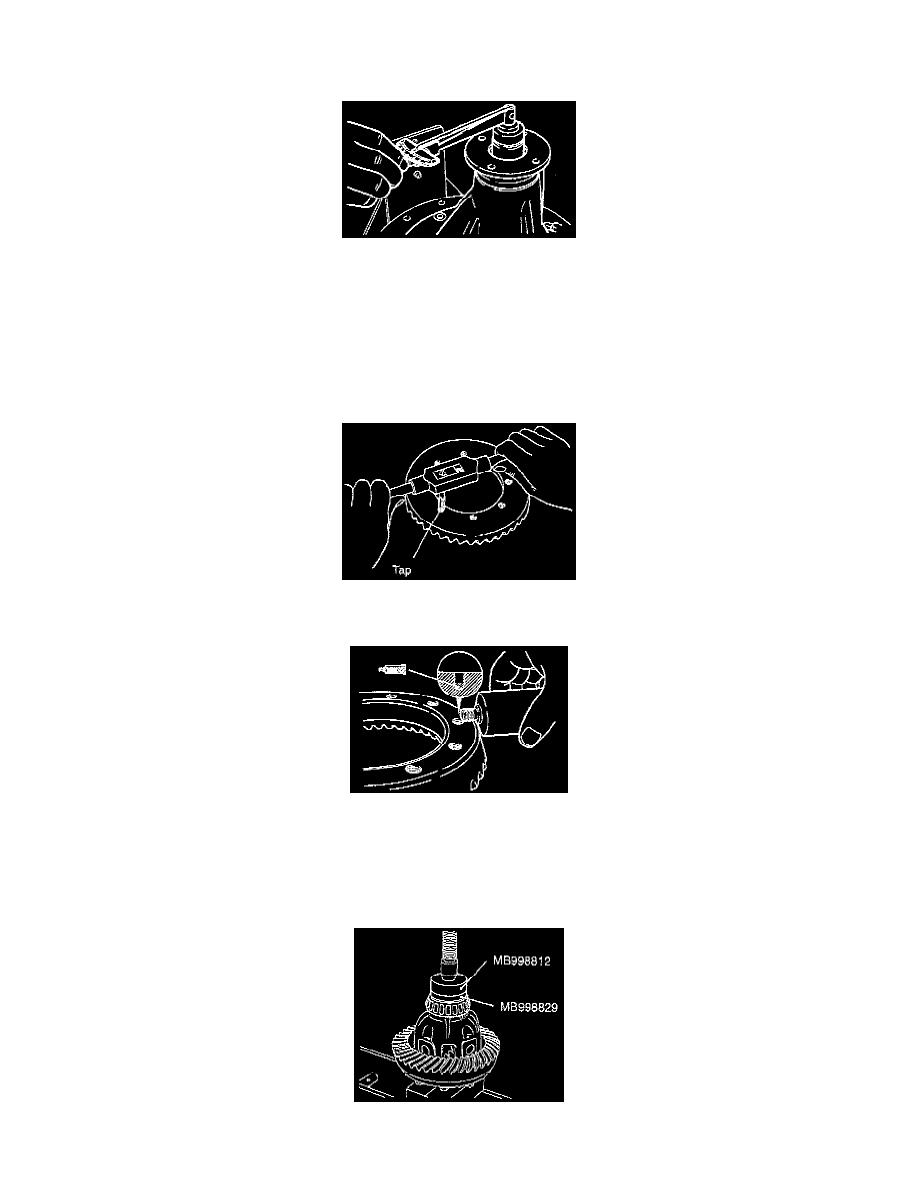
3. Install the drive pinion assembly and companion flange with the mating marks properly aligned, and then use the special tools to tighten the
companion flange self-locking nut to the specified torque.
4. If the drive pinion rotation torque is not within the rage of the standard value, adjust the rotation torque by replacing the drive pinion front
shim(s) or the drive pinion spacer.
Standard value:
New (with anti-rust agent): 0.85 - 1.15 Nm (7.4 - 10.0 inch lbs.)
New/reused (gear oil applied): 0.65 - 0.75 Nm (5.6 - 6.5 inch lbs.)
E. Drive gear installation. (23)
1. Clean the drive gear mounting bolts.
2. Remove the adhesive which is adhering to the threaded holes of the drive gear by turning the tap tool (M12 x 1.25), and then clean the
threaded holes by applying compressed air.
3. Apply specified adhesive to the threaded holes of the drive gear.
Specified adhesive: 3M Stud Locking Part No. 4170 or equivalent.
4. Install the drive gear to the differential case so that the mating marks are properly aligned. Tighten the bolts to the specified torque in a
diagonal sequence.
F. Side bearing inner race installation. (26)