
Montero SR 4WD V6-3.5L SOHC (1997)
Switch: Testing and Inspection
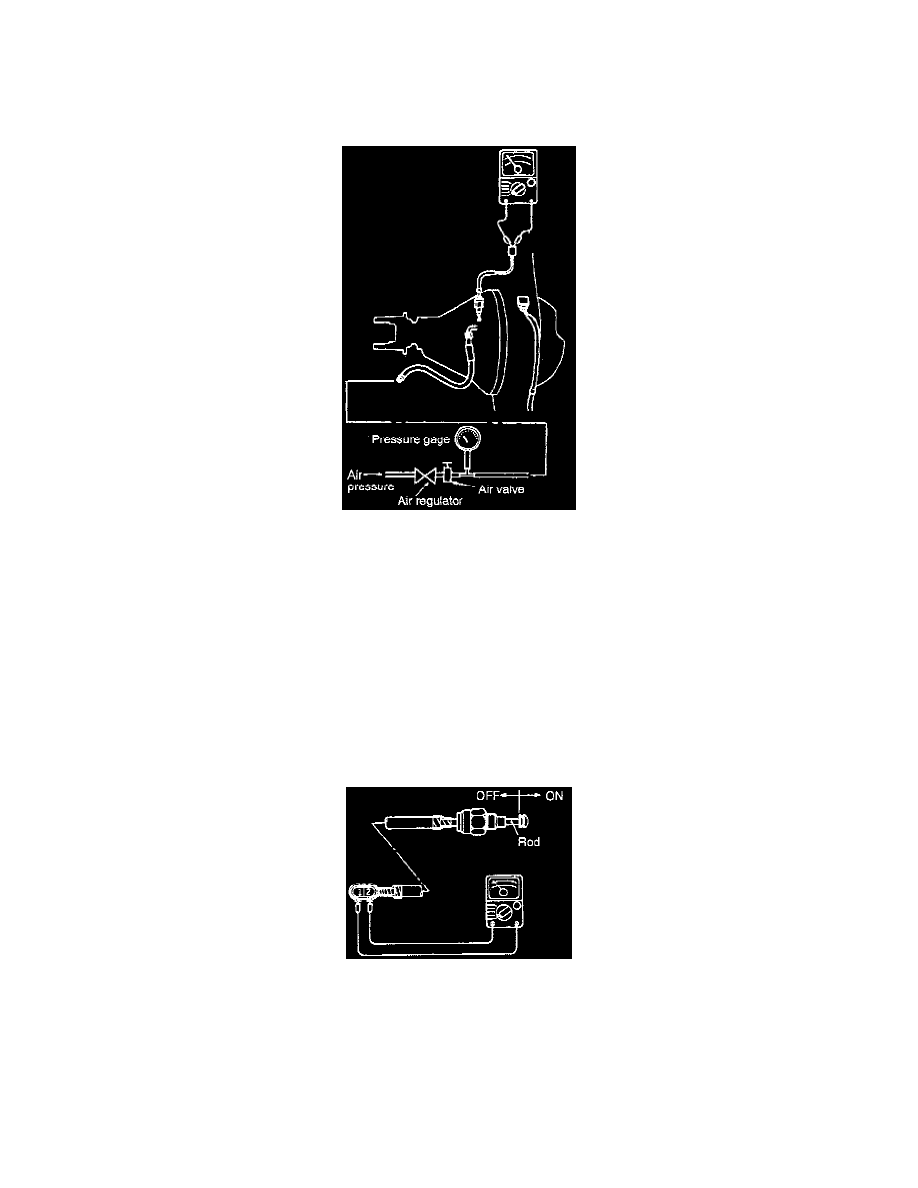
Rear Differential Lock Detection Switch
Inspection
1. Raise up the vehicle.
2. Remove the air pipe and air hose connections.
3. Connect a pressure gauge and air regulator, for adjusting the compressed air pressure, to the air hose.
4. Adjust the compressed air pressure with the air regulator until the pressure gage shows a pressure of approximately 25 kPa (4 psi.).
CAUTION: Do not apply a higher pressure.
5. Hold the wheel on one side of the vehicle stationary, and slowly turn the wheel on the other side.
6. Check for continuity in the rear differential lock detection switch.
When air is supplied: Continuity.
When air is released: No continuity.
7. If the detection switch is defective, first remove the differential carrier, then remove the detection switch.
Continuity Check
1. Connect an ohmmeter to the detection switch connector.
2. The rear differential lock detection switch is in good condition when the rod of the detection switch is pulled, there should be continuity, and when
it is returned to its normal position, no continuity.
NOTE: Remove the differential carrier in order to replace the rear differential lock detection switch.