
Montero SR 4WD V6-3.5L SOHC (1997)
A. Snap ring removal. (2)
Use snap ring pliers to remove the snap ring from the drive shaft.
CAUTION: The proper tool for removing and installing the snap ring is a pair of snap ring pliers. Using a screwdriver or other tool can
deform or spread the snap ring beyond its yield point. Be sure to use only snap ring pliers for removing and installing this snap ring.
B. Front brake assembly removal. (5)
1. Remove the front brake assembly with the brake hose connected.
2. Use wire to suspend the front brake assembly from the upper arm so that the front brake assembly won't fall.
CAUTION: Do not twist the brake hose.
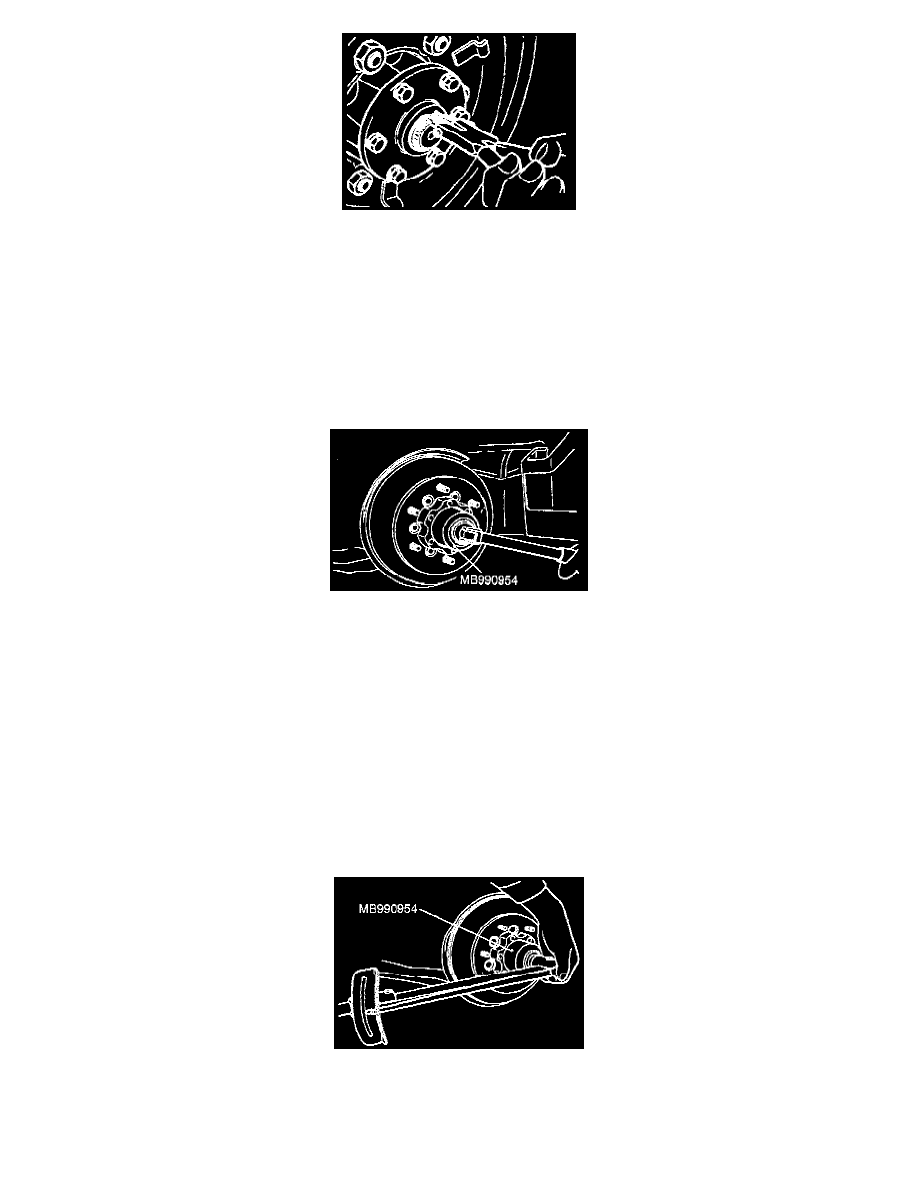
C. Lock nut/front hub assembly removal. (8 & 9)
1. After removing the lock washer, remove the lock nut with the special tool.
2. Remove the front hub assembly from the knuckle together with the inner and outer bearings.
INSPECTION
1. Check the wheel bearing for seizure, discoloration and rough raceway surface.
2. Check the front hub for cracks.
3. Check the oil seals for cracks or damage.
INSTALLATION
Installation in reverse order as removal.
NOTE: Installation service points as follows:
A. Wheel bearing preload adjustment. (-)
1. Use the special tool to tighten the lock nut by the following procedure:
a. Tighten to 162 Nm (119 ft. lbs.).
b. Loosen to 0 Nm (0 ft. lbs.).
c. Re-tighten to 25 Nm (18 ft. lbs.) and then loosen 30-40°.