Montero XLS 4WD V6-3.5L SOHC (2001)

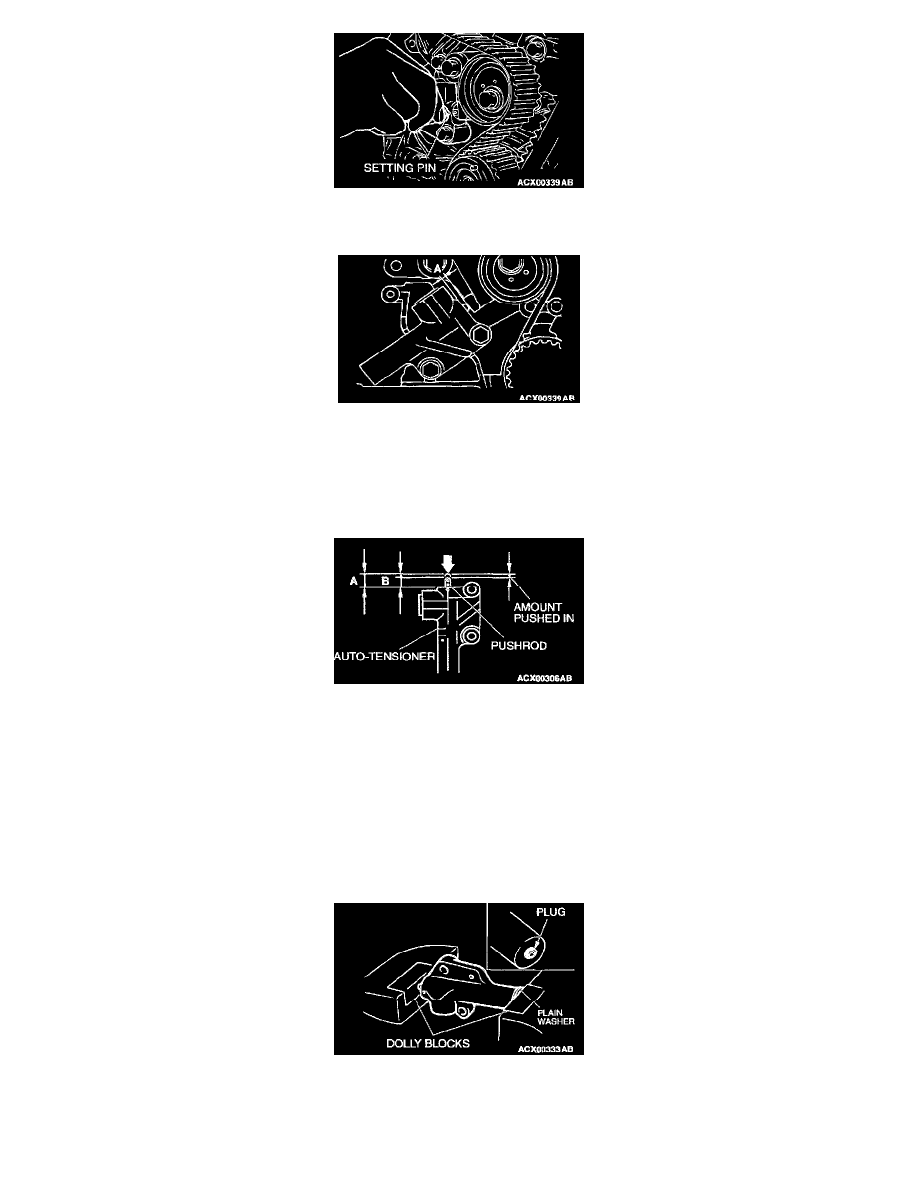
7. Remove the setting pin that has been inserted into the auto tensioner.
8. Turn the crankshaft two turns clockwise to align the timing marks.
9. Wait for at least five minutes, and then check that the auto tensioner pushrod extends within the standard value.
Standard value (A): 3.8 - 5.0 mm (0.15 - 0.20 inch)
10. If no, repeat the operation in steps (5) to (9).
11. Check again that the timing marks of each sprocket are aligned.
>>B<< AUTO-TENSIONER INSTALLATION
1. While holding the auto-tensioner by hand, press the end of the pushrod against a metal surface (such as the cylinder block) with a force of 98 -
196 N (72 - 145 pound) and measure how far the pushrod is pushed in.
Standard value: Within 1 mm (0.04 inch)
A: Length when no force is applied
B: Length when force is applied
A - B: Amount pushed in
2. If it is not within the standard value, replace the auto tensioner.
CAUTION:
^
Place the auto-tensioner perpendicular to the jaws of the vice.
^
If there is a plug at the base of the auto-tensioner, insert a plain washer onto the end of the auto-tensioner to protect the plug.
3. Place two dolly blocks in a vice, and then place the auto-tensioner in the vice.
CAUTION: Never compress the pushrod too fast, or the pushrod may be damaged.
