
Montero XLS 4WD V6-3.5L SOHC (2001)
The ETACS-ECU illuminates the seat belt warning light according to the input signals from the following switches:
-
Ignition switch (IG1)
-
Driver's seat belt switch
If the seat belt warning light does not illuminate, the relevant input signal circuit, the combination meter (seat belt warning light bulb or printed-circuit
board) or the ETACS-ECU may be defective.
TROUBLESHOOTING HINTS
-
Malfunction of the driver's side seat belt switch
-
Malfunction of the combination meter (seat belt warning light bulb or printed-circuit board)
-
Malfunction of the ETACS-ECU
-
Damaged harness wires or connectors
DIAGNOSIS
Required Special Tools:
-
MB991223: Test Harness Set
-
MB991502: Scan Tool (MUT-II)
-
MB991529: Diagnostic Trouble Code Check Harness
STEP 1. Check method of the input signal
Q: Which is to be used, the scan tool or the voltmeter to check the input signal?
Scan tool MB991502: Go to Step 2.
Voltmeter: Go to Step 3.
STEP 2. Check the input signal (by using scan tool MB991502).
Check the input signals from the following switches:
-
Ignition switch (IG1)
-
Driver's side seat belt switch
CAUTION: To prevent damage to scan tool MB991502, always turn the ignition switch to the "LOCK" (OFF) position before connecting or
disconnecting scan tool MB991502.
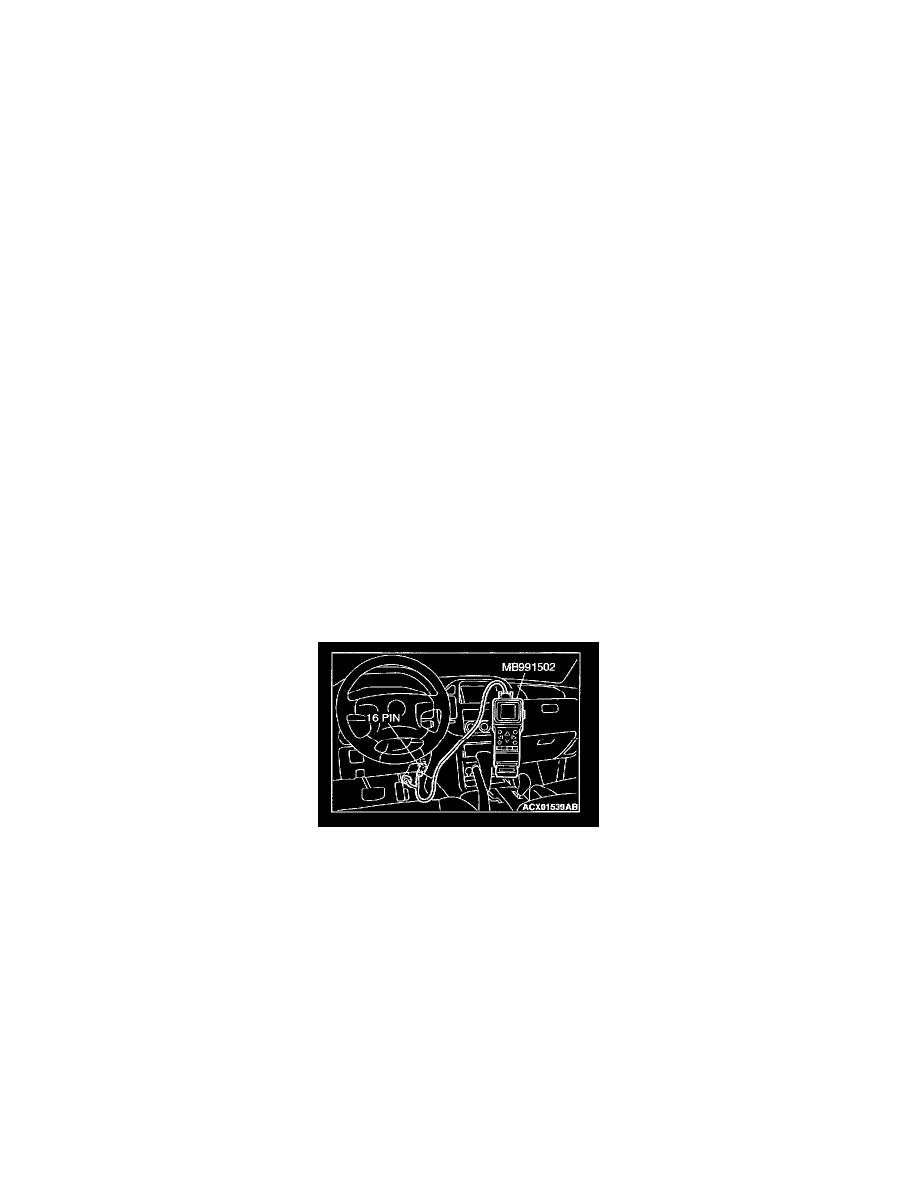
1. Connect scan tool MB991502 to the data link connector.
2. Check that the tone alarm of scan tool MB991502 sounds when the input signal enters.
Q: Does the tone alarm of scan tool MB991502 sound when the input signal enters?
YES: Go to Step 4.
NO: Check the relevant input signal circuit.
STEP 3. Check the input signal (by using a voltmeter).
Check the input signals from the following switches:
-
Ignition switch (IG1)
-
Driver's side seat belt switch