
Montero XLS 4WD V6-3.5L SOHC (2001)
Disconnect the connection of the DOJ assembly and the companion shaft assembly.
Installation Service Point
>>A<< Upper Arm Assembly From Rear Frame Connection
After installing the upper arm mounting bolt, tighten the connecting bolt of the DOJ assembly and the companion shaft assembly to the specified
torque 113 ± 14 Nm (84 ± 10 ft. lbs.).
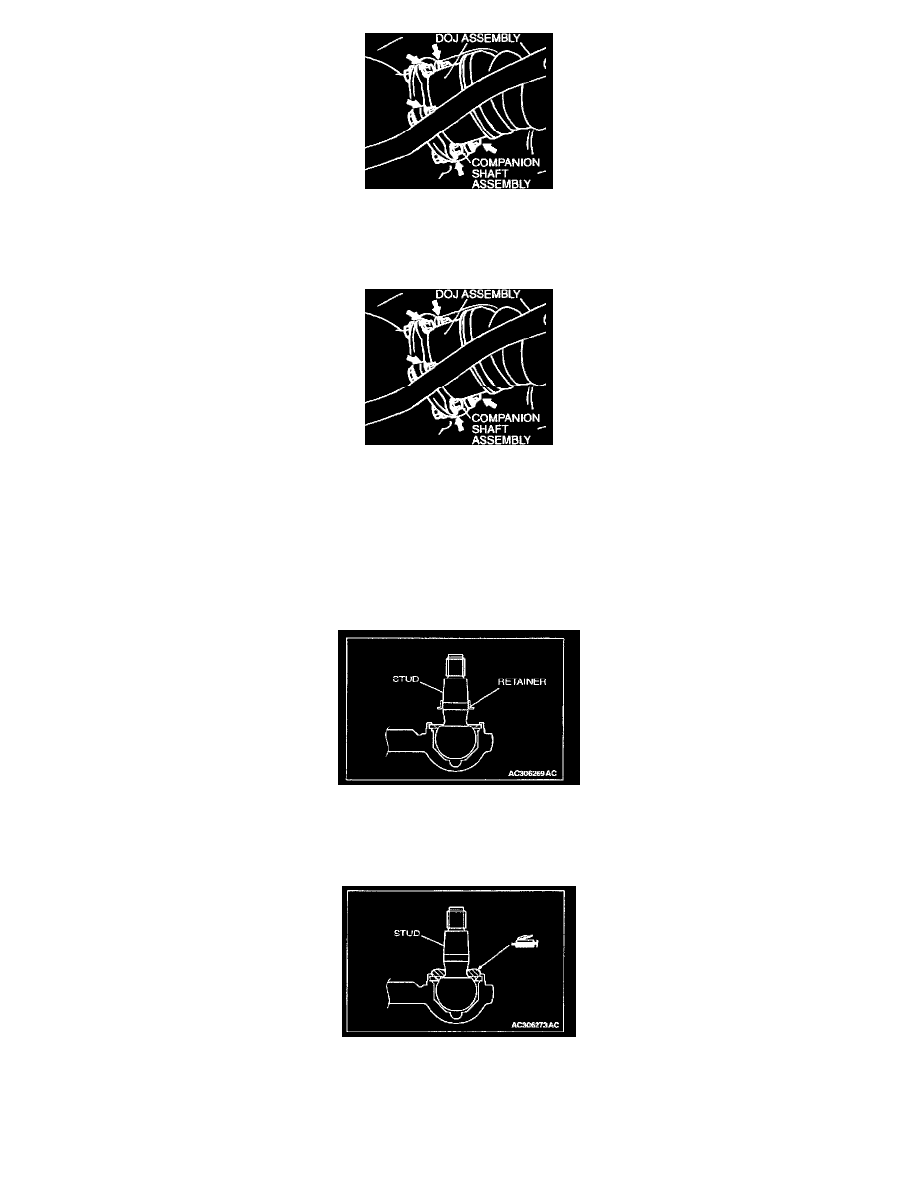
>>B<< UPPER ARM BALL JOINT AND KNUCKLE CONNECTION
If the upper arm ball joint is disengaged from the knuckle, always renew the upper arm ball joint dust cover and retainer by following the procedure
below:
1. Remove the dust cover.
CAUTION
Be careful not to damage the ball joint stud.
2. Use a flat-tipped screwdriver to remove the retainer.
3. Apply multi-purpose grease evenly around the ball joint stud.
Amount to use: 8 g (0.3 oz)