
Montero XLS 4WD V6-3.5L SOHC (2001)
>>B<< FRONT PROPELLER SHAFT ASSEMBLY INSTALLATION
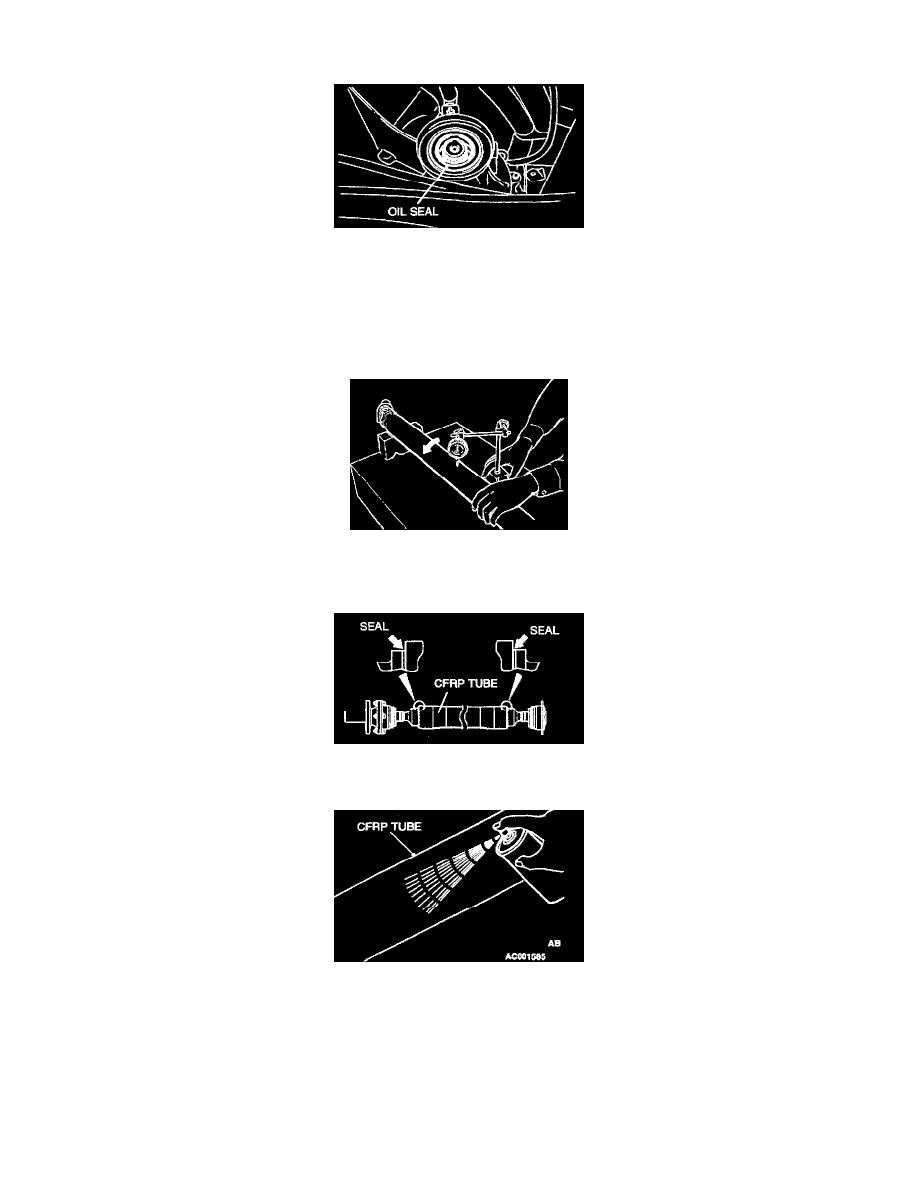
CAUTION:
^
Do not damage the oil seal lips on the transfer case.
^
Wipe out oil and grease on the threads of the mounting bolts and nuts before tightening, or they will loosen. If reusing the propeller shaft, align
the mating mark to install.
INSPECTION
FRONT PROPELLER SHAFT RUNOUT
Limit: 0.5 mm (0.02 inch)
REAR PROPELLER SHAFT
1. Check whether there is any damage such as crack or peel at the seal portion shown in the illustration. If it is found, replace the propeller shaft
with new one.
2. Check the condition of the tube, If crack, chip or deformation is found, replace the propeller shaft with new one. When flaw is found, confirm
whether there is any failure by using a dye penetrant. If a failure is found, replace the propeller shaft.