
Raider V6-3.7L SOHC (2006)
kit.
17.
Use brake cleaner to clean the axle flange and brake drum pilot. Remove any foreign material, which could prevent the drum from fully seating on
the axle flange.
18.
Adjust the brake shoes to drum with a brake gauge. Allow 0.64 mm (0.025 inch) clearance. Be sure the shoes are centered on the backing plate,
then install the drum on the vehicle.
19.
Use brake parts cleaner to clean the drum and wheel pilot. Remove any foreign material, which could prevent the wheel from fully seating on the
drum and pilot.
20.
Reinstall the wheel and tire assembly. Pre-tighten the lug nuts to 7 Nm (5 ft/lbs) to center the wheel. Then tighten the lug nuts to 183 Nm (135
ft/lbs).
21.
Repeat Steps 7 through 20 on the rear brakes on the other side of the vehicle.
22.
If necessary, adjust the parking brake tension. Refer to Group 35 in the Raider service manual.
23.
Check the vehicle's repair history.
a.
If the front brake rotors have NOT previously been replaced, go to Step 24 to resurface the front brake rotors.
b.
If the front brake rotors have previously been replaced, go to Step 25. Do not resurface the brake rotors.
24.
If the front brake rotors have NOT previously been replaced, resurface both front brake rotors, using an on-car brake lathe only (use Mitsubishi
Special Tool 54-MITS-PKG or equivalent.
25.
Lower the vehicle. Apply pressure to the brake pedal to verify that the brake system is functioning properly.
26.
Verify that the parking brake system is functioning properly.
27.
Test drive the vehicle to verify that the brake shudder is eliminated.
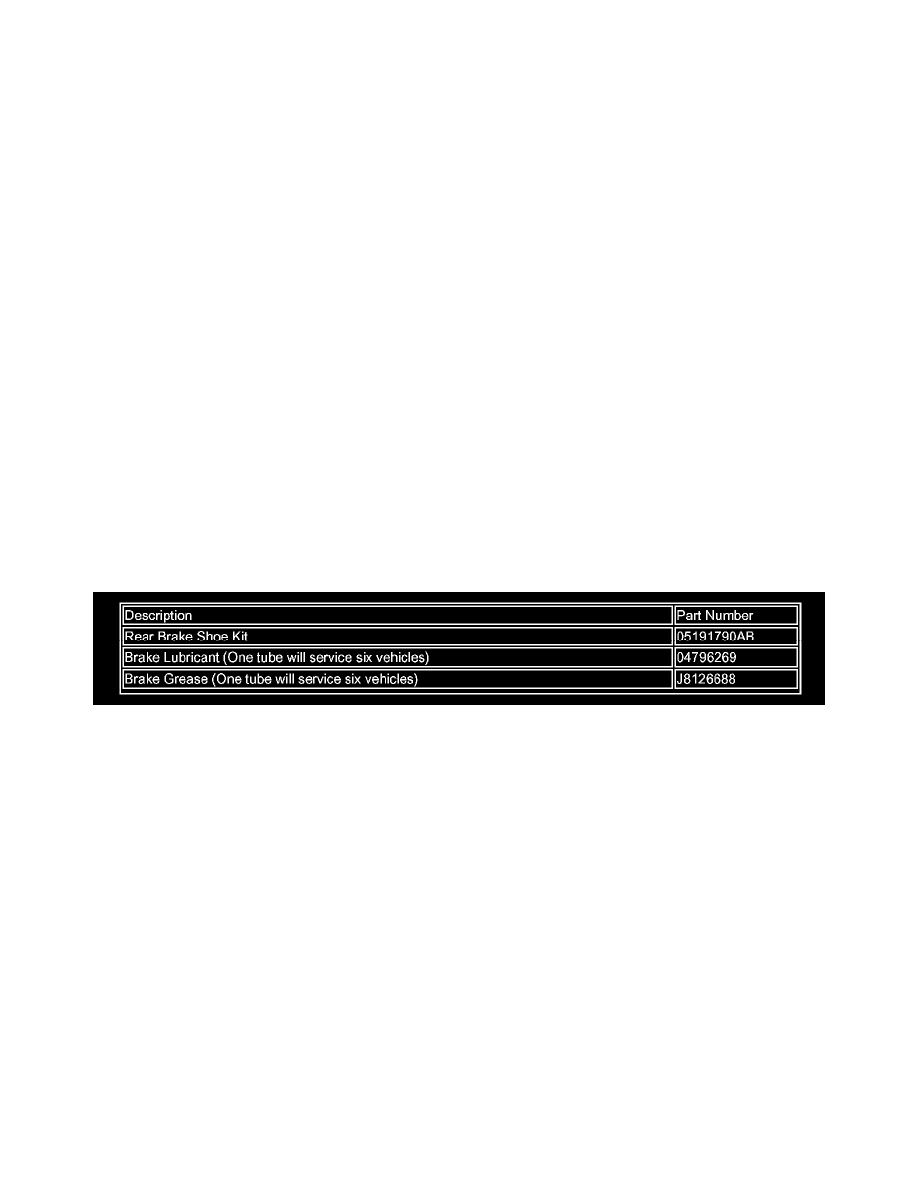
PARTS INFORMATION