
Raider V6-3.7L SOHC (2006)
Hose/Line HVAC: Service and Repair
Coupler - Refrigerant Line
REMOVAL
WARNING: REFER TO THE APPLICABLE WARNINGS AND CAUTIONS FOR THIS SYSTEM BEFORE PERFORMING THE
FOLLOWING OPERATION FAILURE TO FOLLOW THE WARNINGS AND CAUTIONS COULD RESULT IN POSSIBLE PERSONAL
INJURY OR DEATH
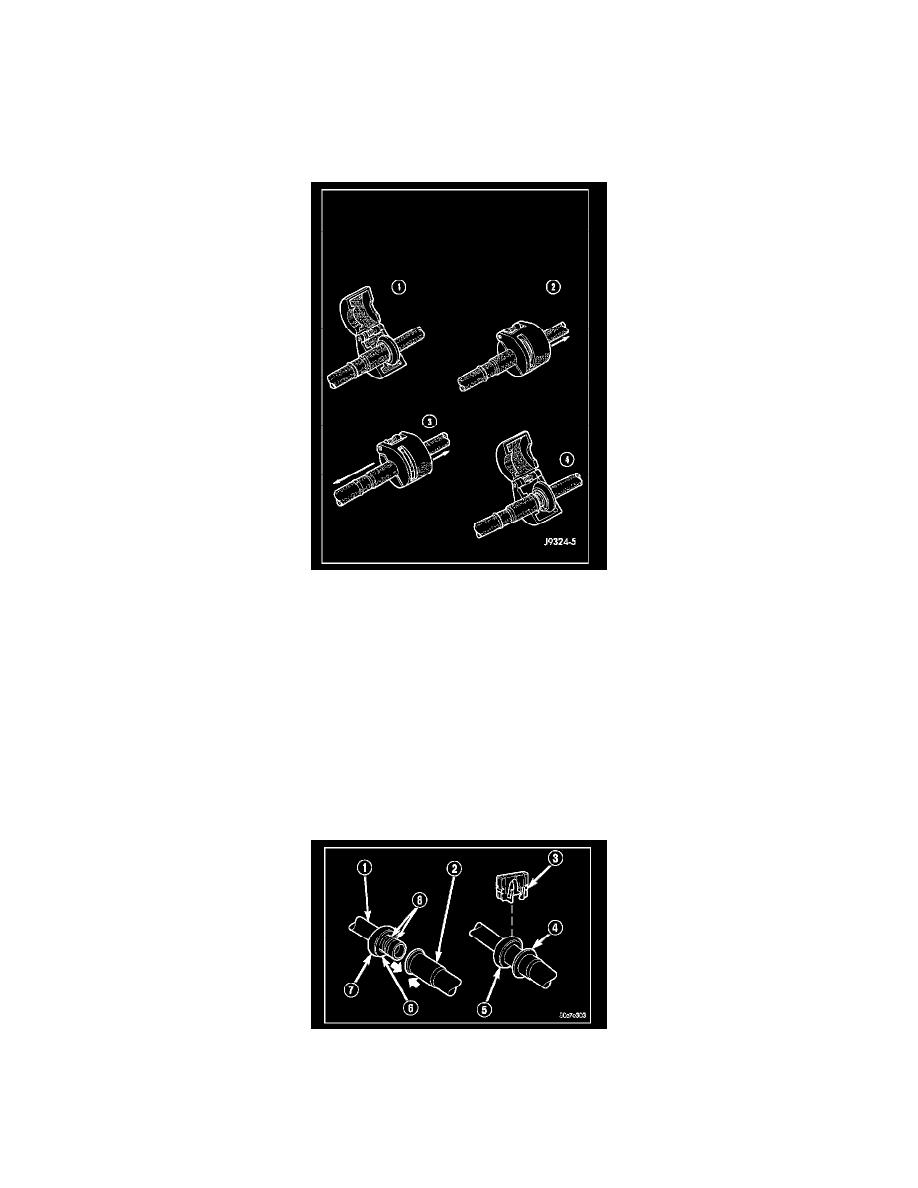
1. Recover the refrigerant from the refrigerant system.
2. Remove the secondary retaining clip from the spring-lock type refrigerant line coupler.
3. Fit the proper size A/C line disconnect tool (Special Tool Kit 7193 or equivalent) over the coupler cage (1).
4. Close the two halves of the A/C line disconnect tool around the coupler (2).
NOTE: The garter spring may not release if the A/C line disconnect tool is cocked while pushing it into the coupler cage opening.
5. Push the A/C line disconnect tool into the open side of the coupler cage to expand the garter spring (3). Once the garter spring is expanded, pull on
the refrigerant line attached to the female half of the coupler until the flange on the female fitting is separated from the garter spring and cage on
the male fitting.
6. Open and remove the A/C line disconnect tool from the refrigerant line coupler (4).
INSTALLATION
1. Clean any dirt or foreign material from the spring-lock type refrigerant line coupler.
2. Check to make sure that the garter spring (6) is located within the cage (7) of the male half of the refrigerant line coupler (1), and that the garter
spring is not damaged.
1. If the garter spring is missing, install a new spring by pushing it into the coupler cage opening.
2. If the garter spring is damaged, remove it from the coupler cage with a small hook (DO NOT use a screwdriver) and install a new garter spring.