
Raider V6-3.7L SOHC (2006)
9. Connect EVAP, ORVR and NVLD lines at front of tank.
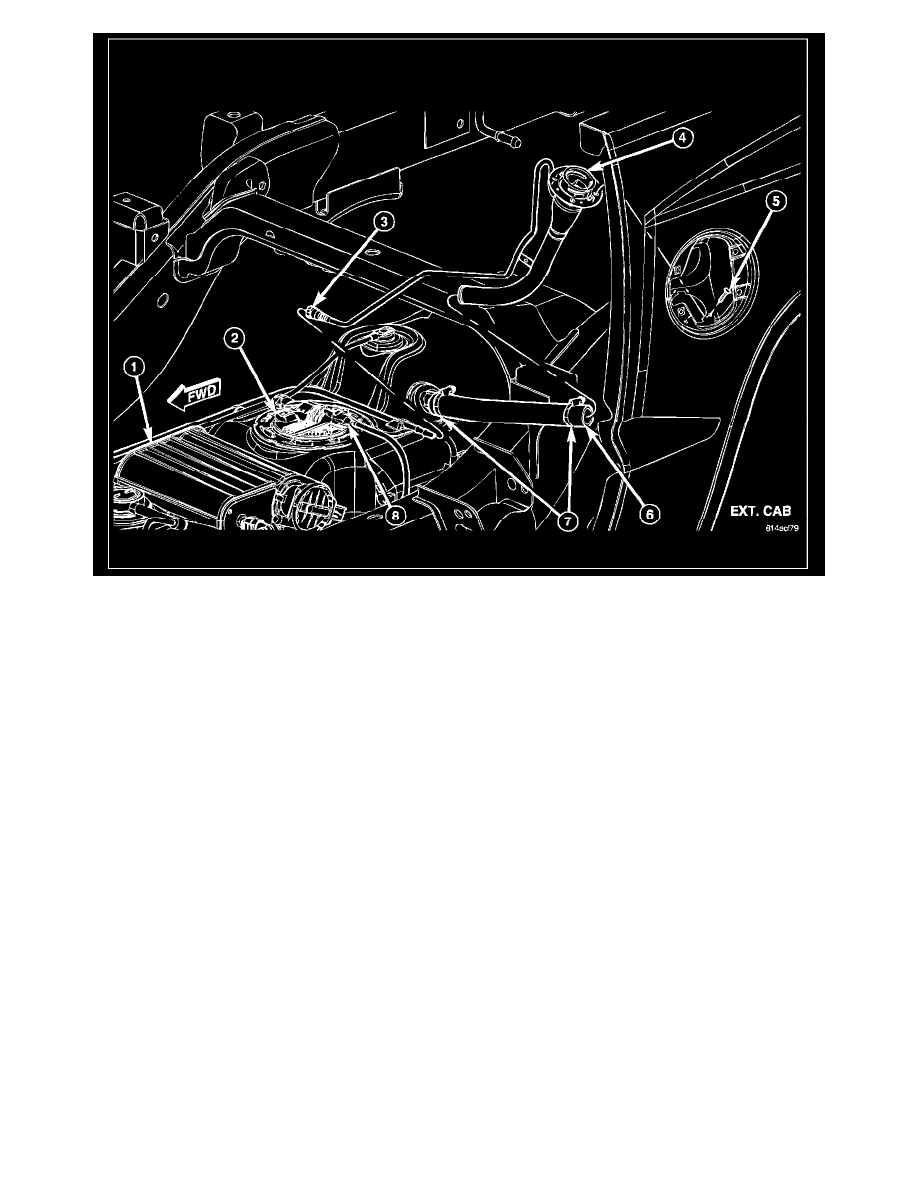
10. Connect vent line (3).
11. Connect rubber fill hose (6) to fuel tank fitting and tighten hose clamps (7).
12. The vapor/vacuum lines and hoses must be firmly connected. Also check the vapor/ vacuum lines at the NVLD pump, NVLD filter and EVAP
canister purge solenoid for damage or leaks. If a leak is present, a Diagnostic Trouble Code (DTC) may be set.
13. If equipped, install fuel tank skid plate.
14. Install plastic liner in front of left-rear tire/wheel.
15. Install left-rear tire/wheel.
16. Lower vehicle.
17. Fill fuel tank with fuel.
18. Start engine and check for fuel leaks near top of module.