
Raider V6-3.7L SOHC (2006)
b. Connect the USB cable to the VCI.
c. Connect the USB cable to the laptop.
d. Connect the blue MUT-III main harness to the VCI.
e. Connect the other end of the blue MUT-III main harness to the vehicle's data link connector.
f. Turn the VCI power switch ON. Verify the indicator lamp in the upper right corner of the screen is green.
NOTE:
If the USB cable is disconnected during this procedure, a warning message will display. Close the message display by clicking on the OK button.
3. Refer to the Raider PCM (ECU) Software Part Number Chart at the end of this bulletin, or the "Raider ECU Part Number & ECU Calibration" chart
on the Mitsubishi Dealer Link in the Service Tech Resources page to identify the appropriate calibration for this programming.
4. Turn the ignition to the ON position. Do not start the engine.
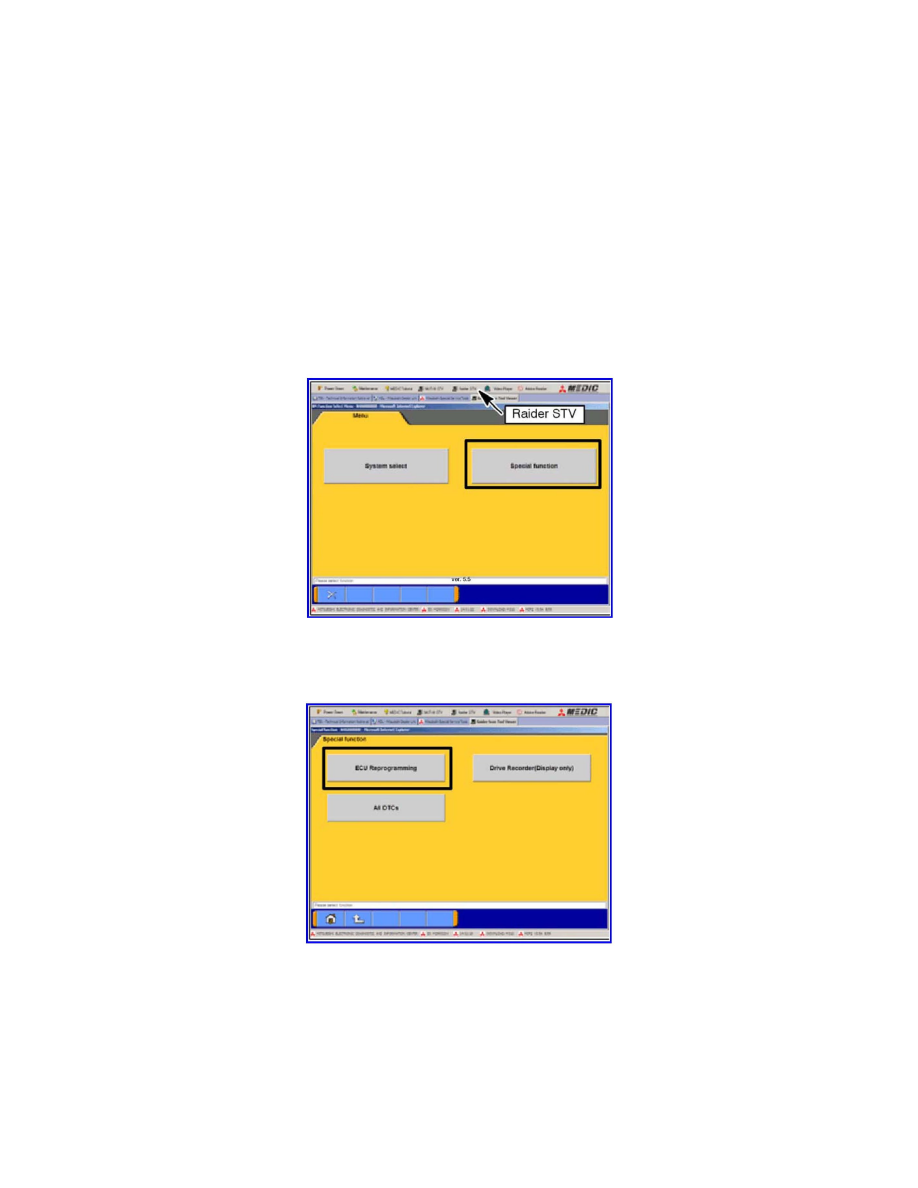
5. Open RAIDER STV from the main page of the MUT- III.
6. In the Raider main menu, select Special Function.
7. Select ECU Reprogramming.