
Raider V6-3.7L SOHC (2006)
1. Verify that the shift motor O-ring is clean and properly positioned inside the machined O-ring groove of the shift motor.
2. Add high temperature grease between the actuator and the transfer case mating surface for sealing purposes.
NOTE: Verify that the shift motor position and sector shaft orientation are aligned. It may be necessary to manually shift the transfer case if the
shift motor and sector shaft are not aligned.
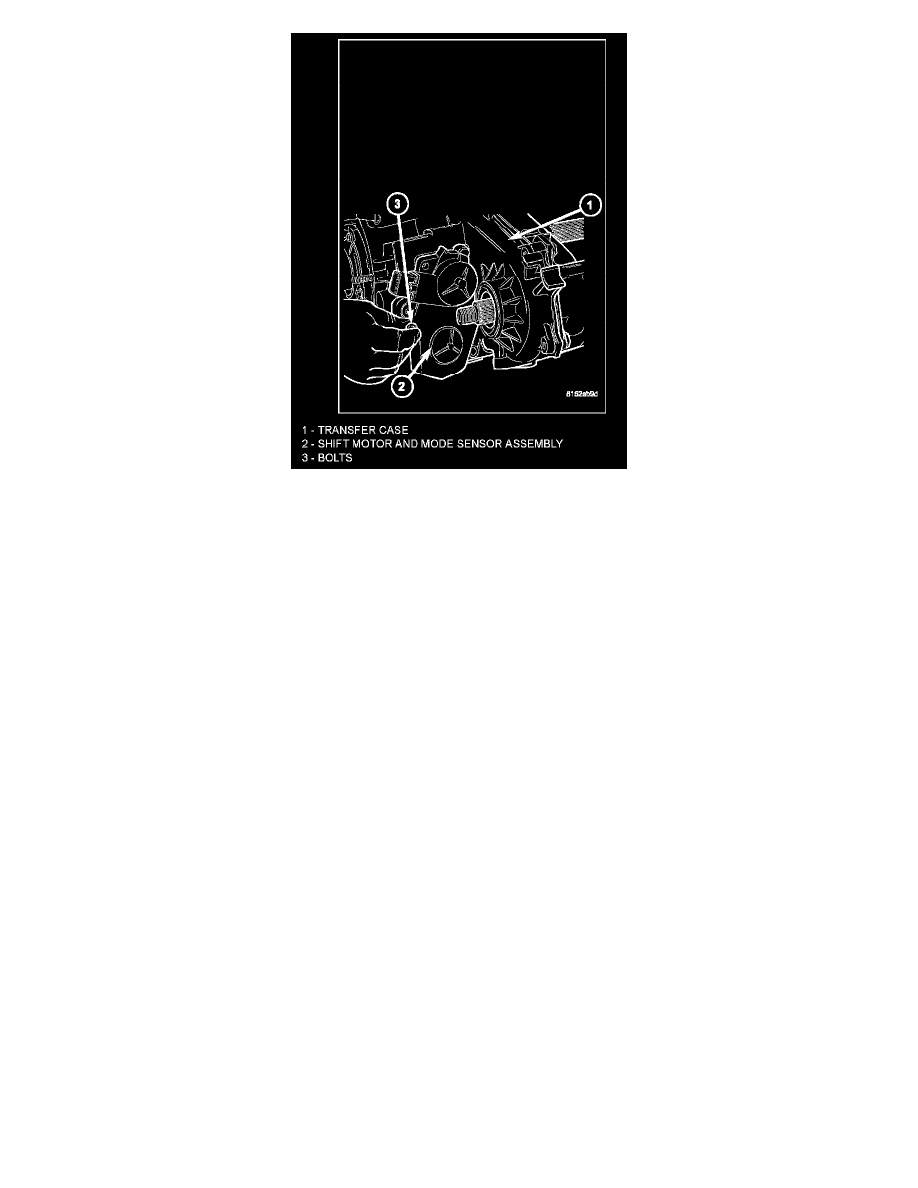
3. Position the shift motor and mode sensor assembly (2) onto the transfer case (1).
4. Install the bolts (3) to hold the assembly (2) onto the transfer case (1). Tighten the bolts to 16 - 24 Nm (12 - 18 ft. lbs.).
CAUTION: If the original shift motor and mode sensor assembly bolts are reused, be sure to use Loctite 242 Lock & Seal to replenish the lock
patch material originally found on the bolts
5. Engage the wiring connector to the shift motor and mode sensor assembly.
6. Refill the transfer case as necessary.
7. Lower vehicle and verify transfer case operation.